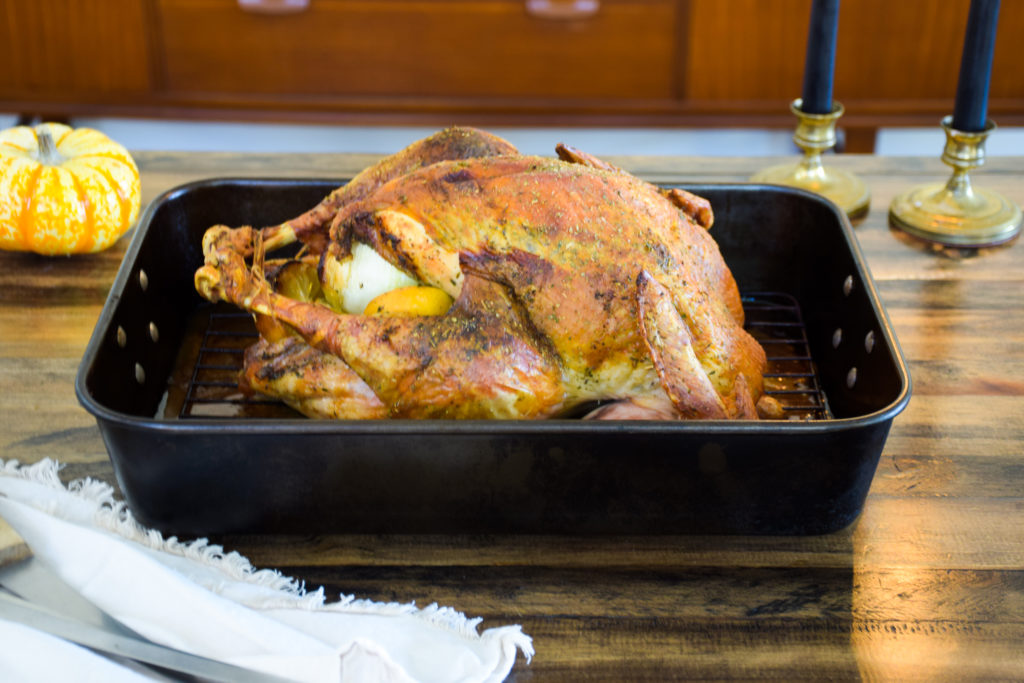
This Really Easy Dry Brine Turkey is something anyone can do! Just a few simple ingredients and you’ll have a delicious turkey feast!
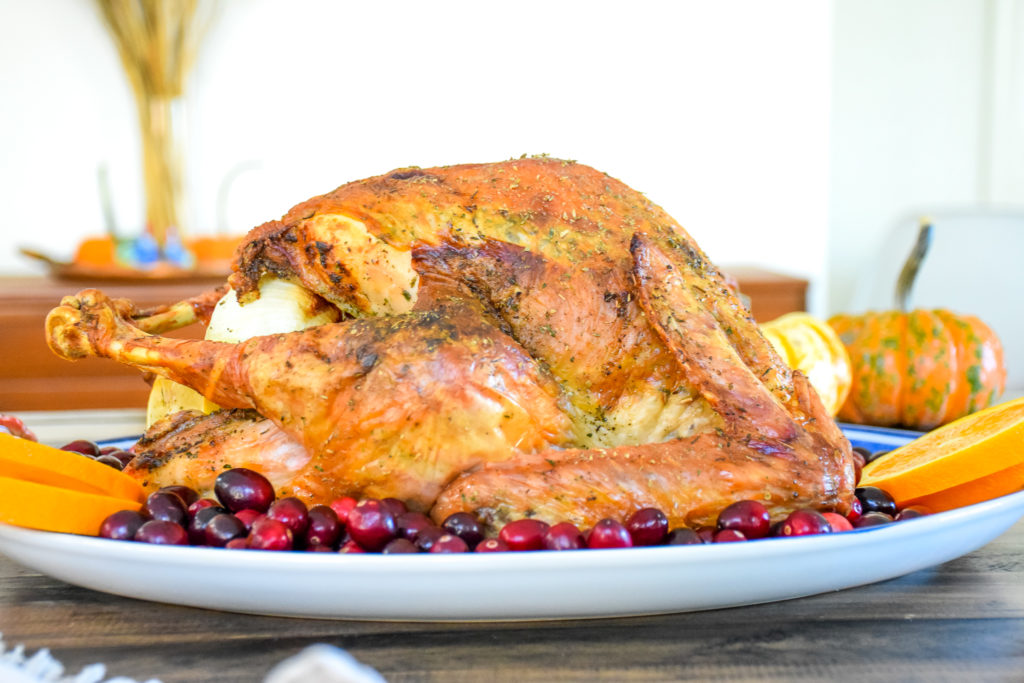
Ok y’all, it’s that time of year! And it’s been a really, really long time since I posted about cooking a whole turkey. I only make a whole turkey about once a year, on you guessed it, Thanksgiving. For Christmas and the other holidays, I love to do something else that feels special. But there is something about Thanksgiving that means you need a turkey. So this year, I am sharing my super simple dry brine method! It’s mostly hands off and depending on the size of your turkey takes only 2-3 hours in the oven. So quick and easy!
This post contains affiliate links. If you purchase a product through these links I may earn a few pennies. Thanks for keeping this free blog going!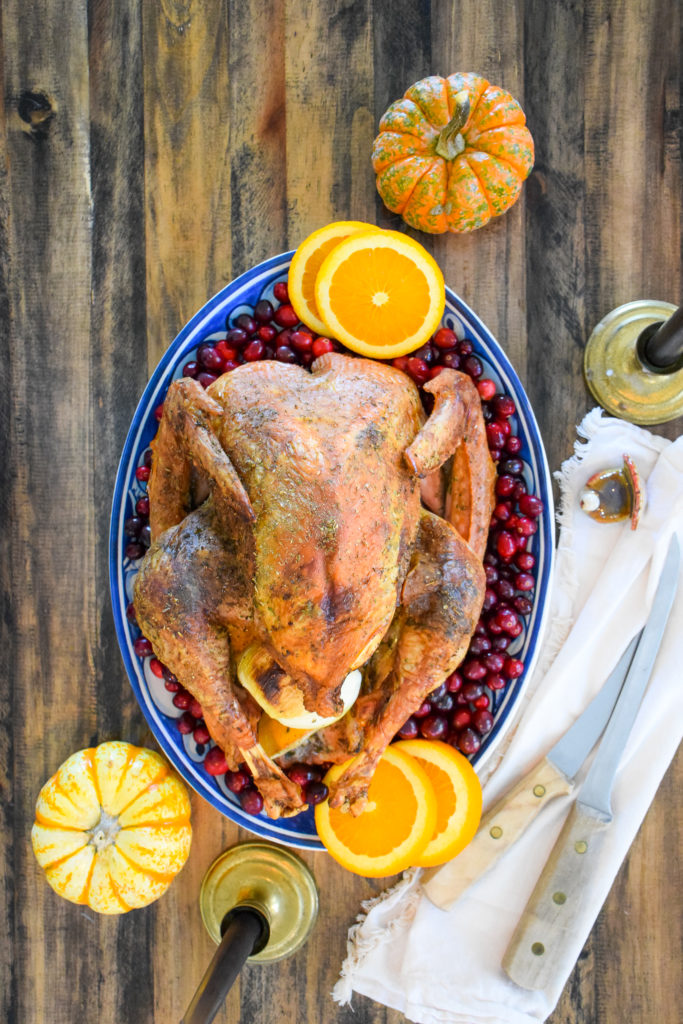
Really Easy Dry Brine Turkey
What I love most about this method is that there are no special ingredients or equipment needed. It’s just some dried spices and salt, a stick of butter then some aromatics to add more flavor. I go into the differences between and dry brine and wet brine below if you have questions about that. I like dry brining because it is the best way to super crispy skin on the turkey. Plus, did I mention that it’s mostly hands off? That’s right, the most important part of dry brining is letting the skin dry out so that it crisps up in the oven!
What You Need To Dry Brine A Whole Turkey
If you want to dry brine a whole turkey, here is what you’ll need:
- a whole turkey
- dried spices like sage, thyme and parsley
- salt
- note that I always use this kosher salt
. If you are using table salt, you will need half the amount of salt since table salt is much saltier than kosher salt. It can also leave an aftertaste, so I recommend using kosher salt.
- note that I always use this kosher salt
- aromatics like onion, garlic, fresh herbs and citrus
- unsalted butter
- a roasting pan with rack
- kitchen twine
- enough fridge space for your roasting pan and turkey
Is It Hard To Dry Brine A Turkey?
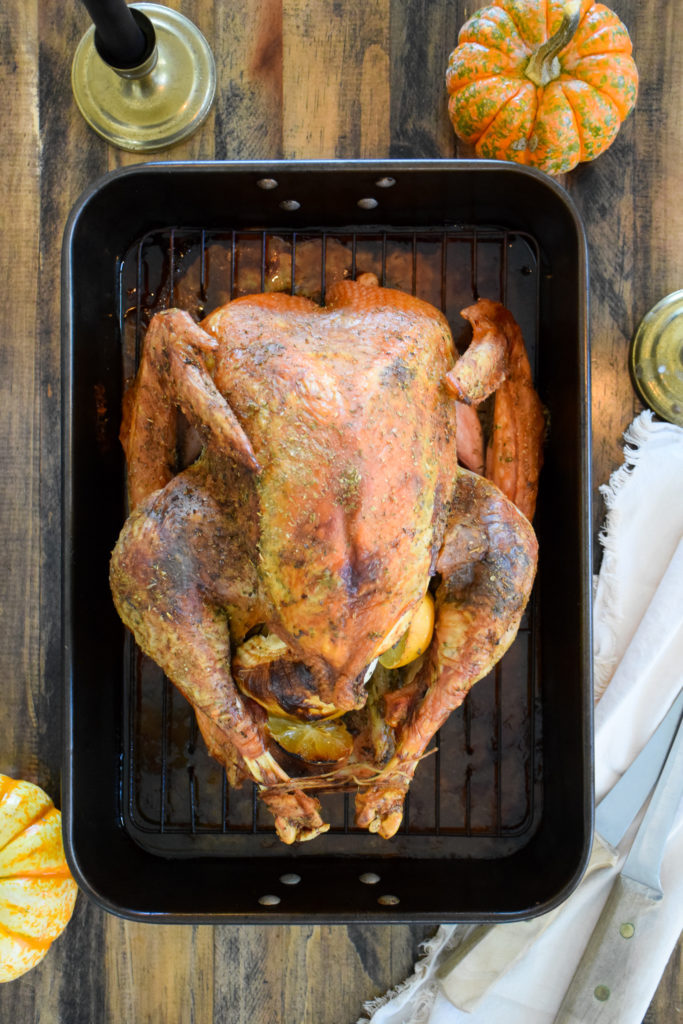
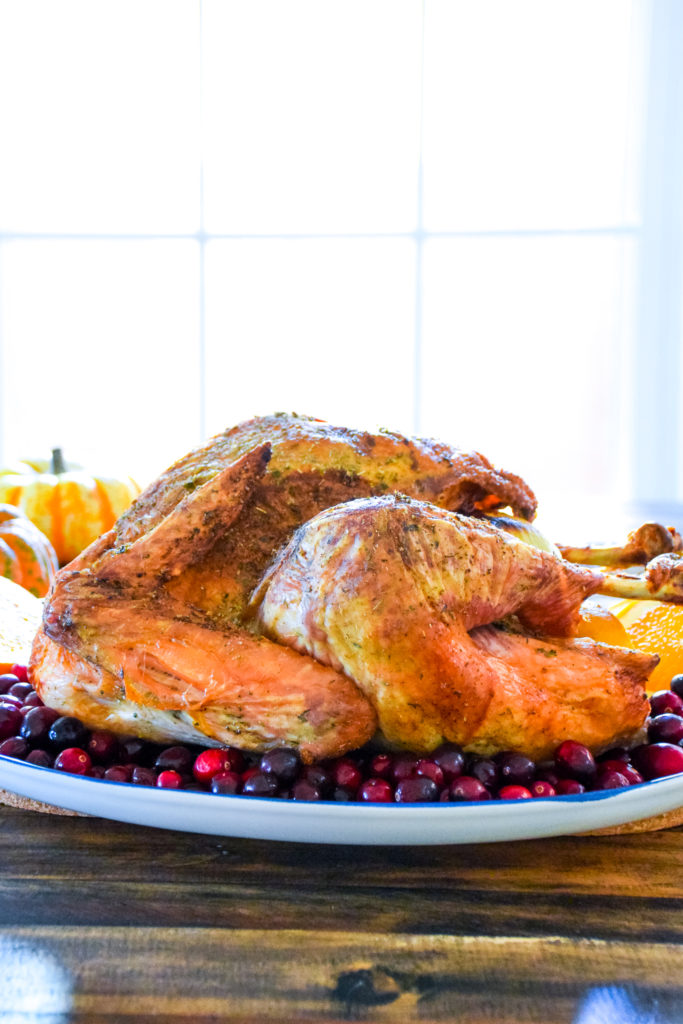
The thought of making a whole turkey, especially on a high stress day like Thanksgiving, can be daunting. But it honestly doesn’t need to be! Dry brining is super simple. A dry brine works by rubbing a turkey (or any meat) with a lot of salt. I also like to add dried herbs for flavor. Then the meat dries out in the fridge. It seems weird and kinda gross to let a raw turkey sit in the fridge but it’s safe as long a your fridge is working properly.
The salt draws the moisture out of the meat by osmosis then as the meat expands and contracts it reabsorbs the salt, juices and flavor from the herbs into the meat. It does this over and over again. That’s why for a dry brine, the longer you let it sit, the better! Don’t be worried if the skin of your turkey looks like a dried out reptile. That’s completely normal for this method. We want to draw the moisture out of the skin of the turkey and into the meat — this makes for juicy meat and crisp skin!
How Long Does It Take To Dry Brine A Turkey?
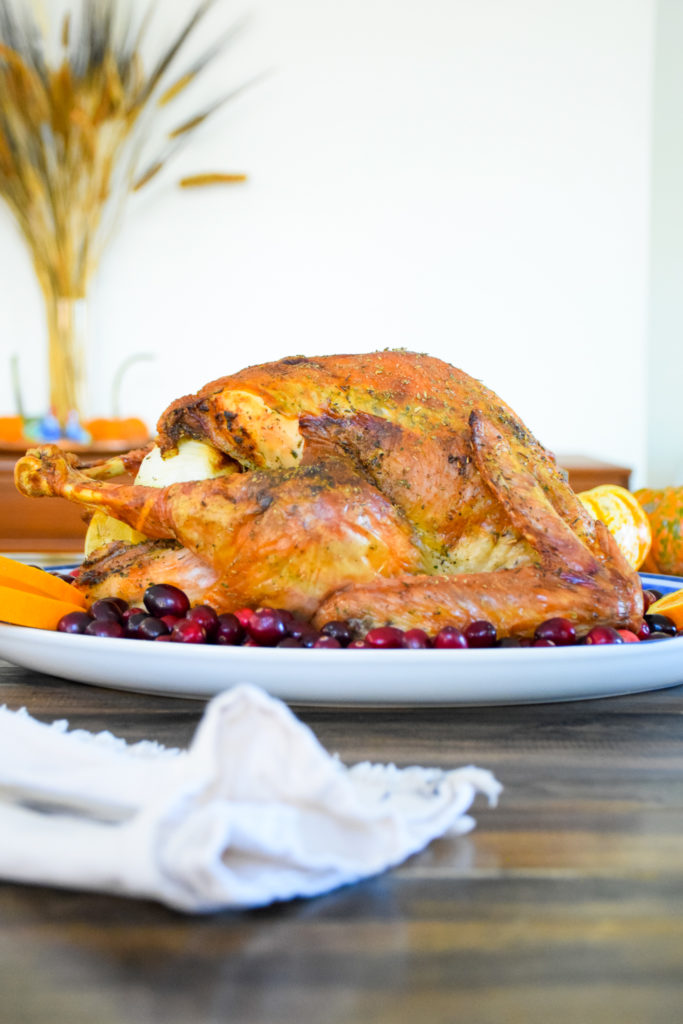
That brings me to my next point which is how long does it take to dry brine. We’ll like I said before, the longer the better. A good rule of thumb is at least 12 hours or over night. If you have the time, and the fridge space, letting the turkey sit for two or three says in the fridge is great! I wouldn’t go past three days though. If you’re pressed for time or don’t have the fridge space you could do this method for a few hours or even as little as one hour. But for best results, the longer the better.
What Is The Difference Between A Dry Brine and Wet Brine?
A dry brine means you are using salt and air (in the fridge) to dry out the turkey. A wet brine also uses lot of salt but you let the turkey marinate in a tub or bag of salted water for a few hours, over night or up to two days. The osmosis process works much the same, drawing the moisture in and out of the turkey.
A wet brine has the benefit of drawing additional moisture (water) into the meat. A wet brine will give you the juiciest turkey meat. However, a wet brine can be difficult because you need even more fridge space for a tub that is big enough to submerge a turkey into. Lots of people do this in a cooler, like a Yeti. However you must be diligent amount maintaining the temperature of the cooler so that no bacteria starts forming. And then you are also dealing with a lot of meat water and a slippery turkey.
A dry brine is much, much easier in my opinion. It means no meat water, which I find to be a huge plus. It also brings more flavor to the turkey meat. Even if you spice your brine water with onion, peppercorns, etc. the flavor is diluted due the amount of water. The dried spices used in a dry brine put a lot of flavor right into the meat. A dry brine also takes up less fridge space which is a big deal around a foodie holiday like Thanksgiving. Also, a dry brine dries out the skin which gives you super crispy skin, my fav. The meat does get juicy because of the salting process. So win-win.
How To Serve A Whole Turkey
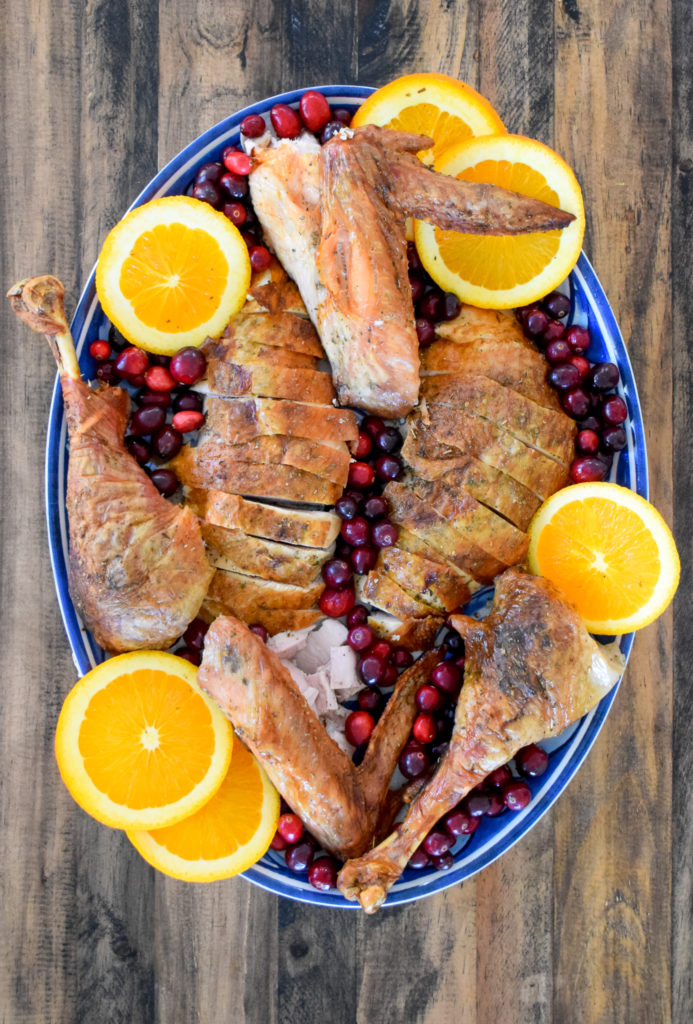
After you have dry brined your turkey, you roast it in the oven. I give all those details below. After the turkey is finished cooking, how do you serve it? Well, this is the fun part! You can serve it whole on the table which makes for a gorgeous presentation. However, it can be difficult to carve at the table.
I like to have the turkey carved before placing on the table to be served. Carving a turkey is very much like breaking down or carving a chicken, which you can watch my video on how to that here.
It starts like this though:
- Using a sharp knife, begin by removing the turkey legs. Pull the leg away from the body and cut through the joint.
- Next remove the breast meat. Find the breast bone and slice the knife down the bone and the meat should come off. Cut the breast meat into the slices then place onto a serving dish.
- Next remove the wings from the cavity. It can be easier to pull these away from the body breaking the joint and then cutting through.
- Carefully carve away any remaining meat and add to the serving plate.
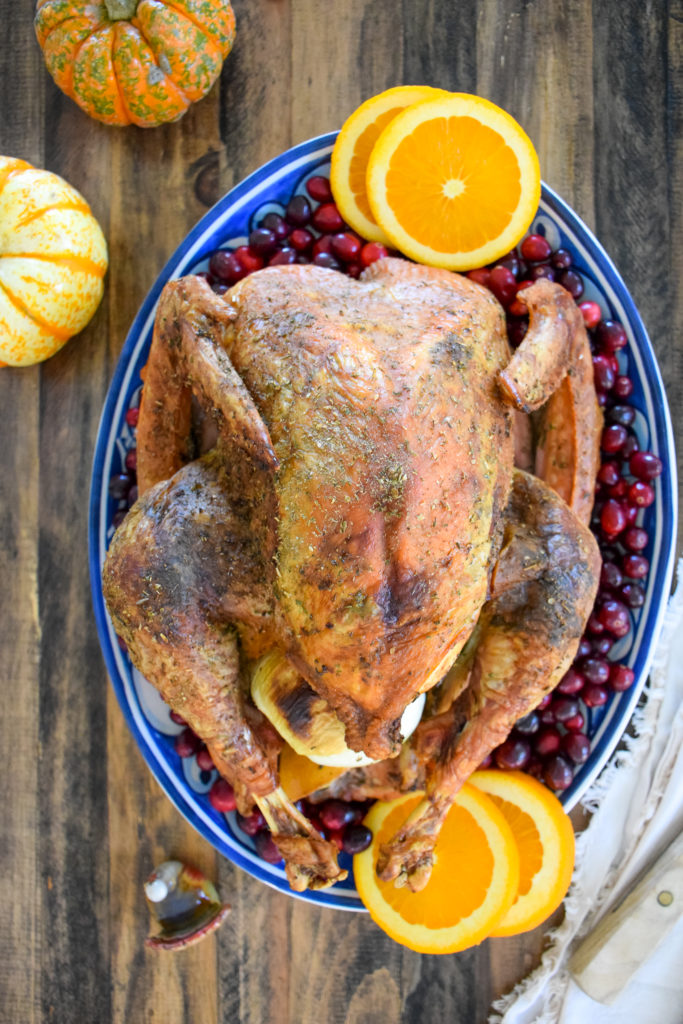
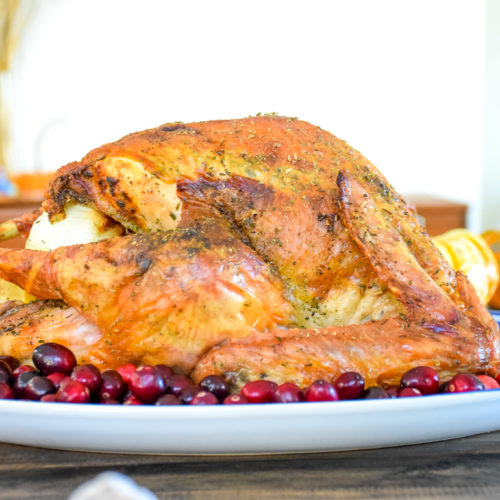
- I like to garnish the plate with something colorful like fresh cranberries, orange slices, apples or fresh herbs.

Should You Use Foil On Your Turkey?
There are many thoughts on using foil while cooking a turkey. Wrapping a turkey in foil, while brining, cooking or resting will trap the moisture inside the turkey. This sounds like it could be a good thing, however, if you are trying to achieve a crispy skin then foil isn’t a great idea. It will soften the skin and nobody likes soggy skin.
For my method of cooking, I do recommend to cover the wing tips with foil after the first 20 minutes. This is because the tips can burn. I also recommend to lay a piece of foil lightly over the breast after 20 minutes. I say to not press it down. This will keep the breast from becoming too brown but still allow some air to flow through so that the skin stays crisp.
 Tips for Cooking A Whole Turkey
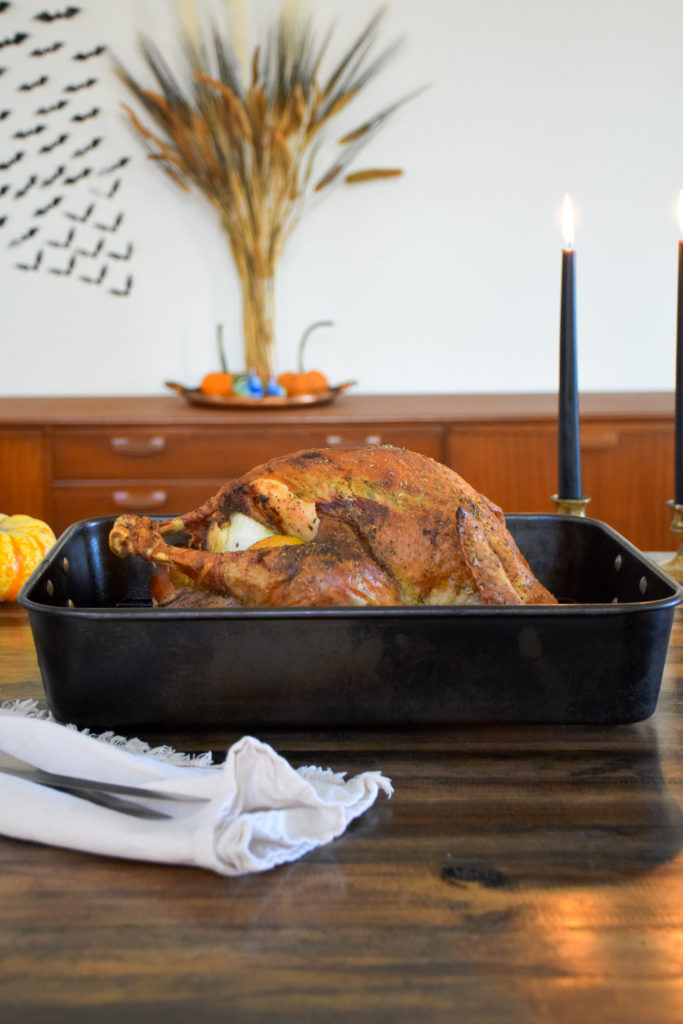
If you have never cooked a turkey before there are a few things that you should know!
- It can take days for a frozen turkey to thaw. Most turkeys are sold frozen, so you will want to take into account a few days to let your turkey thaw. A good rule of thumb is 24hrs per pound of frozen turkey to thaw in the fridge. So, for a 12lb turkey that is three whole days!
- I recommend thawing your turkey in the fridge because that is the safest way. However, there are some methods for thawing a turkey in water. Do not leave a turkey to thaw on the counter of overnight. This is downright dangerous.
- Leave your turkey in the packaging to thaw in the fridge. I recommend putting the turkey on some paper towels or into a roasting pan just to make sure no juices escape and run all in your fridge creating a big mess.
- Once the turkey is thawed, be sure to check inside the cavity for the giblets, neck and any additional packaging. Sometimes there may be pieces of plastic used in the packaging that can be inside so you’ll want to remove those before cooking.
- A stuffed bird takes longer to cook than an empty bird. When you are cooking a turkey I highly recommend checking the temperature early and often to prevent over cooking but also to ensure that you have cooked the turkey to the proper temperature so that it is safe to eat. Nobody wants food poisoning on Thanksgiving!
My Favorite Thanksgiving Recipes
Saucy Butternut Squash Mac ‘n Cheese
Roasted Acorn Squash with Fried Sage Pesto
Cleaned Up Green Bean Casserole
Cranberry Curd Tart with Rosemary Almond Flour Crust

Really Easy Dry Brine Turkey
Equipment
- roasting pan with rack
- kitchen twine
Ingredients
- 11.5 lb turkey whole, heritage or organic if possible
- 2 tbsp kosher salt reduce the amount by half if using table salt
- 2 tbsp dried sage
- 1 tsp dried oregano
- 1/2 tsp dried parsley
- 1/2 tsp dried thyme
- 1/2 tsp garlic powder
- 1 whole onion white, yellow or sweet. Cut in half, paper peel removed
- 2 whole lemons cut in half
- 1 head garlic top cut off but paper peel remaining on
- 6 sprigs fresh thyme
- 6 sprigs fresh oregano
- 8 tbsp unsalted butter softened to room temperature
Instructions
- Begin by removing turkey from packaging. Remove the giblets and any packaging that may be in the cavity. Pat turkey dry inside and out with paper towels. Place turkey, breast side up, onto roasting rack inside roasting pan. *Double check before beginning that there is room in your fridge for the turkey and roasting pan.
- In a small bowl, whisk together salt and dried spices: sage, oregano, parsley, thyme, and garlic powder.
- Using your hands, gently separate the skin from the meat of the turkey. Spread the spice rub all under the skin of the breast and legs. Concentrating slightly more spice rub on the breasts since there is more meat there. Rub remaining spices all inside the cavity.
- Place turkey, uncovered, inside fridge. Let turkey sit for at the very minimum one hour but up to three days. Overnight will also produce excellent results but the longer the turkey is left to sit in the fridge the more crispy the skin will be and the juicer the meat.
- Once ready to begin cooking, preheat the oven to 450°.
- Using your hands, spread room temperature butter under skin of turkey. Rub butter all on the outside of skin too.
- Next, stuff the garlic and fresh thyme and oregano inside the cavity first so that none is sticking out. This will prevent burning. Then stuff the onion and lemon. If some of the lemon or onion is sticking out, this is ok. Lightly truss, or tie back, the legs of the turkey with kitchen twine. This will hold the aromatics inside as the turkey cooks.
- Place the turkey into the oven and roast for 20 minutes at 450°. After 20 minutes, remove turkey from oven, and cover wing tips with foil. Place a piece of foil on top of the breast. Do not press it down, just gently lay it over. The foil will prevent the tips and breast meat from overcooking. Reduce oven temperature to 350° and continue cooking for 90 minutes. If using convection (fan) setting (which I recommend if your oven has it) begin checking for doneness after 90 minutes. If using a conventional oven, begin checking for doneness at 120 minutes. The breast should be 165° at the thickest point and the leg at 185°.
- Let turkey rest for 15 minutes before cutting. This will allow the meat to reabsorb any juices. Remove the twine and aromatics from the cavity and discard. Carefully transfer the turkey to serving dish or cutting board to prepare for serving.
Nutrition
You made dry brine looks soooo easy! Love the table presentation with the cranberries and orange slices!