My favorite recipes for this year’s Holiday Cookie Box 2022! Everything you need for this year’s Christmas Cookies!

I am so excited for this year’s cookie box! All of these cookies and treats are easy to make and super delicious. Not to mention they travel well so they are perfect for shipping or delivering to friends and family. I had a lot of fun making these and I know you will too! This year I also made recipes that are completely Gluten-Free!
This post contains affiliate links. If you purchase a product through these links I may earn a few pennies. Thank you for keeping this free blog going!

Holiday Cookie Box 2022
A few things to make your holiday baking a little easier this year, be sure and read this post! I give out all my tips and tricks for holiday baking. I definitely recommend this adjustable rolling pin so that all your cookies will bake evenly. These are my favorite baking sheets
and I like to use these wire racks
for cooling. Transferring cookies is a breeze if you use a fish spatula
, fyi.

- Soft Gingerbread Cookies – I have always wanted to make a gingerbread cookie and this was finally the year! These are such a holiday classic and nothing says Christmas quite like a gingerbread cookie! These cookies are soft and moist and I would not use them for making or constructing a gingerbread house. They are much better for eating or leaving out for Santa!

Soft Gingerbread Cookies
Ingredients
- 3.5 cups All Purpose Flour plus more for rolling
- 1 tsp baking soda
- 1/2 tsp kosher salt half if using table salt
- 1 tbsp ground ginger
- 1 tbsp ground cinnamon
- 1/2 tsp ground all spice
- 1/2 tsp ground cloves
- 10 tbsp unsalted butter softened
- 3/4 cup brown sugar dark or light
- 2/3 cup molasses
- 1 large egg
- 1 tsp vanilla extract
Instructions
- In a medium sized bowl, whisk together dry ingredients: flour, baking soda, salt, ginger, cinnamon, all spice and cloves. Set aside.
- In a large bowl or stand mixer, mix butter and sugar on medium speed together until creamy, about 1-2 minutes. Add molasses, egg, and vanilla and mix until combined. Add half the flour to the bowl and mix until incorporated then add the other and mix until combined. Knead dough and divide into equal parts and shape into a disc. Wrap in plastic and chill for 3 hours or overnight. This dough will be very sticky and needs time to come together before making cookies. Dough may be frozen at this stage.
- Roll out half the dough onto a floured surface about 1/4 inch thick. Dust cookie cutters in flour and cut cookies. Place cookies onto parchment lined baking sheets and bake for 9 minutes at 350F. Then continue on with remaining dough until finished. Let cookies cool completely then decorate and store in an air tight container.
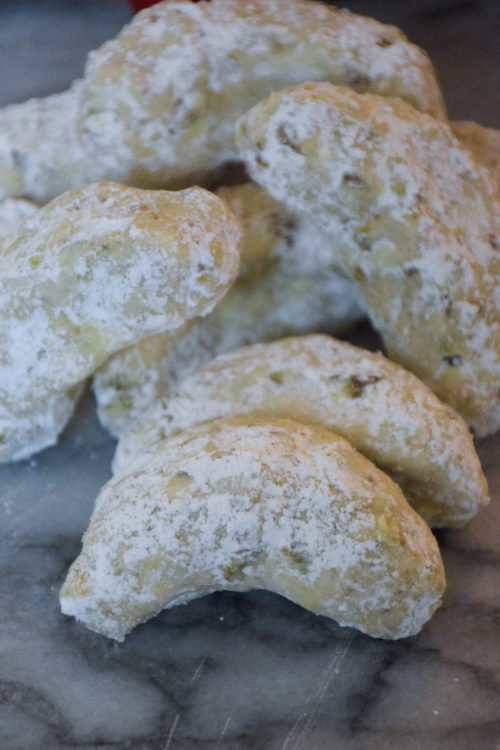
2. Pistachio Crescents – aka Pistachio Wedding Cookies or Pistachio Sandies. These cookies are based off of my mother-in-laws recipe she makes every year for Pecan Sandies. BMW loves his mom’s cookies but he also loves anything pistachio so I decided to put my own spin on this family classic. These cookies are tender and crumbly and so good!
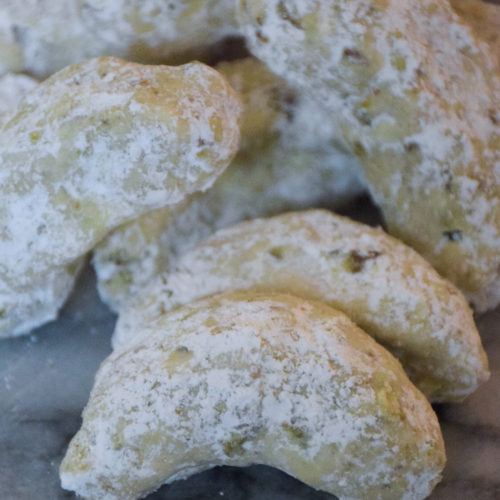
Pistachio Crescents (Pistachio Sandies and Pistachio Wedding Cookies)
Ingredients
- 16 tbsp unsalted butter softened
- 2 cups All Purpose Flour divded
- 1/3 cup granulated sugar
- 1 tsp vanilla extract
- 1-2 tbsp water
- 1 cup roasted pistachios chopped or crushed
- 1 cup powdered sugar
Instructions
- In a large bowl or stand mixer, beat butter on medium speed until creamy, 1-2 minutes. Then add in the sugar, vanilla, 1 tbsp water and half of the flour and mix until incorporated. Then add in the remaining flour and add water if needed to combine. Stir in pistachios.
- Shape dough by hand into approximately 2 1/2 inch long crescent shapes. Alternatively, dough can be shaped into balls about the size of a ping pong ball. Place onto parchment lined baking sheets and bake for 20 minutes at 325F.
- Let cookies cool for 5 minutes until cool enough to touch but still warm. In a large bowl or plastic bag, 3-4 cookies at a time, toss with powdered sugar until well covered. Shake off excess and let cookies completely cool on a rack. Store in air tight container for up to a week.

3. White Chocolate Oreo Peppermint Balls – Ok these were definitely for me! Growing up we used to make Oreos dipped in white chocolate. Then one year Oreo started selling their own white chocolate covered cookies. My family would stock up on dozens and dozens of boxes and hide these from each other haha. I absolutely love Oreos and I honestly just wanted an easy, no-bake addition to this year’s cookie line up and these Oreo balls are SO GOOD. Every time I bite one, I give myself a little pat on the back.

White Chocolate Peppermint Oreo Balls
Ingredients
- 30 Oreo cookies
- 8 tbsp unsalted butter melted
- 24 oz white chocolate chips melted
- 1/2 cup crushed peppermint candy
Instructions
- Melt butter and set aside. In a food processor, process Oreo cookies until they become a fine crumb. Then pour in butter and process until incorporated.
- Shape dough into ball approximately the size of a ping pong ball and set onto wax paper.
- In a double boiler or the microwave, gently melt the white chocolate chips. Add 1 teaspoon of coconut oil if needed to thin. Dip balls into white chocolate to cover then place back onto wax paper. Sprinkle with crushed peppermint before chocolate cools. Then let cool completely and store in air tight container for a week or longer in the fridge.
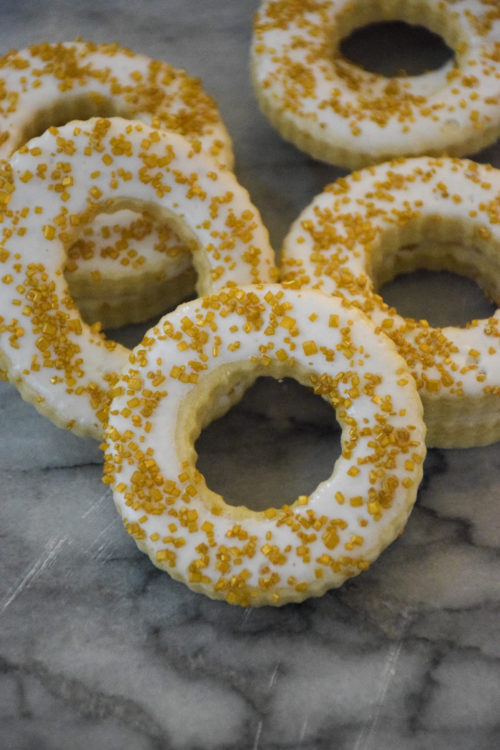
4. Iced Lemon Cookie Wreaths– If you’ve been following along this blog long enough then you know that I am obsessed with lemon desserts and like to include lemon cookies in my box each year. This love of lemon was definitely passed down to me from my Grandma who always made lemon sweets growing up. She sadly passed away this year, so these Iced Lemon Cookie Wreaths are for her.
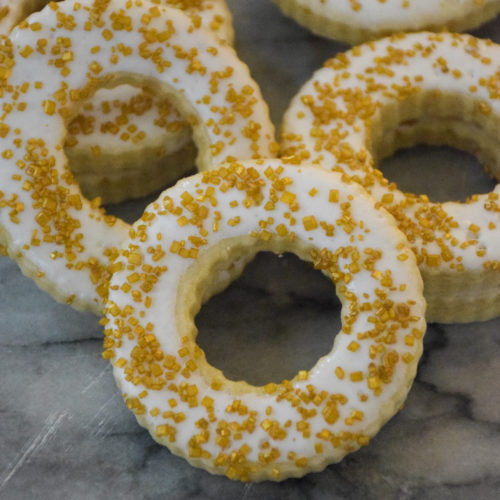
Iced Lemon Cookie Wreaths
Ingredients
- 2 cups All Purpose Flour plus more for rolling out
- 1/2 tsp baking powder
- 1/2 tsp kosher salt half if using table salt
- 12 tbsp unsalted butter
- 1/2 cup granulated sugar
- 1/2 cup light or dark brown sugar
- 1 large egg
- 1/2 tsp vanilla extract
- 1/4 tsp almond extract
- 1 small lemon juice and zest
Lemon Icing
- 1/2 cup Royal Icing see note
- 2 oz lemon juice about the juice of 1 small lemon
- 4 tbsp sprinkles
Instructions
- In a medium bowl, whisk together flour, baking powder and salt. Set aside.
- In a large bowl or stand mixer, cream together butter and both sugars until creamy, about 1-2 minutes on medium speed. Then mix in egg, extracts and lemon juice and zest until incorporated. Mix in flour until just combined. Knead dough into disc, wrap tightly in plastic wrap and chill in the fridge for at least 30 minutes or overnight.
- Roll out dough onto floured surface to about 1/4 inch thick. Dip cookie cutter into flour and cut dough into wreath shapes. Bake on parchment lined baking sheet for 9 minutes at 350F.
- Let cookies cool on baking sheet for 5 minutes then transfer to wire rack to cool completely. Meanwhile, whisk remaining lemon juice with royal icing in small bowl. Dip tops of cookies into icing and hold upside down for a few seconds letting excess drip off. Place cookies onto parchment paper and let icing dry for 10 minutes before topping with sprinkles. The icing is a little bit looser/thinner so letting it set a few minutes will prevent sprinkles from running off the sides. Let icing set at room temperature for a few hours until completely dry. Then transfer to air tight container for up to a week.
Notes
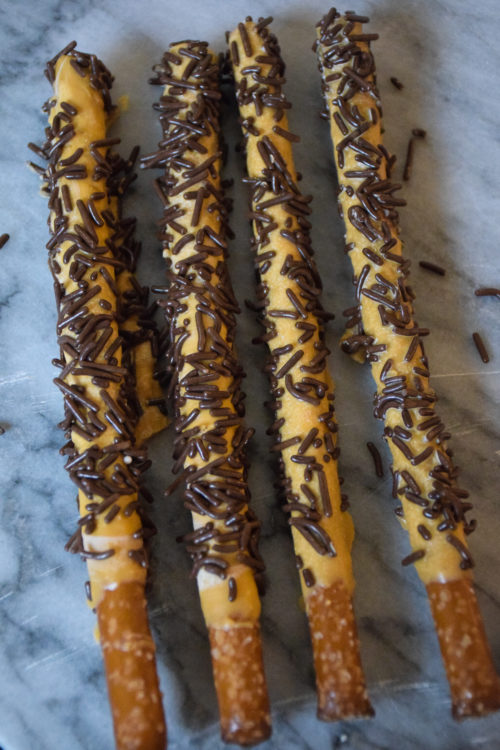
5. Butterscotch Dipped Pretzel Rods with Chocolate Sprinkles – I love a good salty sweet combo and these pretzel rods were just the thing! They are so easy to make and also don’t require any oven space which makes them a real winner. I know pretzel rods aren’t anything brand new but I like to always put my spin on things and the butterscotch really does it for me in these! If you can’t find chocolate sprinkles, you can drizzle with melted chocolate. The salty crunch of the pretzel plus the butterscotch and chocolate almost gives these treats the flavor profile of a candy bar without all the fuss!

Butterscotch Dipped Pretzel Rods with Chocolate Sprinkles
Ingredients
- 24 pretzel rods
- 24 oz butterscotch chips
- 6 oz chocolate sprinkles or jimmies
Instructions
- In a double boiler or the microwave, gently melt the butterscotch chips. Add 1 tbsp of coconut oil if needed to thin. Transfer melted butterscotch to tall water glass. This makes it easier to dip long pretzel rods.
- Dip pretzel rods into butterscotch then place onto sheet of wax paper. Generously top with chocolate sprinkles and let cool completely. Keep in container or plastic bag for up to a week.

6. Soft Thick Sugar Cookies for Decorating and Royal Icing– Every holiday party needs a tried and true sugar cookie for decorating! The trick to these cookies is to be sure and chill the dough before baking so that the cookies hold their shape. If the dough gets too soft before baking the cookies will loose their shape. They will taste great though! Break out the sprinkles and the food coloring and have some fun this season!
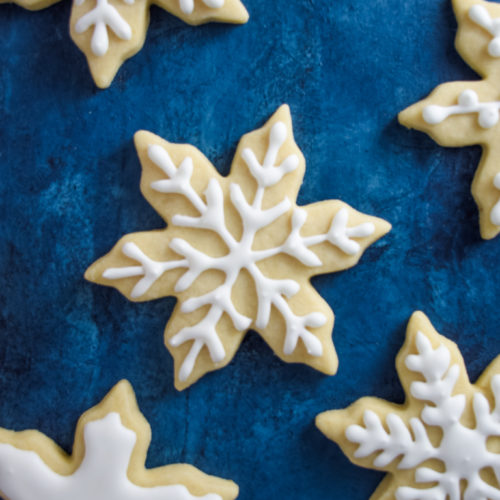
Thick Soft Sugar Cookies for Decorating
Ingredients
- 1 1/2 cups All Purpose Flour 281 grams
- 1/2 tsp baking powder
- 1/4 tsp kosher salt
- 12 tbsp unsalted butter 170 grams, softened to room temperature
- 3/4 cup granulated sugar
- 1 large egg room temperature
- 2 tsp vanilla extract
Instructions
- In a large bowl, whisk together the flour, baking powder and salt and set aside.
- In a stand mixer using the paddle attachment or a hand mixer, cream the butter and sugar together. About 2-3 minutes on medium speed until it is fluffy looking.
- Reduce speed to low and add in egg and vanilla extract, mixing until incorporated, stopping to scrape down sides of bowl as needed. Add flour mixture slowly, incorporating on low speed until combined and no flour pockets remain.
- On a lightly floured surface, roll dough into a flatted ball/disc shape, cover well in plastic wrap and chill for 1 hour or up to overnight in the fridge. You can also freeze the dough, or a portion of the dough, at this point if saving for future.
- Once ready to bake, remove dough from fridge or freezer and let come to just below room temperature. Usually about 20-30 minutes. Dough should be pliable but cool to the touch. Pre-heat oven to 350° and prepare a baking sheet with parchment paper or a silicone baking mat.
- Working in batches to keep dough chilled, roll out dough on a floured surface to 1/4 inch thick. Use cookie cutters with edges dusted with flour to get desired shape. *the flour keeps the dough from sticking to the cutters to get clean sides. If dough becomes too warm, place dough shapes into the fridge to chill for 20 minutes. You can leave them right on the baking sheet. Chilled dough spreads less when baking than warm dough thus helping cookies to hold their shape.
- Bake cookies for 10-11 minutes, rotating baking sheet once about halfway through. Do not let cookie edges get brown. These cookies should be uniform in color. If edges begin to brown, remove cookies from oven.
- Let cookies cool for 5 minutes on baking sheet then move them to a wire rack to cool completely before decorating.
Nutrition

Royal Icing for Decorating Cookies
Ingredients
- 4 cups powdered sugar
- 3 tbsp meringue powder
- 9-14 tbsp room temperature water
Instructions
- In stand mixer with the whisk attachment, or with a hand mixer, mix the powdered sugar, meringue powder and water together on high for 1 1/2 to 2 minutes. *Start with 9 tbsp of water and add additional tbsp at a time as needed to reach desired consistency.
- You will know when you have reached the correct consistency when the icing drizzles down from the whisk into the bowl and disappears and surface of icing is smooth after about 5-10 seconds.
Notes
- Icing takes about 2 hours to completely dry at room temperature. You can speed this process up by placing decorated cookies in fridge if needed for layering designs.
- If you add extra designs or sprinkles before icing is dry they will settle down into the icing and become smooth.
- You can add food coloring after desired consistency is reached.
- Icing can be made ahead of time and stored in completely air tight containers and frozen or kept in fridge for a few days. Be sure to store in icing bags without cutting tip or in a bowl with plastic covering.
- While working with icing, be sure to cover icing you are not using with a damp paper towel to prevent it from drying out.
Nutrition
I just tried the pistachio crescent cookies. They don’t hold together well enough to “toss” in powdered sugar. I was able to cover each one in powdered sugar and then remove it from the bag to cool on a rack. What went wrong? I used 1 tbsp of water not 2. Is that the reason? I made 28 cookies from this recipe. Is this a mistake – should there have been 56 cookies, smaller?
Make sure and let the cookies cool on the baking sheet for at least 5 minutes before tossing in powdered sugar. When molding the dough before baking, be sure and compress each cookie as the dough can be quite crumbly. If the crescent shape is hard to achieve, balls work great too! By nature, these cookies are tender and a bit crumbly. Hope that helps!