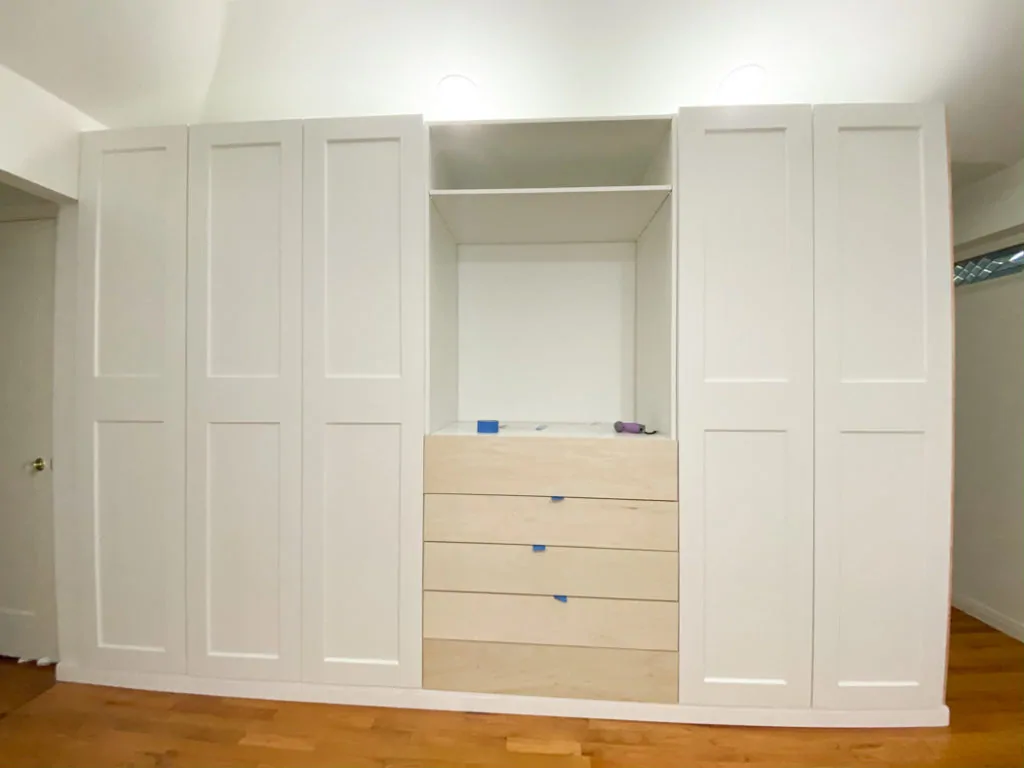
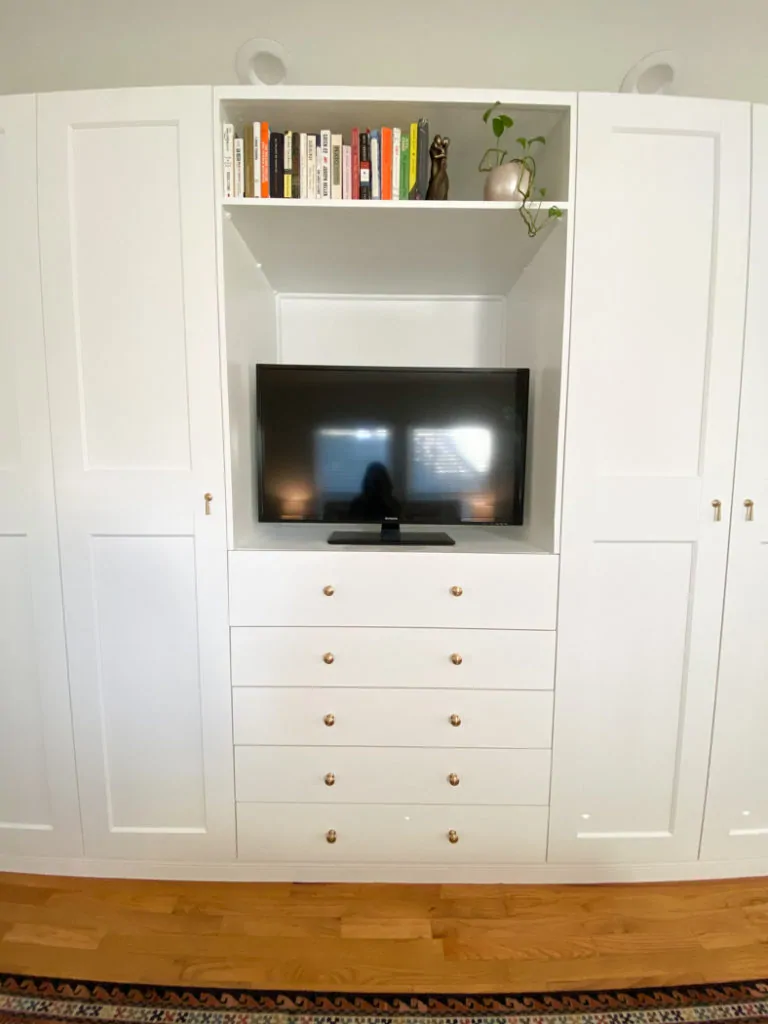
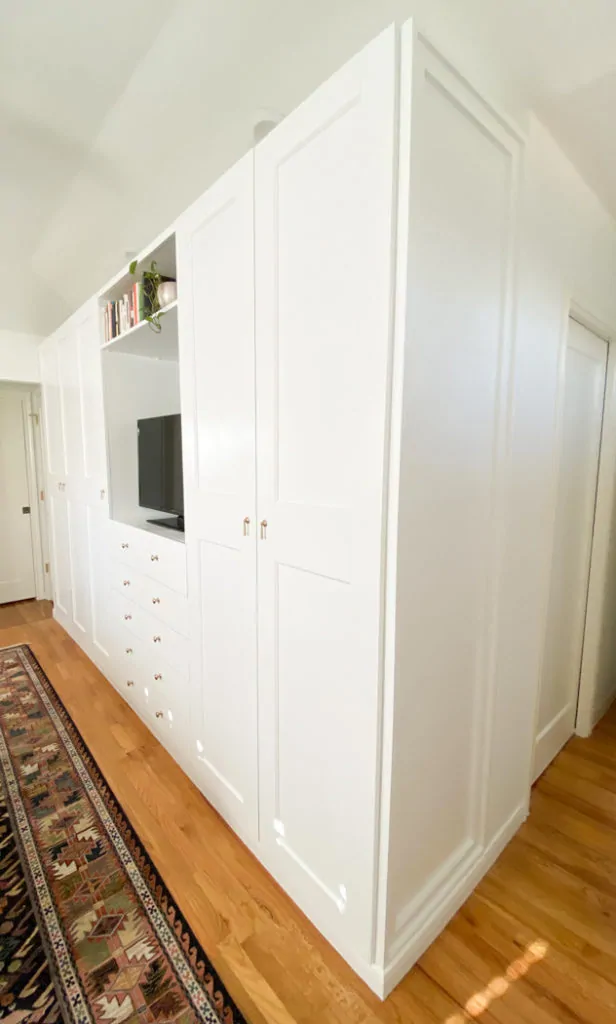
We created this Built In Primary Closet Renovation (IKEA Pax Closet hack) and now we have so much storage and it looks beautiful!
I am so excited to share this project with you! Besides purchasing and renovating our home, which we used a contractor for most of the big renovations, this is BMW’s and my biggest DIY project to date! We had a weird alcove-type space in our primary suite that I just couldn’t figure out what to do with.
Once we found out we were expecting, I knew that we needed to maximize storage in our house… and get BMW things out of the guest room closet. Despite having a primary suite, our home only had one basic closet in the primary bedroom, which was definitely not big enough for all our clothes and shoes. So we decided to install and customize the IKEA Pax closet system and make it look like custom built ins! We are so happy with the results and honestly have more storage than we know what to do with! I am sharing every detail of our step by step project so that you can recreate this look in your home! Hang tight– this is a long post!
This post contains affiliate links. If you purchase a product through these links, I may earn a few pennies. Thanks for keeping this free blog going!
Built In Primary Closet Renovation (IKEA Pax Closet Hack)
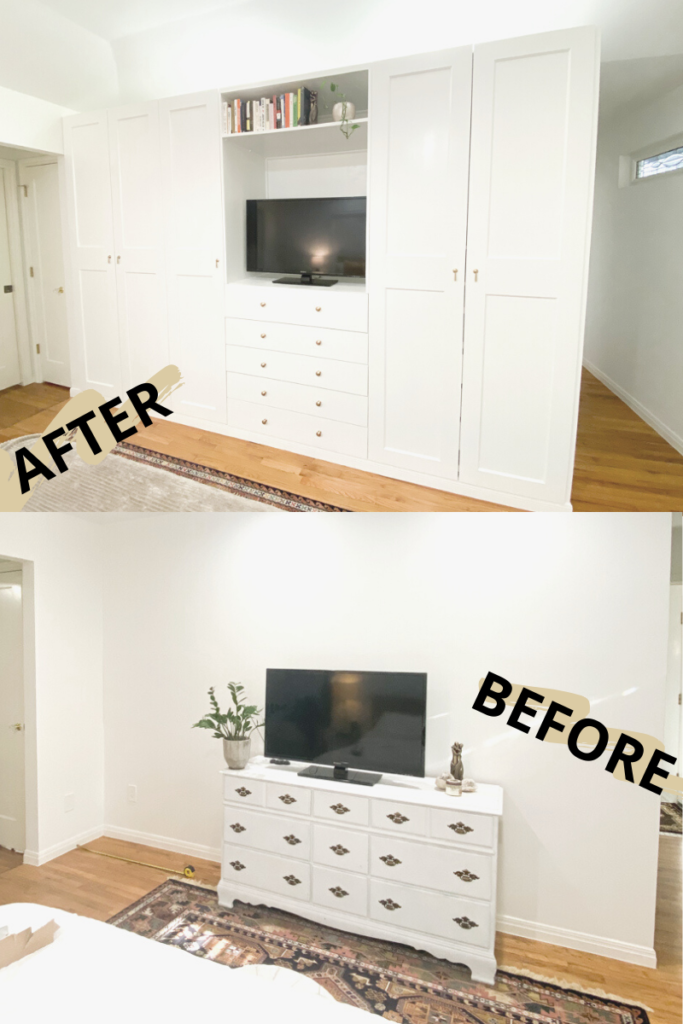
First things first, let’s start with the before and afters of our built in closet renovation!
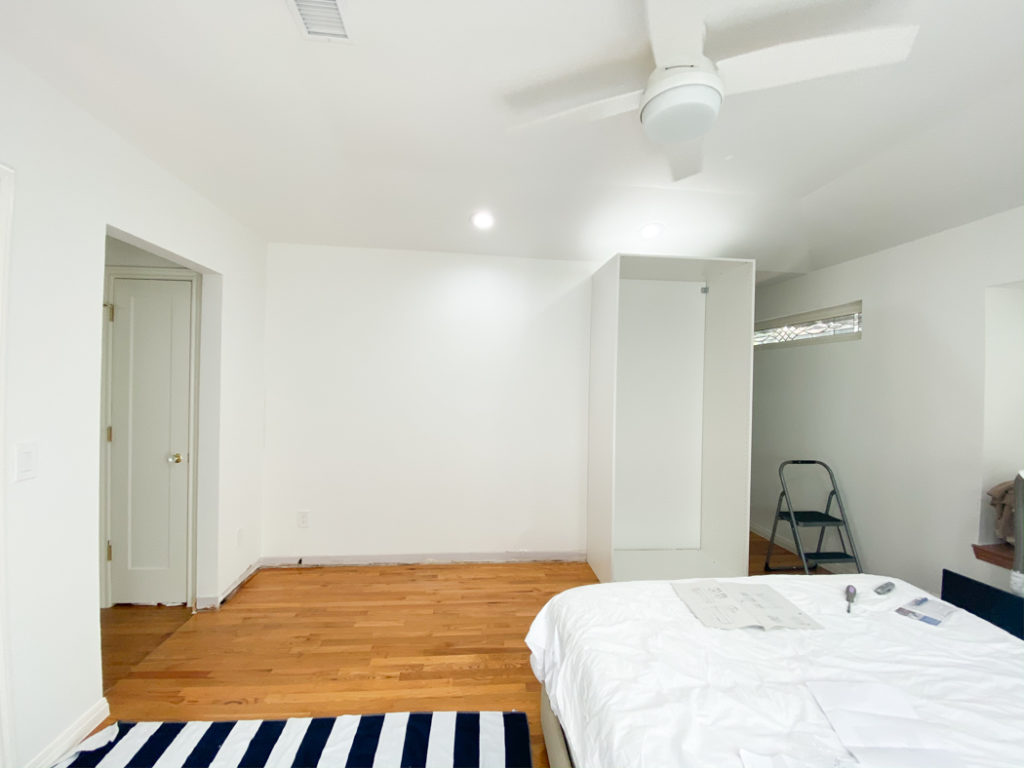
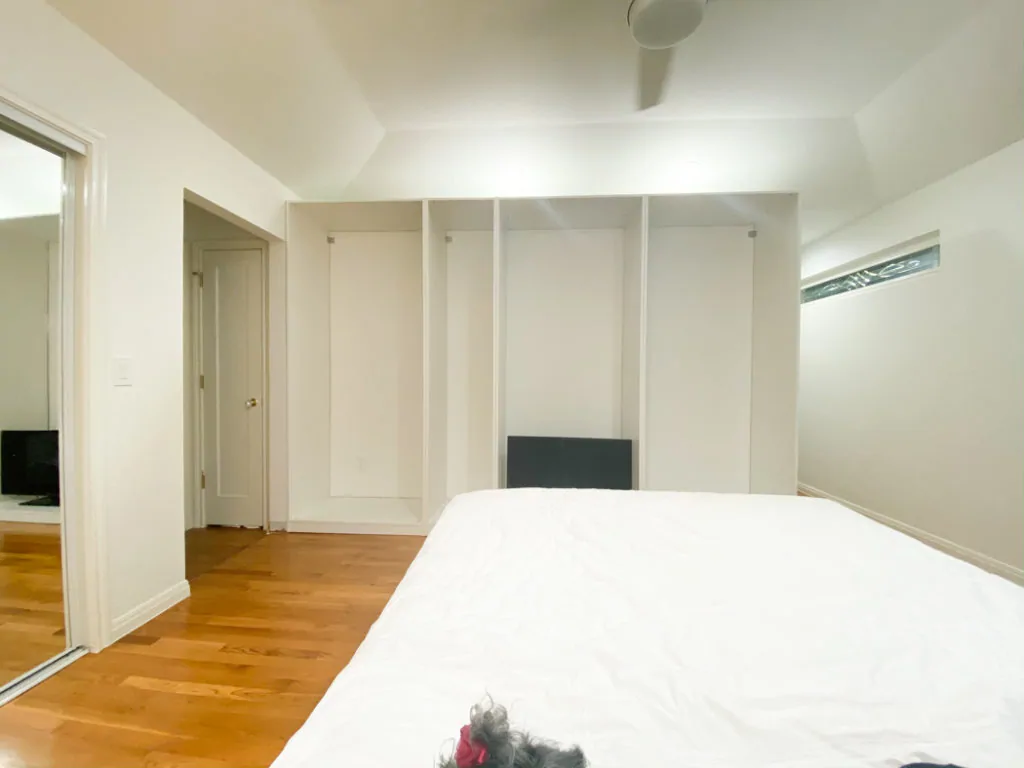
You can see how we had a weird alcove space. It was about 18 inches deep, thus perfectly fitting the IKEA Pax wardrobe! This was much to our advantage because the install would have the built in closet sitting flush with the doorway on the far left. The IKEA Pax system will sit flush with a flat 8ft ceiling, which is a pretty standard ceiling height. Our Primary has lofted ceilings, which we love, but decided not to close off on the top. We just couldn’t find a great solution for that. However if you have flat ceilings but say they are 10 or 12 feet, you can easily build a box with custom trim work or add shelves on top of the Pax closet to close yours to the top of the ceiling. We actually like the way our dimmable can lights bounce of the top of the closets, so it was a win-win!
Watch the Full Video of my Primary Built In Closet Walk Through!
Now that you’ve seen where we ended, let’s go back to the beginning and I’ll walk you through all the steps for installing the IKEA Pax closet system and how to customize it to make it look like a beautiful built in wardrobe!
Built In Primary Closet Renovation (IKEA Pax Closet Hack)
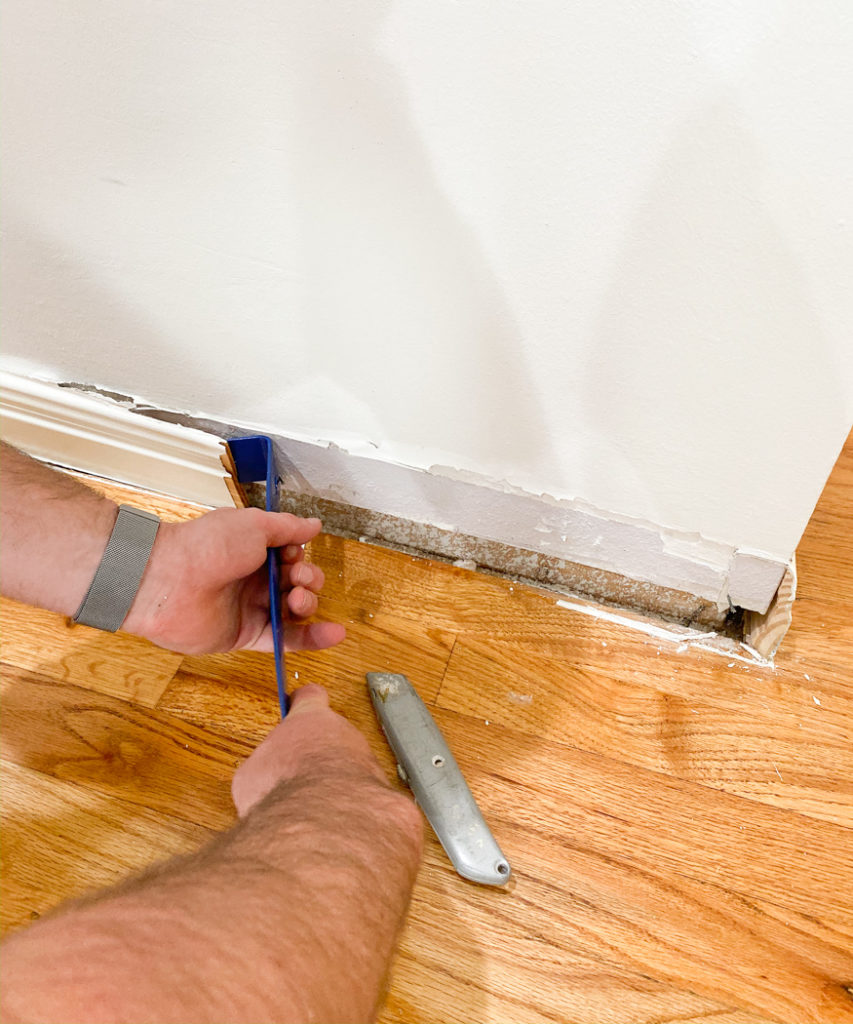
Step 1: Remove trim and anything else that will prevent the cabinets from sitting flush with the wall. This tool came in really handy for us. You will want to make sure they can sit flush, so that you can properly secure the cabinets to the wall ensuring that they don’t tip or fall over. The IKEA Pax comes with a mounting fastener, so this is really easy to do in a later step.
This pic makes me chuckle because I remember when we first moved in the primary had purple textured walls!
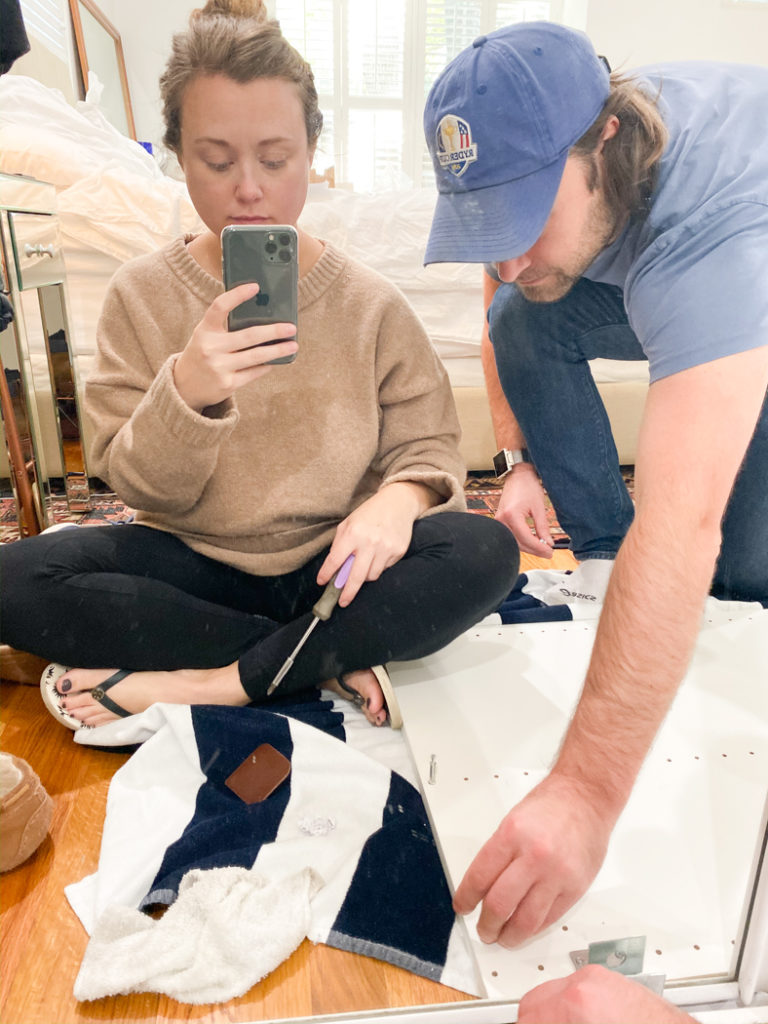
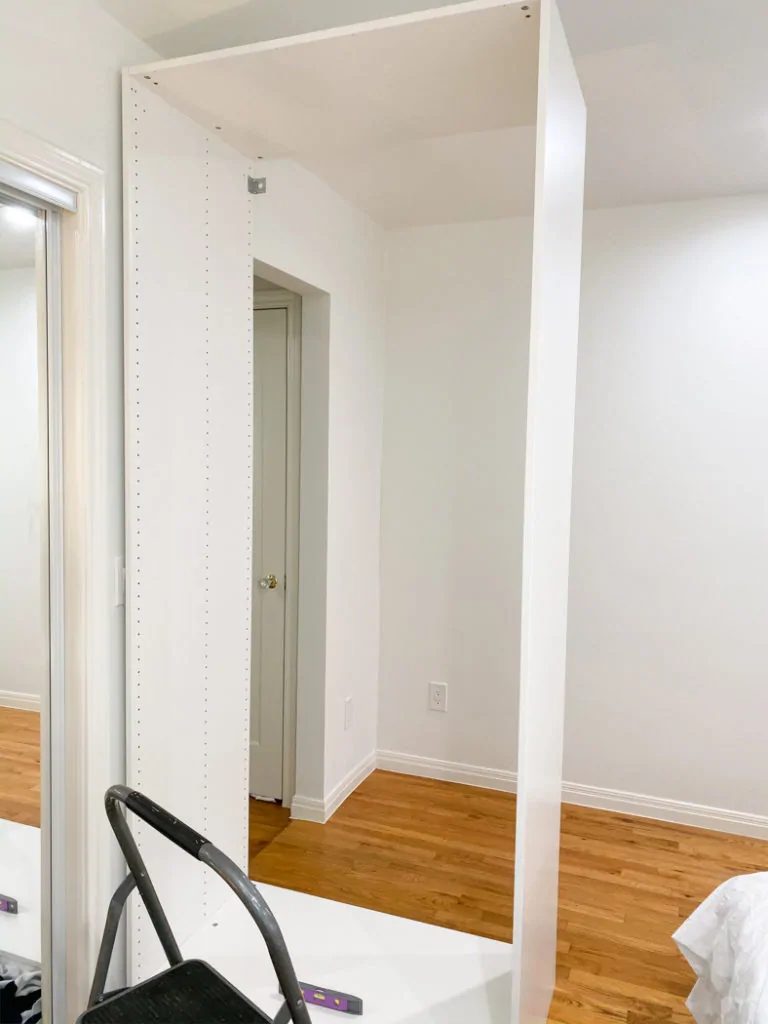
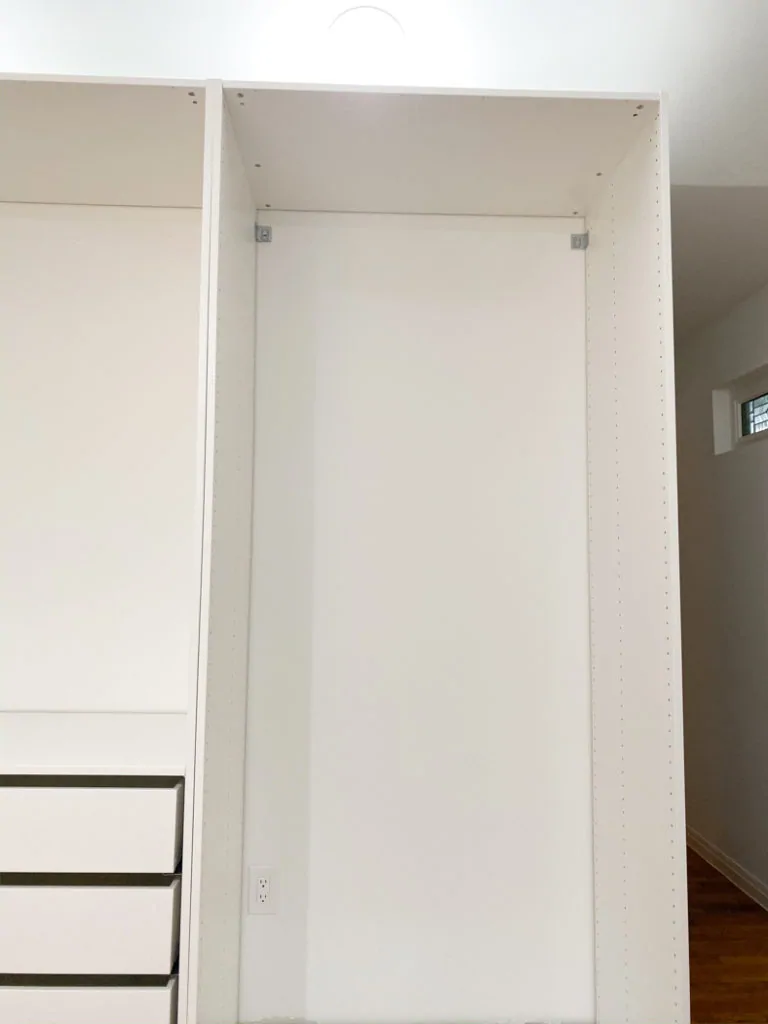
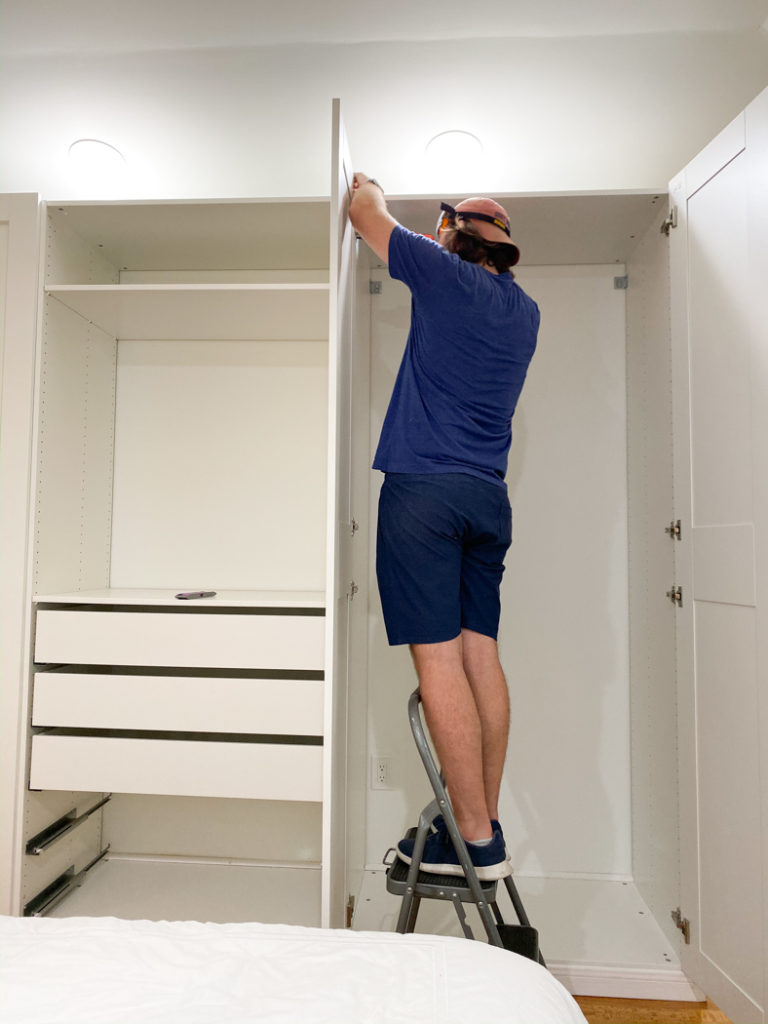
Step 2: Build the outer frame of the closets. This was not particularly difficult but I think would be hard to do with one person. We built these face down on the floor, then lifted them up and slid them into position. Do not step inside the cabinet, the “floor” or bottom of the cabinet isn’t designed to hold that kind of weight.
After we knocked out the first one, we got the hang of things and it started to flow. We made sure everything fit along the wall before securing anything and make holes in the walls. You can spy Mimi at the bottom of the photo, she really worked hard haha!
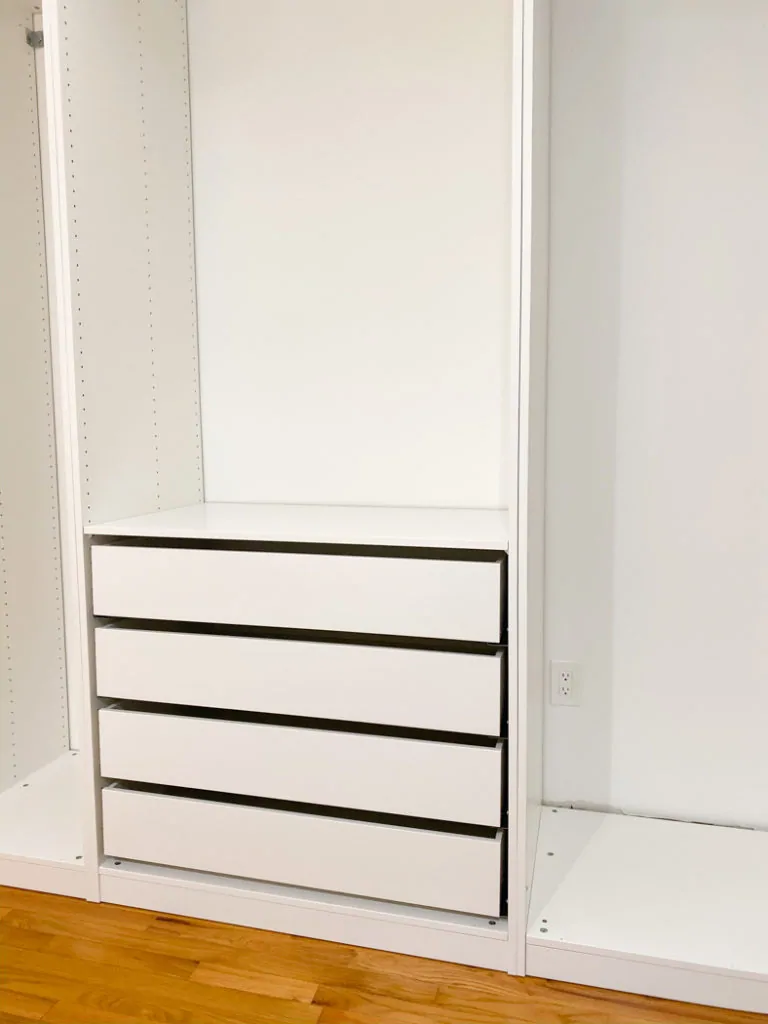
Step 3: Once everything was snug in place, we added the drawers in the center console, which we will customize later. We also secured the closet frames to the wall. There are little feet on the bottom of the closets that are adjustable, so you can use a level to make sure everything is flat.
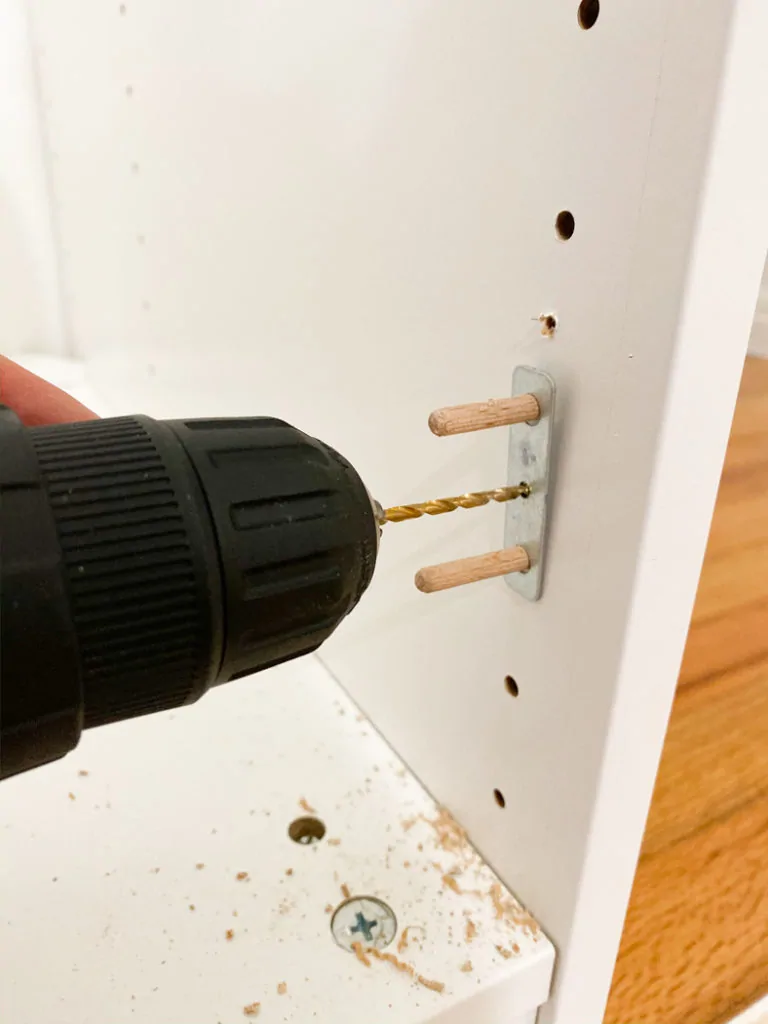
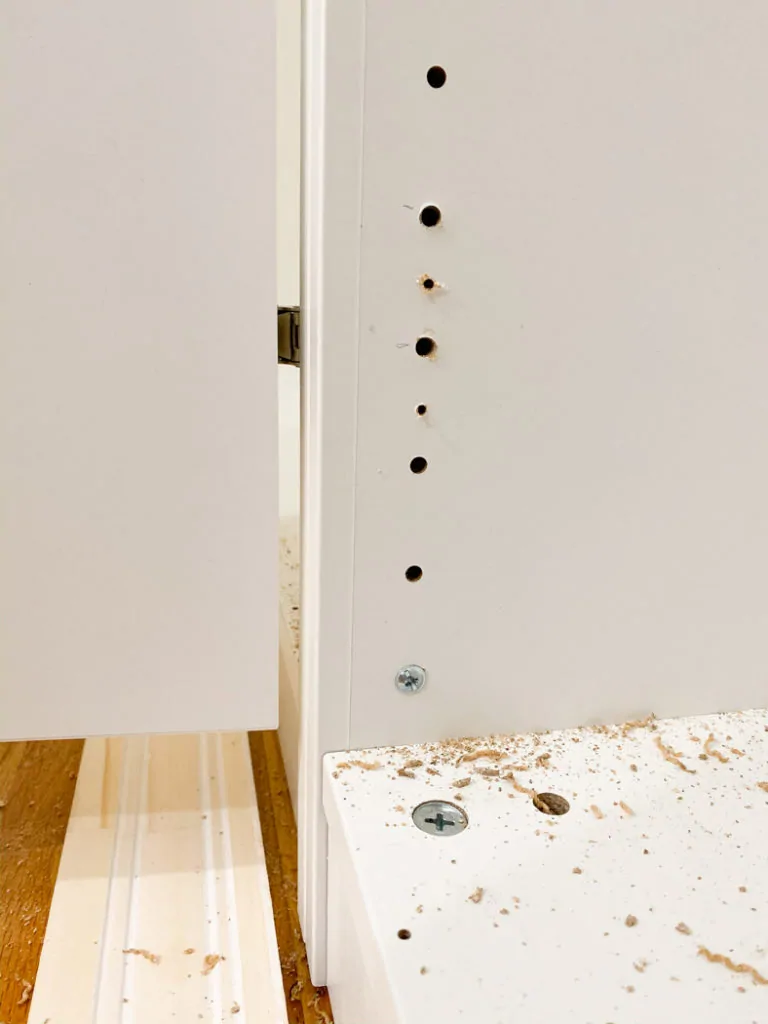
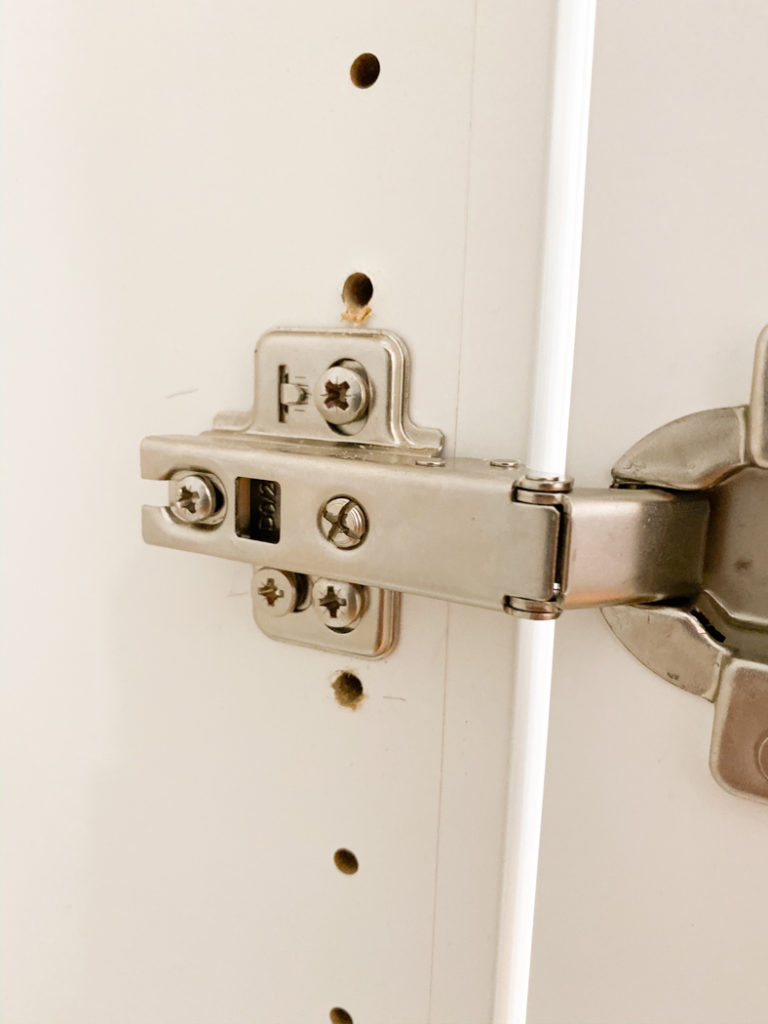
Step 4: We needed to adjust the door height since we were using trim along the bottom to make the whole thing look built in. We temporarily secured the trim to measure. Unfortunately, the holes in the IKEA Pax weren’t exactly where we needed them to be. So we made a template using a flat piece of metal so that the holes were exactly the correct size on each door. BMW drilled a hole in the center of the metal piece and then used it to drill additional holes in each of the four hinge attachments for each door. PS- this little metal piece is actually an IKEA piece used to install some of the drawers but it totally worked for this hack!
Just be sure to note that if you do this, it can affect where you can install drawers and pull outs later. We were still able to get lots of drawers in ours but you’ll want to do some extra measuring just to be sure.
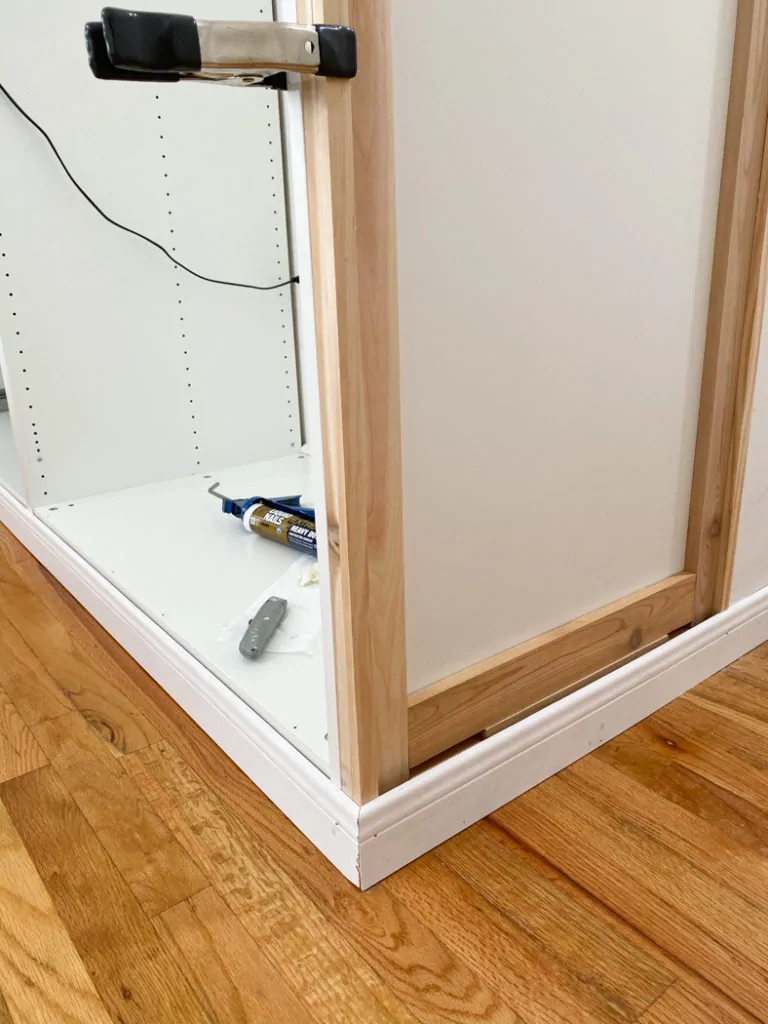
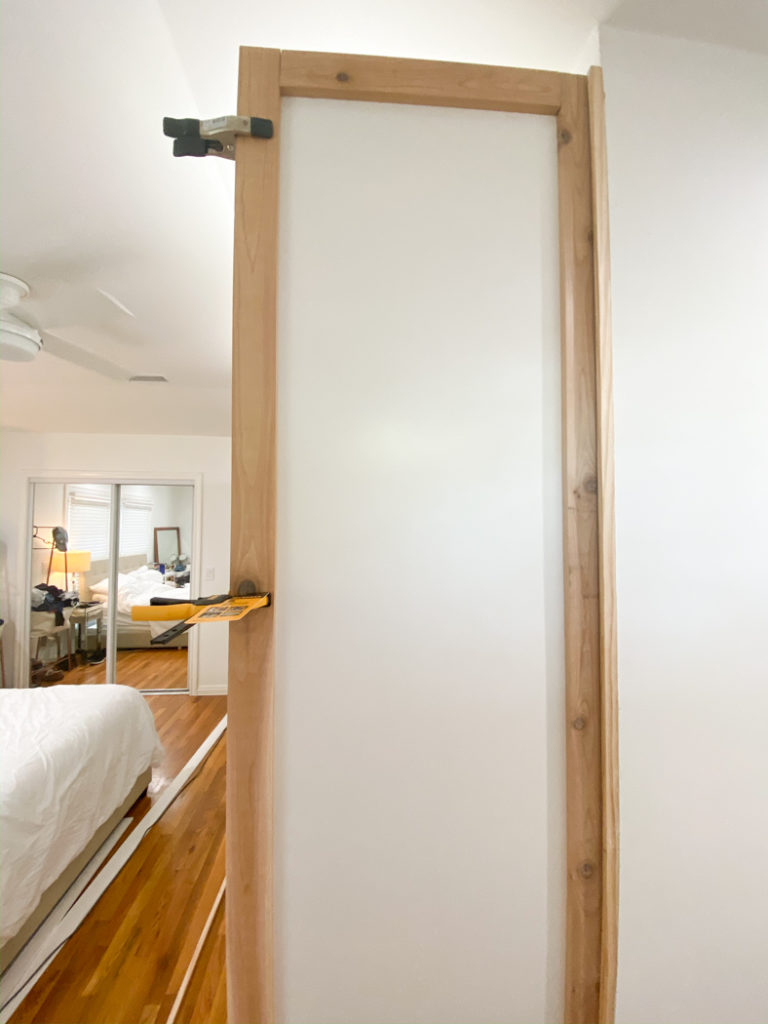
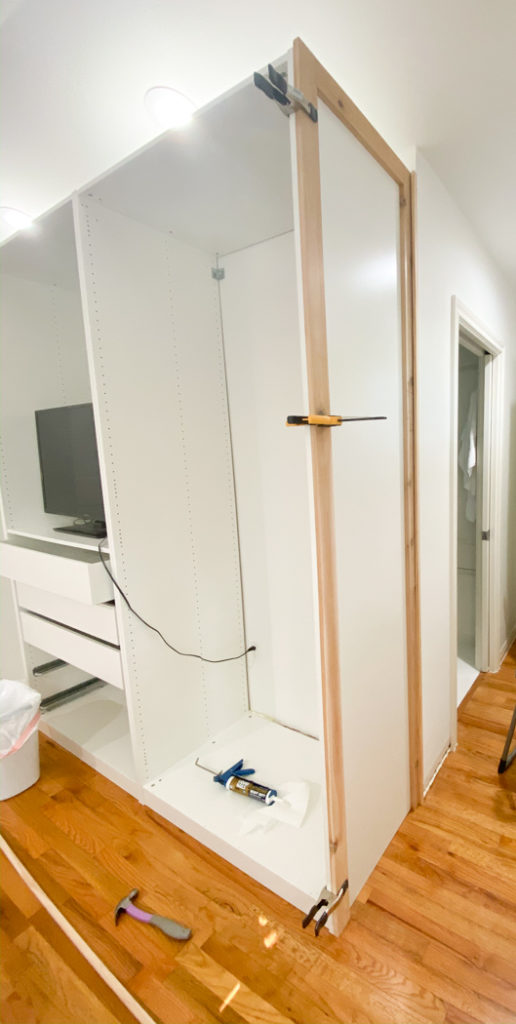
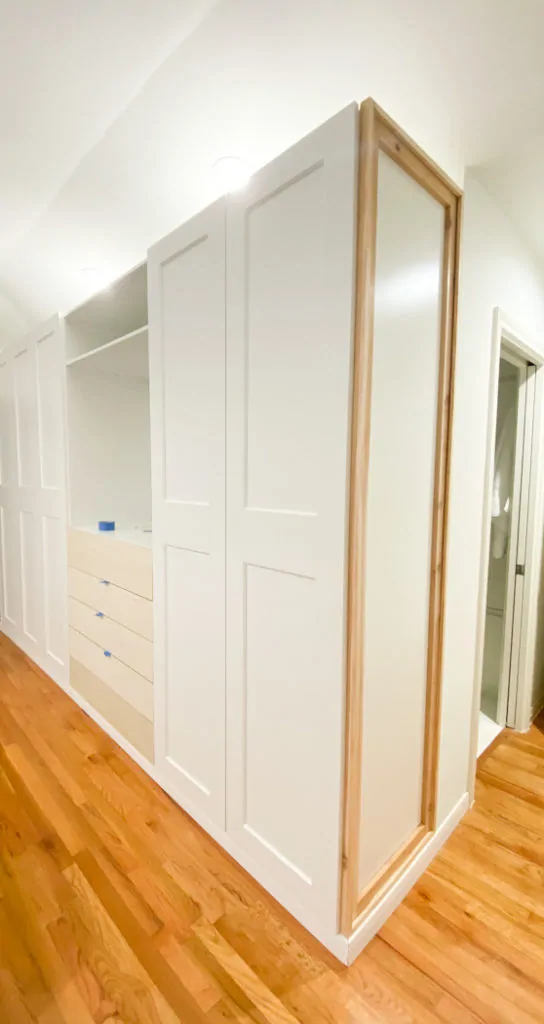
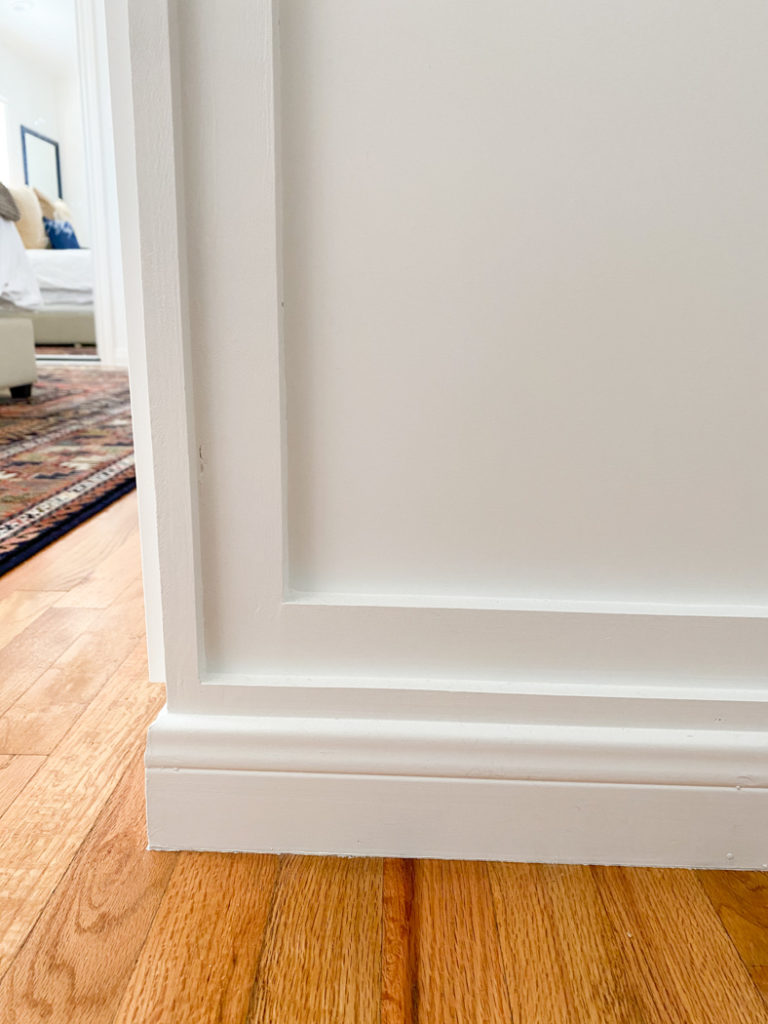
Step 5: Next we added the custom trim! This is really where things started to take shape. We used trim from Home Depot, then secured it will wood glue and nails and clamps
to hold everything while nailing and drying. We held up everything first to make sure it all fit and was flush, etc. before we started gluing and nailing things.
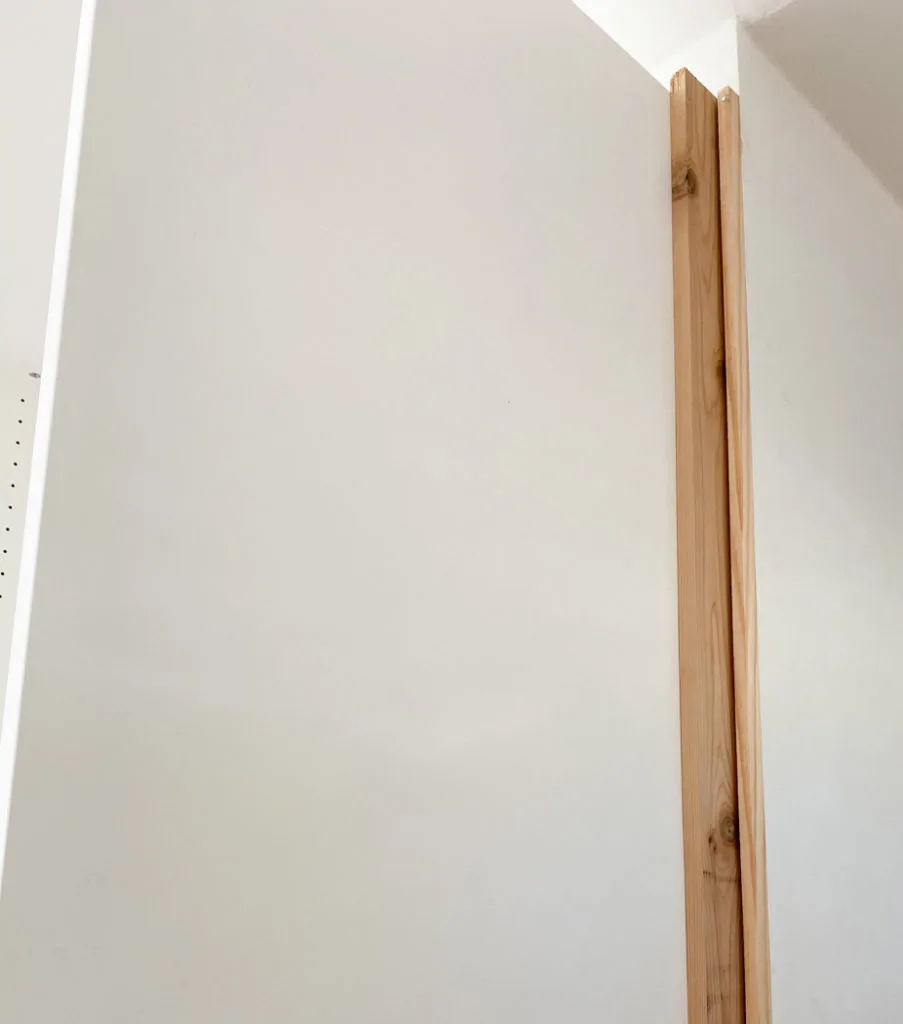
There was some space between two of the pieces of trim near the wall. We were able to fill that gap with caulk, which made a HUGE difference. Caulk will become your best friend in making this project have a super smooth finish. Pro-tip: make sure you buy caulk that is made to be painted, not the caulk for the bathroom or finishes that are meant for water protection. Make sure you caulk everything BEFORE you paint. This way it will all look seamless and flow together.
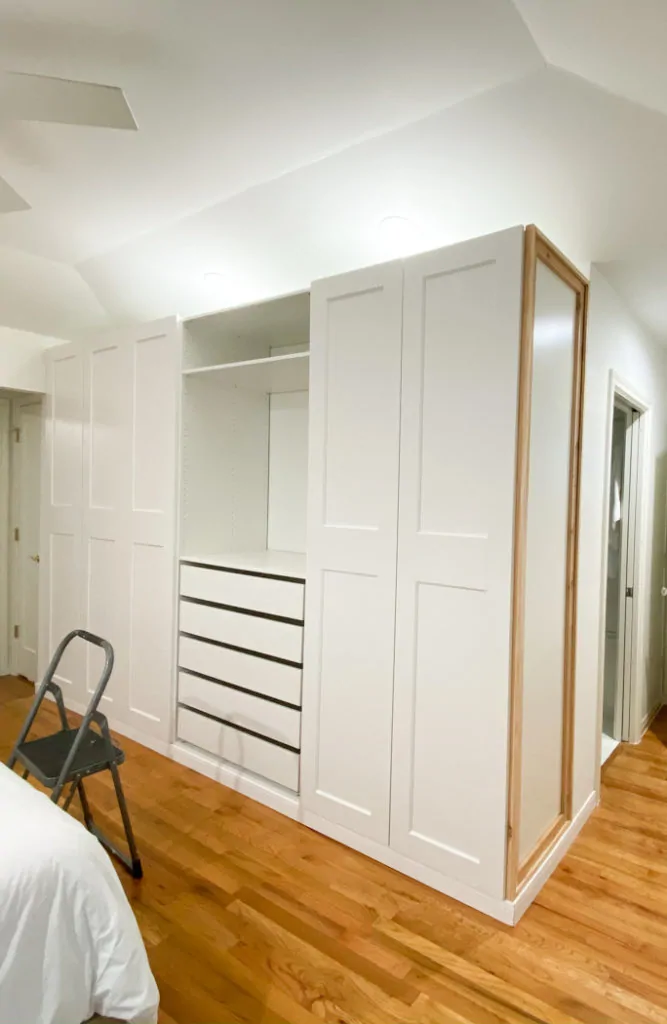
We made a sorta of step down pattern around the edge of our built in. I am so happy with the way it turned out! You can get really fancy and detailed with trim work, so it’s totally up to your preference! We went with simple, clean lines since that is what is most common throughout the rest of our house.
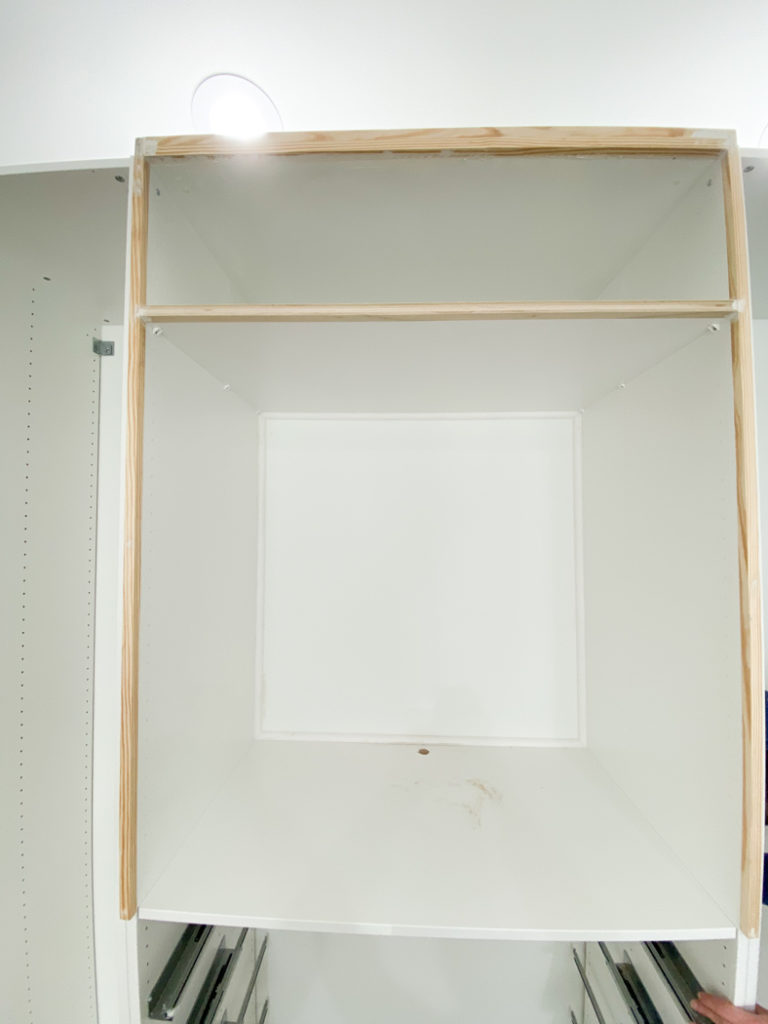
Step 6: We added a little extra additional trim around the center console where there were not doors. We used these 3/4 x 3/4 pieces of wood trim from Home Depot because they are the exact same depth as the IKEA doors. These fit perfectly and gave the center that extra thickness so that it is flush with the doors when they are closed. This really helps things look finished and custom.
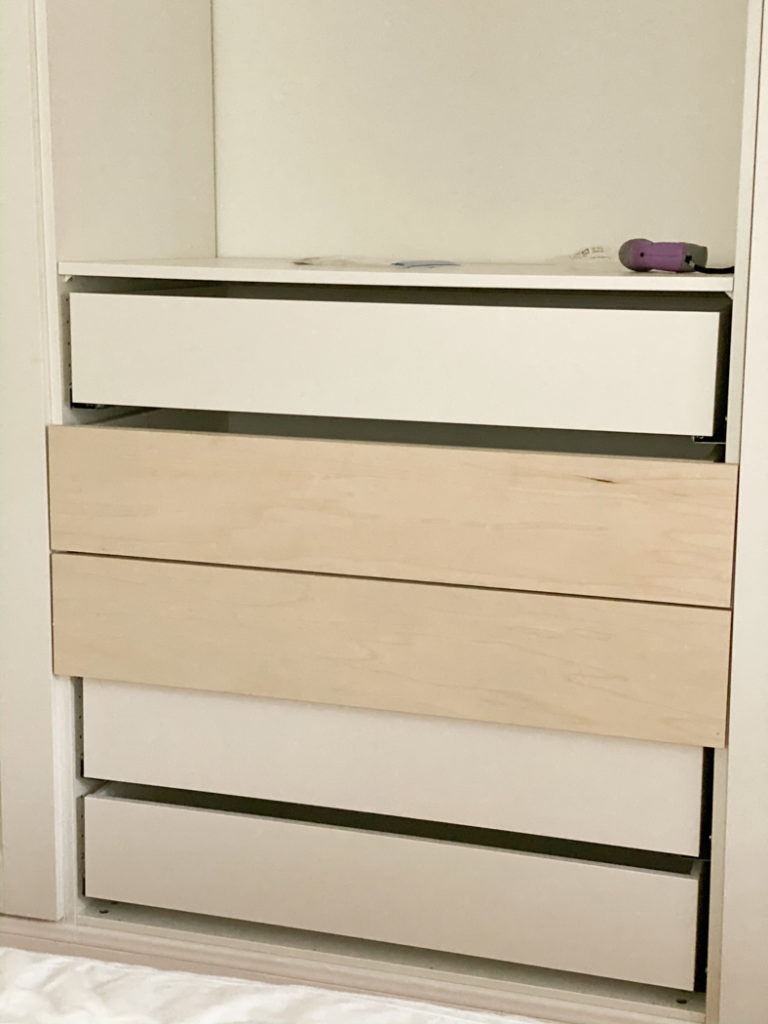
Step 7: We added the custom woodwork to the drawers that would not be hidden behind doors. We snagged this idea from this great blog post! We were able to easily order the custom wood pieces online from Home Depot. The dimensions of the custom cut drawer fronts we used are:
Middle Boards (3): 7 3/8 x 39 1/8 in
Bottom Board: 7 7/8 x 39 1/8 in
Top Board: 9 1/8 x 39 1/8 in
Then we secured them to the drawers using 8 x 1-1/4 in flat head phillips screws. By using these screws from the inside of the drawers, we were able to securely fasten the wood to the drawers without drilling through the face, so that the drawers would have a super smooth finish.
Make sure you do extra measuring before ordering your wood for the drawers. Take into account the trim along the bottom and top. Our top drawer wound up having a larger face than the other drawers. This will differ depending on what kind of trim you use.
Be sure not to use the screws right where you will want your knobs to go. That will impede you from using the knobs on the outside of the drawer later on. Just make a mental note to screw from the inside a few inches away from where you want the knobs on the outside.
We then made sure the drawers were level and even spaced. Make any adjustments needed at this point to make sure everything is lining up perfectly.
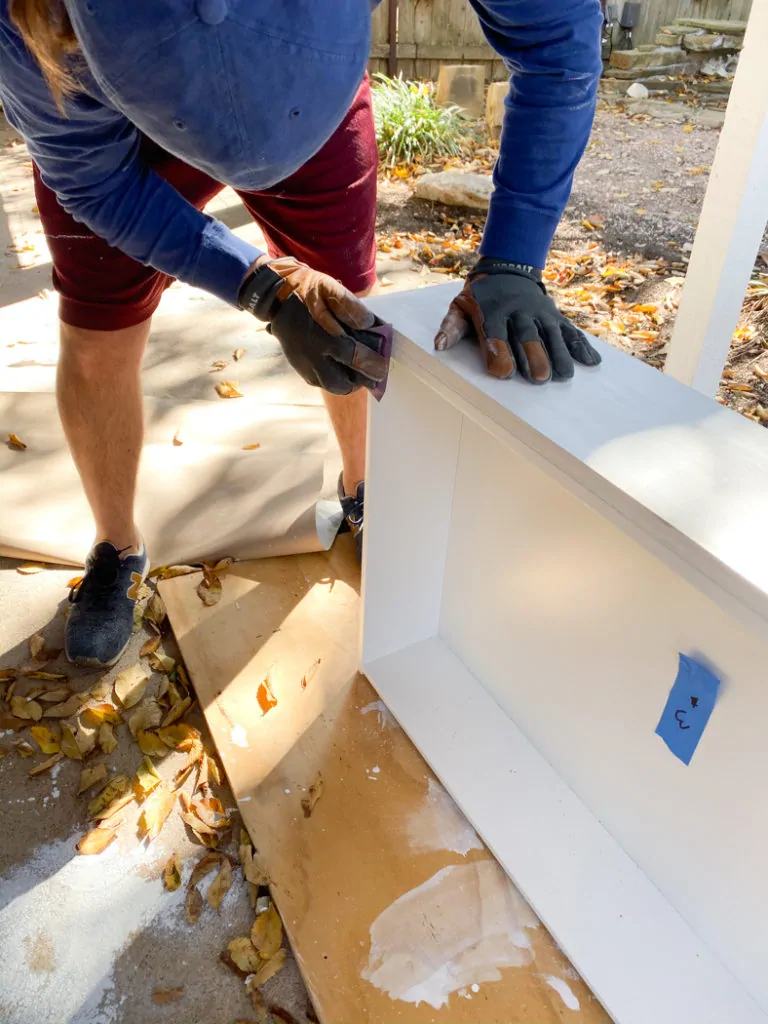
Step 8: Prime, prime, sand, paint, paint. Here is the fun part. Well, kinda fun. We took all the doors and drawers off and primed and painted those in our garage. It made things a lot easier rather than having everything swinging this way and that, it would be easy to bump things before they dried and harder to get an even finish.
Best Primer to Use When Painting IKEA Furniture
For IKEA products, you will need a really good primer since they use particle board. This is the primer we used. It works great on the wood pieces too! The tip for getting a super smooth finish, is prime, let it dry, then prime again and let dry. Then using a fine sand paper
, sand to finish. Ours was SO smooth. Then dust everything off really well and use a tack cloth
.
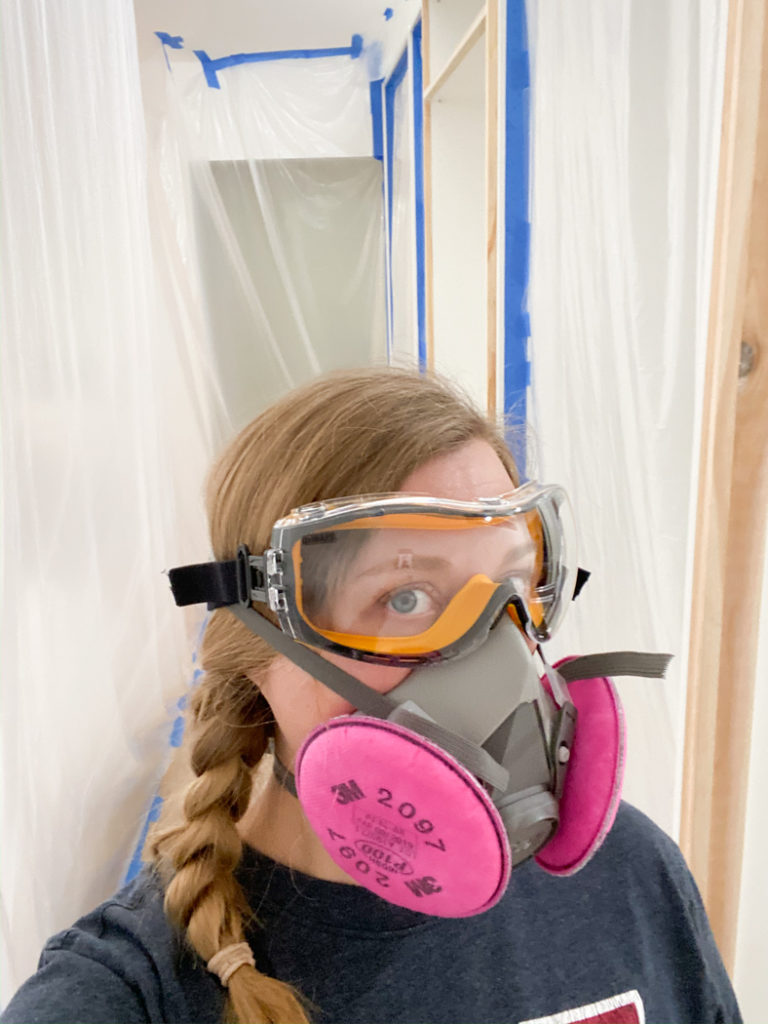
Now it’s time to paint the doors and drawers. We used this paint sprayer and it was so worth the money. It gave a smooth finish. (Be sure to use a respirator
and wear googles
anytime you are spray painting. Those little particles hang in the air and you don’t want that stuff in your lungs.) The trick to a smooth paint finish is to make sure you clean the sprayer often while using it. This will prevent any splatter. Try to paint everything and give it at least 7 days to dry and cure.
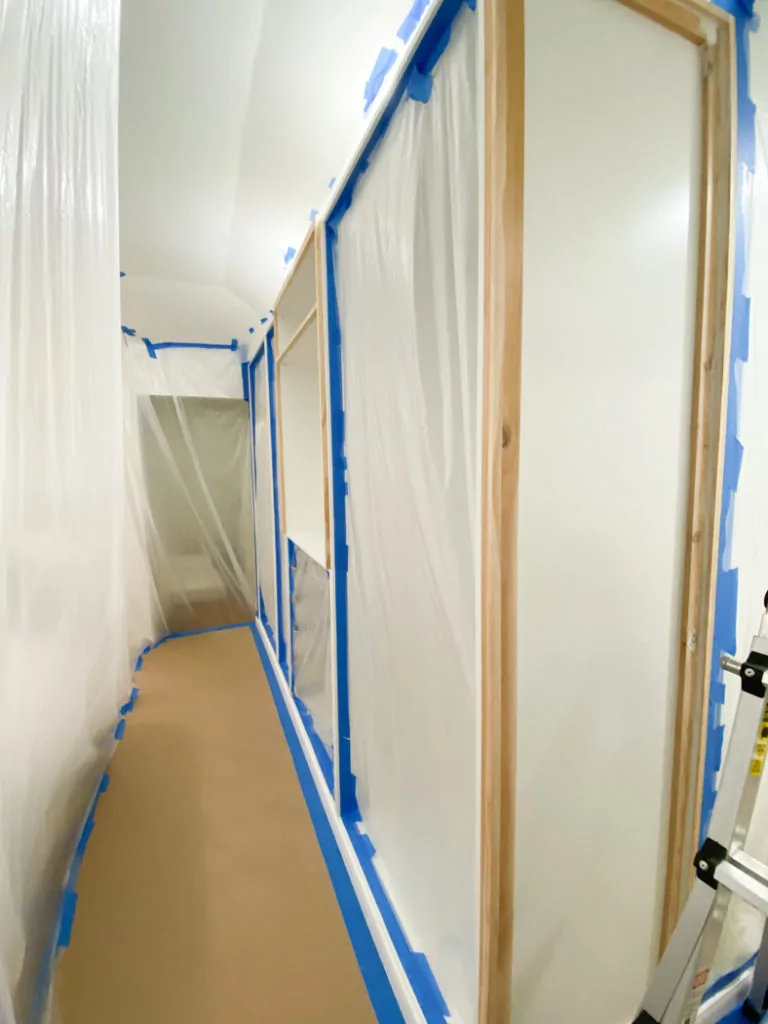
We taped off everything on the built in pieces in our room and then used plastic sheets to make sure no overspray got into our room. Yes, it looks like a scene from Dexter lol. You will need to prime and sand everything in here as well before painting. Be sure to dust and tack cloth everything to ensure a smooth paint finish.
Drying Time vs. Curing Time
Drying is different than curing. A good example is you when you get your nails painted and they feel dry to the touch so you leave the salon… only to dig something out of your pocket an hour later and the paint gets all messed up. But two days later you can dig whatever out of your pocket and your nail polish stays put. You see what I mean? There’s a difference between drying time and curing time. For walls, which typically don’t see a lot of action, over night drying will work for most cases. But on high traffic pieces like say doors or drawers or tables, where you will often be pulling on things or setting things on them, you will want to give these as much time as possible to cure. Some furniture professionals recommend up to 30 days for tables! You’ll never find this information on a paint can because if people saw that, then they’d never buy paint. We found this information while searching for tips about how to refinish furniture.
Step 9: Reinstall the drawers and doors once you have let them dry and cure. We drilled a hole on the bottom of the center console and then another through the adjoining wall between the sides of the closet so that we could fish the power cord to the tv through it and pull it into the wall outlet before reinstalling the drawers.
Now you can take a step back and admire all the beautifully painted trim work and closet built ins!
PS- This is the drill that BMW uses and we use it all the time around the house. It comes in especially handy when you’re screwing in what seems like a million pieces or drilling holes.
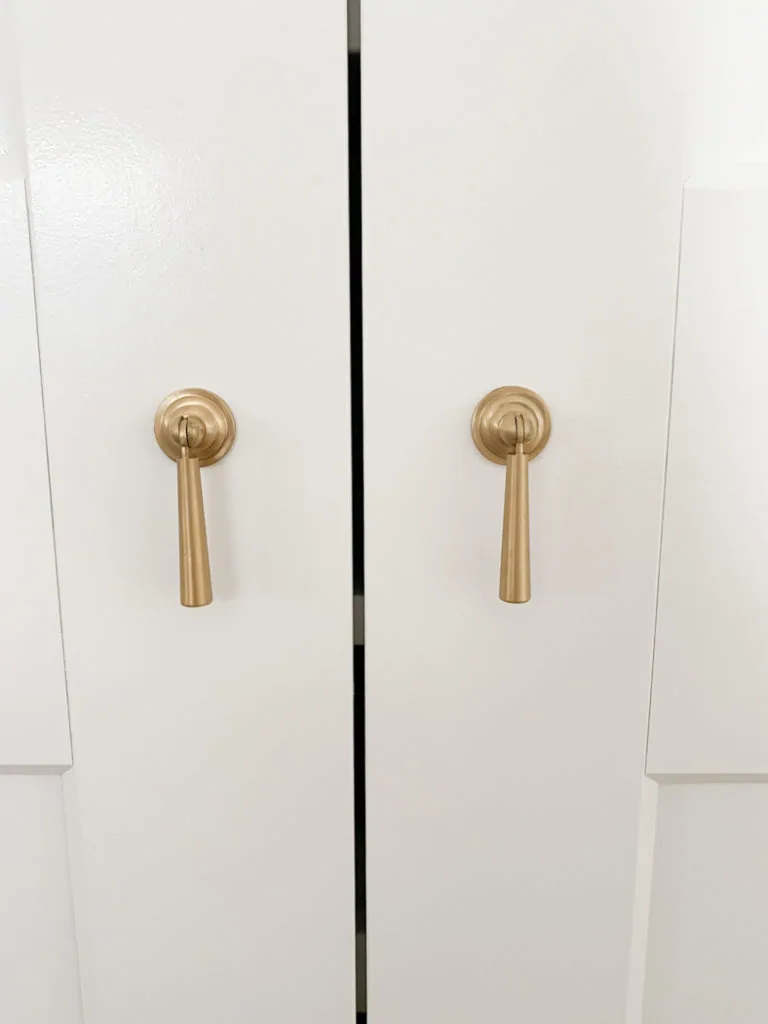
Step 10: Install the knobs and pulls on the doors and drawers. You can use whatever you like but I loved the look of these modern brass knocker pulls and these matching knobs. I even purchased extras and installed them on our night stands so that everything in our room really flowed together! I am so happy with the quality of these pieces, it’s always a risk when purchasing on Etsy, but these have a great heavy feel to them, which I love.
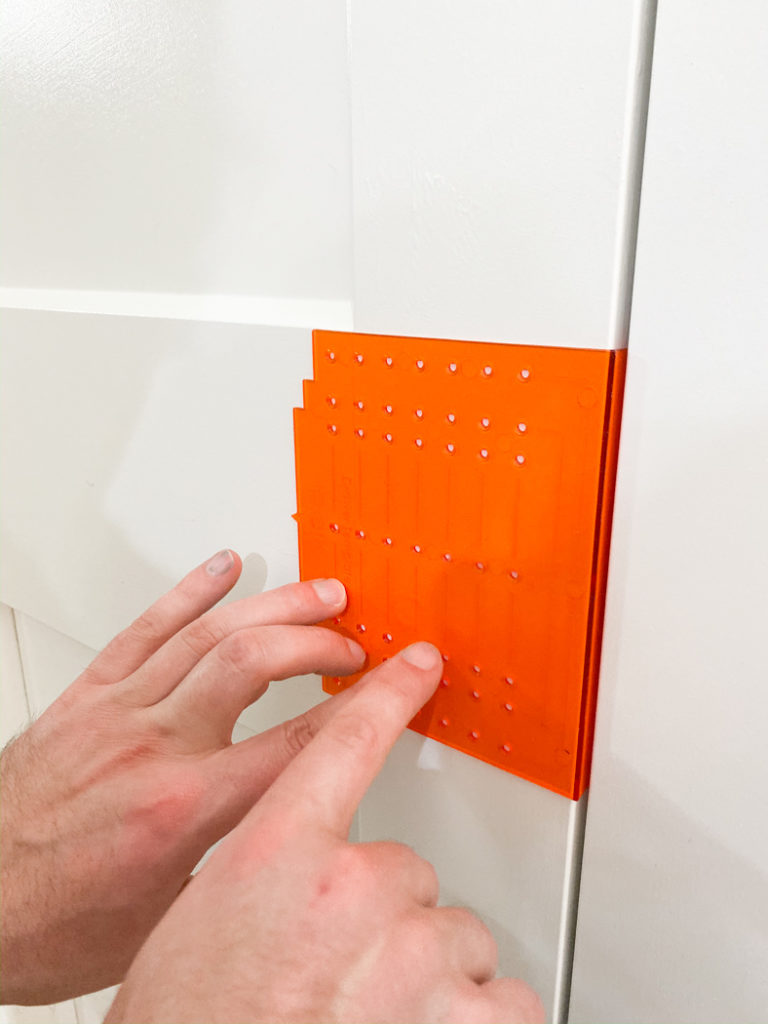
We used this measuring tool to make sure everything lined up perfectly before drilling any holes. Always measure twice and cut once! Or in our experience, measure 4 times, then fret about, then measure again then finally drill the hole, lol!
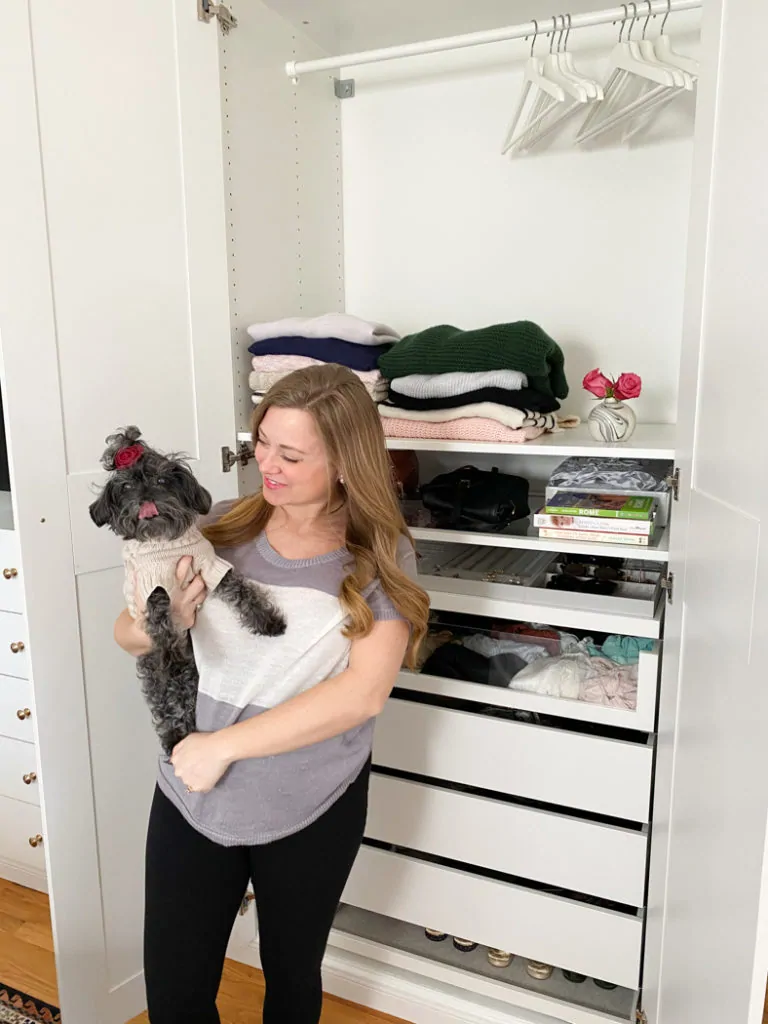
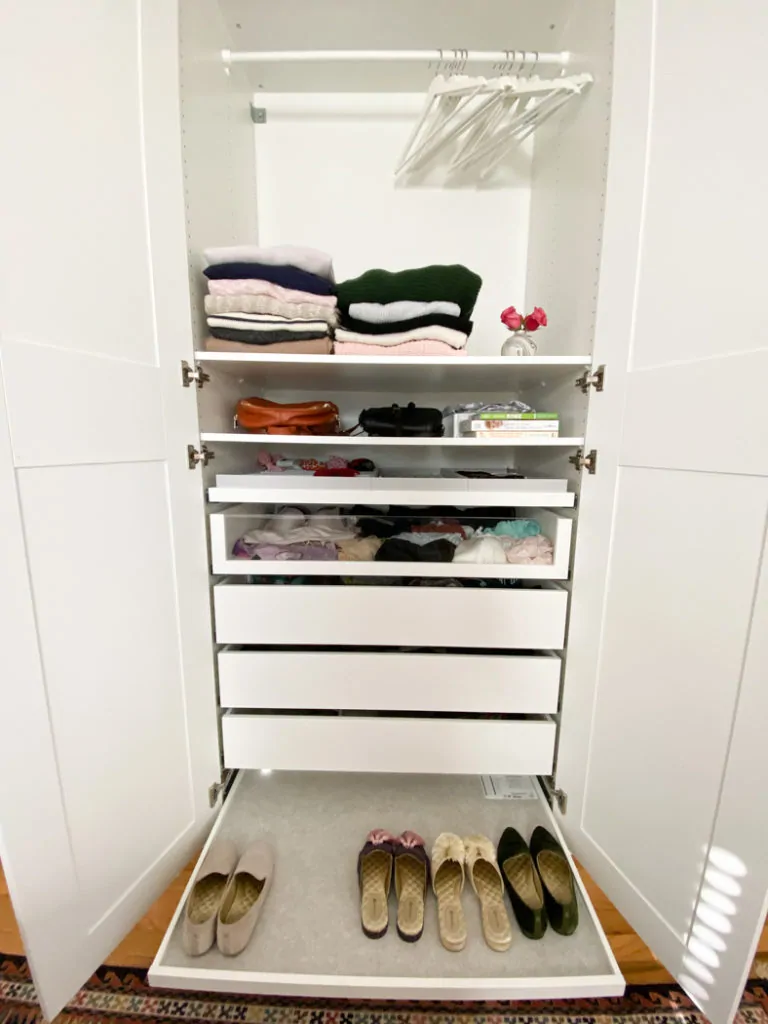
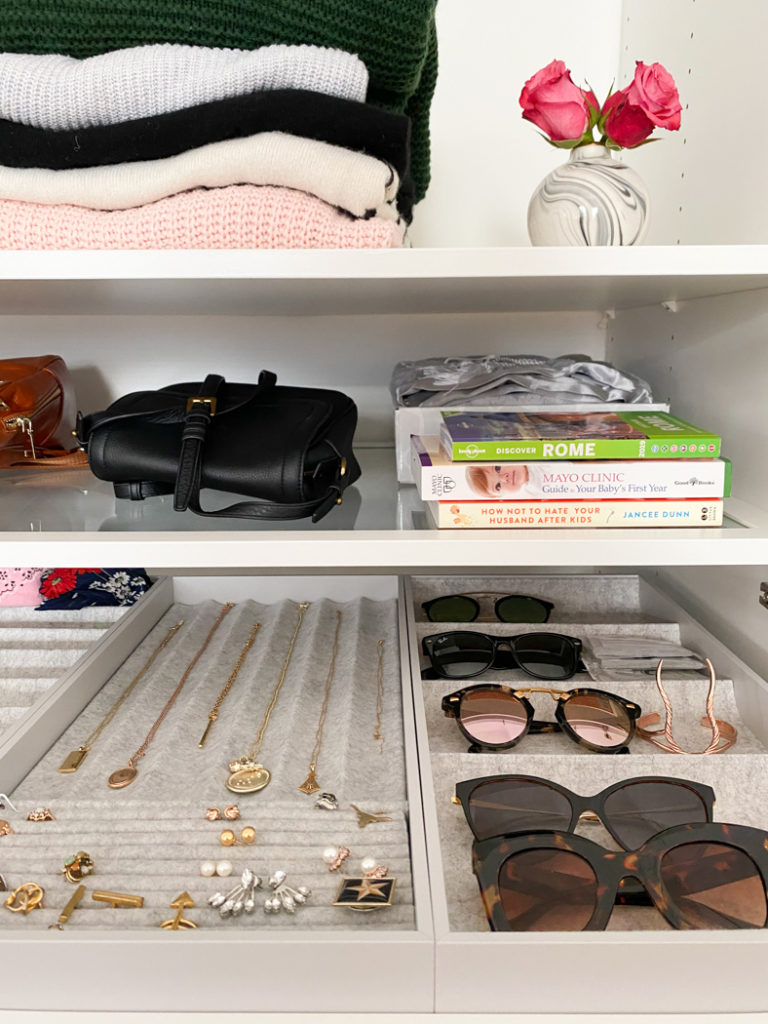
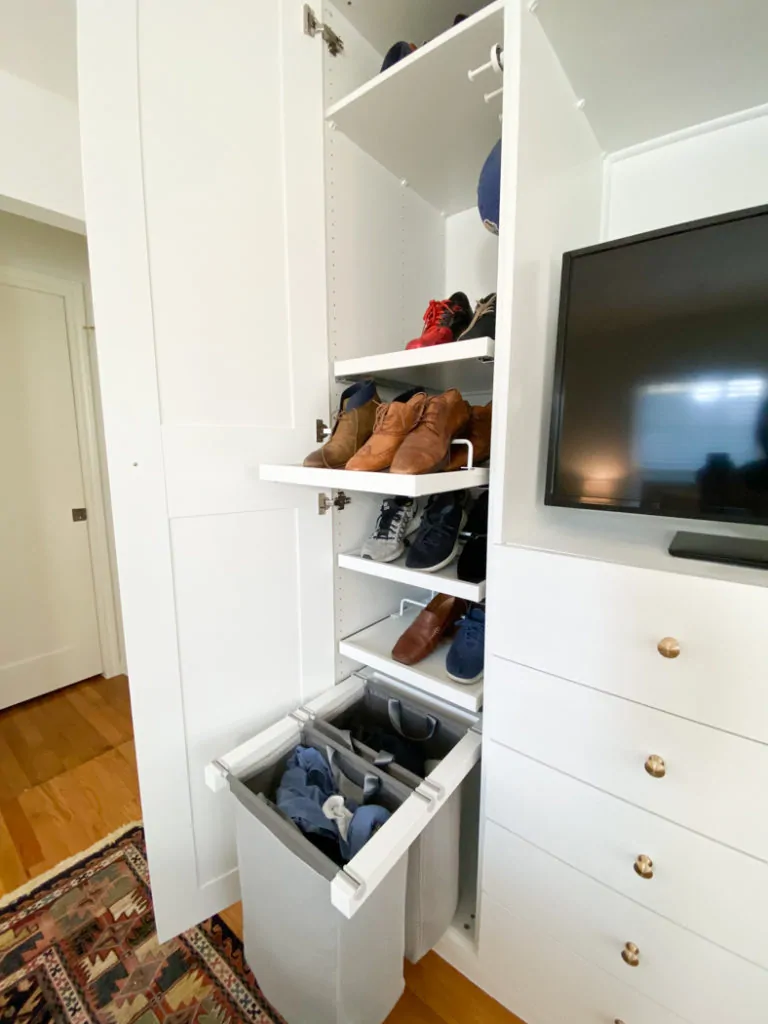
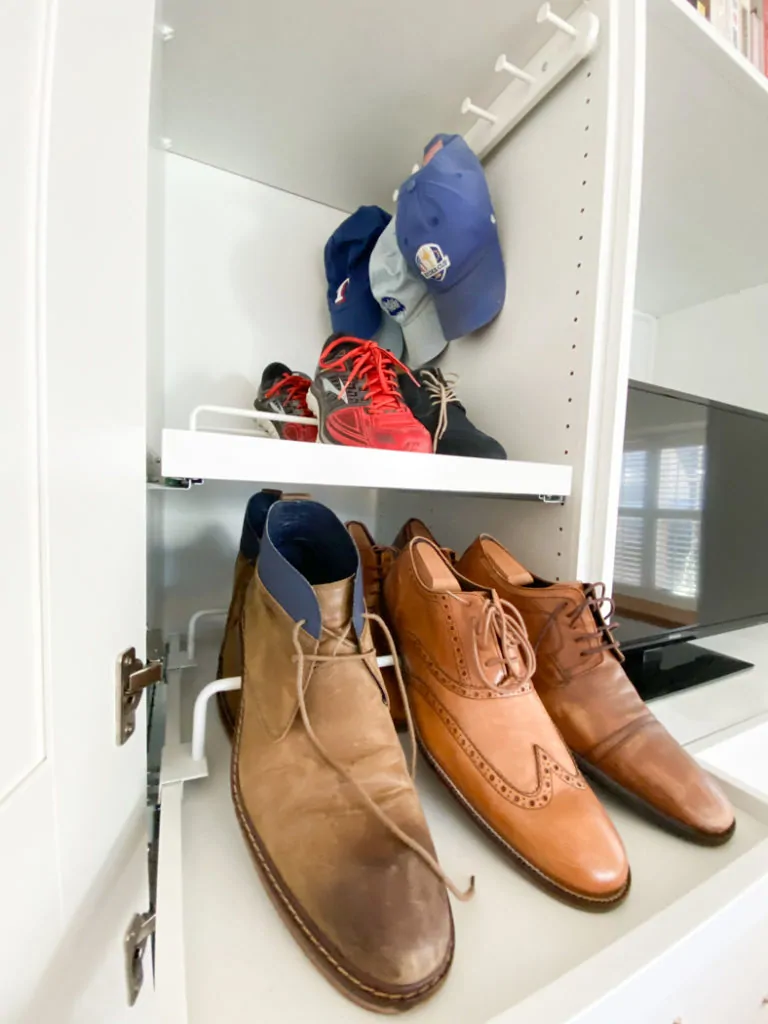
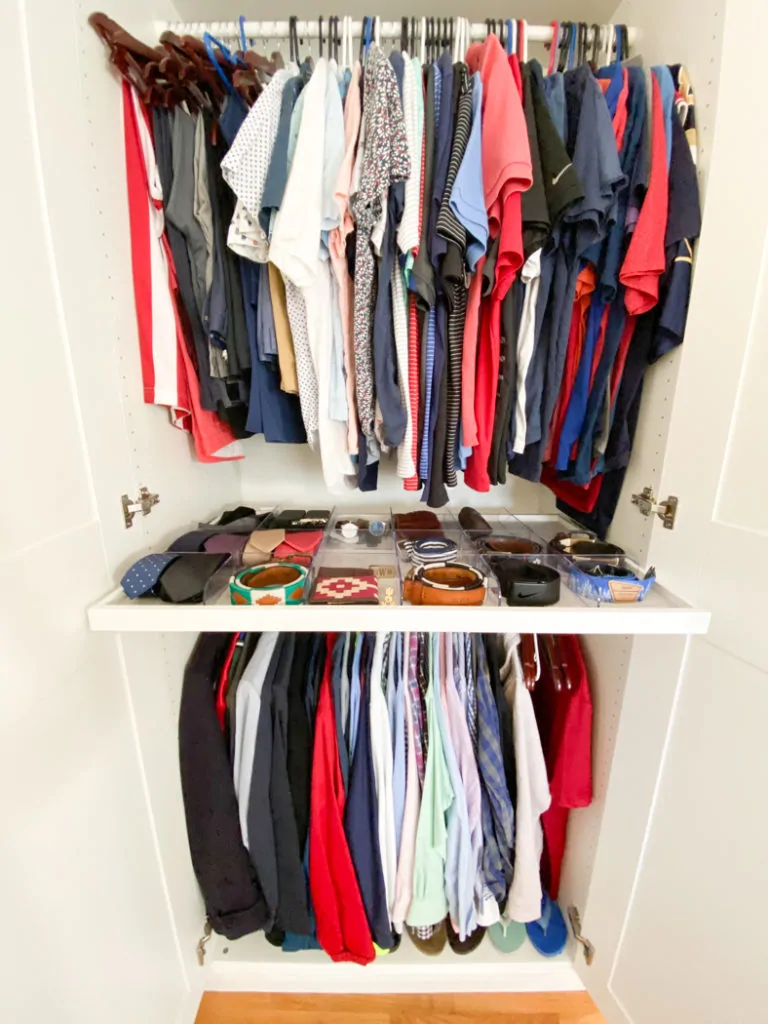
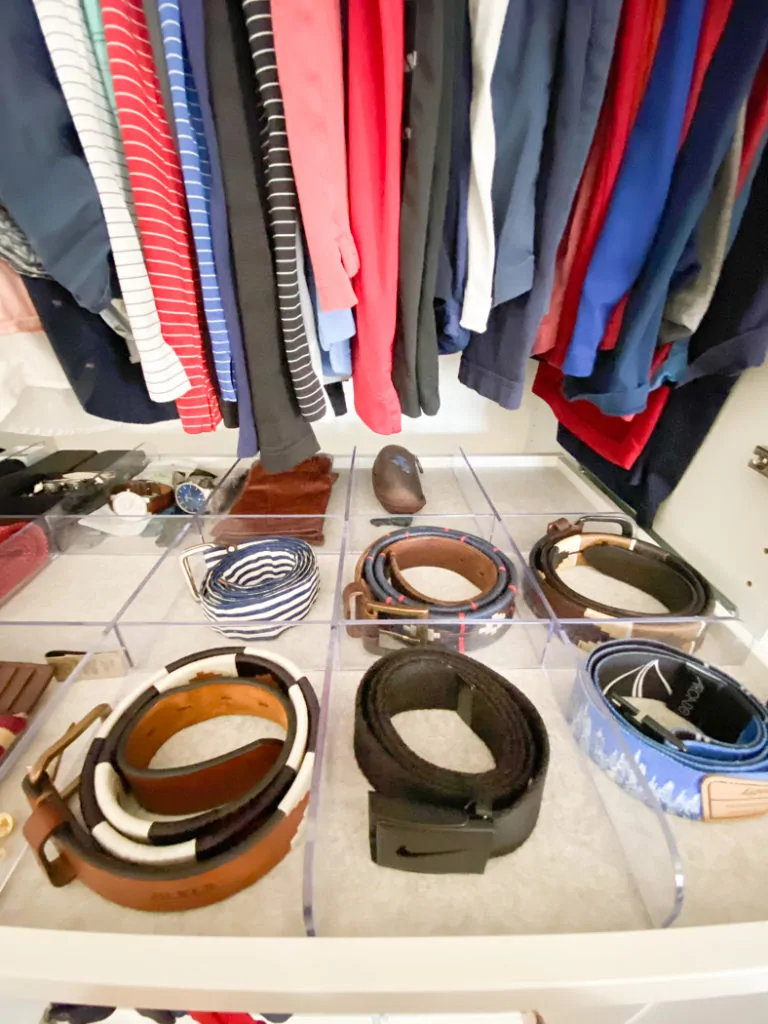
Step 11: You’ve made it! The last step! Ok now is actually the fun part! Move in day, haha! We used all IKEA inserts here. It just made our lives easier and everything fits perfectly together. I absolutely love my glass shelf and jewelry pull out. BMW loves that he can see all his belts and the laundry pull out is clutch.
Built In Primary Closet Renovation (IKEA Pax Closet Hack)
We could not be happier with the way this turned out! Yes, it was a lot of work, but it was so worth it! We both now see why custom closets cost so much. However, we are so happy with the way all our customizations came together and it was worth all the weekend hours we put in.
Have you ever done a built in project before? What comments or questions do you have for me? Chat with me in the comments!
All Of The Ikea Pax Closet System Links
When looking at our set up from left to right, we used a 39′ inch Pax wardrobe with two doors, then a 19′ inch Pax wardrobe for the shoes, & laundry, then two more 39′ inch Pax wardrobes one without doors for the TV and drawers portion then a second with doors for the shelves, drawers and hanging clothes. Hope this helps!
- Pax Wardrobe Frame
- Doors with Hinges
- Komplement Drawers
- Komplement Clothes Rail
- Komplement Glass Front Drawer
- Komplement Pull Out Tray with Divider
- Komplement Pull Out Tray with Insert
- Komplement Glass Shelf
- Komplement Multi Use Hangar
- Clothes Hangers
Unfortunately, at the time I am writing this, IKEA is no longer carrying the laundry hamper and shoe inserts we used. The show insert was a Komplement pull out tray with a metal show holder but IKEA does now offer this shoe tray instead.
Hi Natalie, I just loved what you did with your PAX wardrobe and it was exactly what I was looking for so thank you for sharing all the details. It looks beautiful. I want to put my TV inside as well but the width is 38″, what is the interior width of your PAX wardrobe. I know on the Ikea website the total width is 39 3/8 so I don’t know if my TV would fit, just curious if you knew or you could even measure it.
Thanks so much!
Nancy Knight
Hi Nancy,
Thank you so much for the compliment– I’m thrilled you love the closet makeover! I just measured and the opening is 37 7/8, so looks like it might be a tight squeeze! Hope this helps and let me know if I can answer any other questions.
What are the dimensions of the drawer fronts that you ordered? I know I’ll still have to double check them with mine, but it’s hard to know where to start on measuring in between and all around them 🙂
Hi Chloe,
Here are the dimensions we used! Hope this helps!
Middle Boards (3): 7 3/8 x 39 1/8
Bottom Board: 7 7/8 x 39 1/8
Top Board: 9 1/8 x 39 1/8
If you don’t mind me asking, what measurements did you use when cutting the customer drawer fronts? Just curious because I just ordered a few from your link and when it arrived in the mail it was a huge sheet of wood abut 4ft by 2ft long. Thanks in advance.
Hi D’Angela,
Here are the custom cuts we used! Hope this helps!
Middle Boards (3): 7 3/8 x 39 1/8
Bottom Board: 7 7/8 x 39 1/8
Top Board: 9 1/8 x 39 1/8
pardon my typing. The above comment I meant to say “what measurements did you use when cutting the custom drawer fronts?
Hi D’Angela,
Apologies for the confusion! So you order the board from Home Depot and then there is a form you can fill out that will ask how you’d like the board cut. We gave them the measurements below. They will then ship you the custom cut boards along with any leftover materials. Hope this helps and let me know if you have any additional questions!
Middle Boards (3): 7 3/8 x 39 1/8
Bottom Board: 7 7/8 x 39 1/8
Top Board: 9 1/8 x 39 1/8
You can also use the measurements above to cut the board at home since you already have it. Another option would be to see if your local Home Depot can do the custom cut for you in store but I would call first since not all stores may be offering all in-person services at this time.
First, let me say this is stunning! I’m blown away by the detail. Just gorgeous.
I have 2 of the large PAX units and 3 drawers all ready, they are over 12 years old and holding up well. Originally I had glass doors on them, hated them, removed, now have tension rods with ling crinkle silk curtains.
I need to rethink though, as its not as organized as I would like.
So, the ugly question, I hate to ask, but save for the drawer pulls, roughly really, roundabout ballpark # how much did it cost to create this masterpiece?
Thank you. Thanks for the inspiration. ♥️♥️
hi, thank you so much for posting so much details and pictures. You really helped me explain to the hubby what I want to do in our bedroom. Quick question did you use the 29 or 39 frame for the larger sections of the built in? 39″ drawers feels really wide.
Hi Michele,
We did use the 39 in drawers. They are large and have so much storage! You can still use all the tips on the 29 in drawers. Hope that helps!
Do you recall the name of the hanging laundry hampers used, I can’t seem to find on Ikea’s website.
I just checked and unfortunately it looks like they are no longer available. They are called the Komplement Pull Out Storage Bag. Hopefully, IKEA will bring them back!
Hello!
I LOVE what you’ve done. I’m in the process of re-doing my closet with the pax system and want to order the custom drawer fronts. Aren’t all the drawers the same size? Or why are the dimensions slightly different? Thanks!
Hi Danielle,
So glad you’re loving the post and congrats on your project! You are correct, all the drawers are the same size. But the faces we used were different because we accounted for the trim along the top and bottom. So it will depend on what/if any trim you use. Hope that helps!
Hi,
We are looking to build this in our master and love this blog post. Very helpful and great step by step! We are in the ordering process and wondered if you can post what Pax pieces you purchased from ikea so I can order the same ones. I am looking through and can’t find the empty shell wardrobes, just wardrobes that already have built in drawers.
Thanks!
Jade
Hi Jade,
The one you are looking for the is the Pax Wardrobe frame — here is a link: https://www.ikea.com/us/en/p/pax-wardrobe-frame-white-50214560/
Hope this helps!
Could you please explain how you measured for the custom drawer fronts? I just installed the pax system in my master closet and an wanting to order custom drawer fronts but am I sure how to measure to make sure they all fit snug without air of space around!
Thank you!
Hi Jessica, how exciting about your closet! In Step 7 I go over the dimensions we used for the drawer fronts and linked to where we ordered them. The drawers will have to have a small amount of air space around so they can slide in and out. Hope this helps and feel free to ask anymore questions!
This is a very helpful post- especially the option for Home Depot to custom cut the drawer fronts! I’m going to have them cut doors as well since Ikea (strangely!) does not make doors to fit the 29” units I’m using.
Thank you for sharing!
Hi! Natalie.
First of all , I love what you did. I got it that you bought three closet frame of the same sizes but the one frame where you are putting the shoes what’s the size for that? can you please share all the links for buying the frames from ikea. I want the same thing for my condo.
Hi Purvi! So glad you love the closet! We used a 19′ inch Pax wardrobe for the shoes portion. I tried to link everything that is still available. Let me know if you need any more links or anything I can help with!
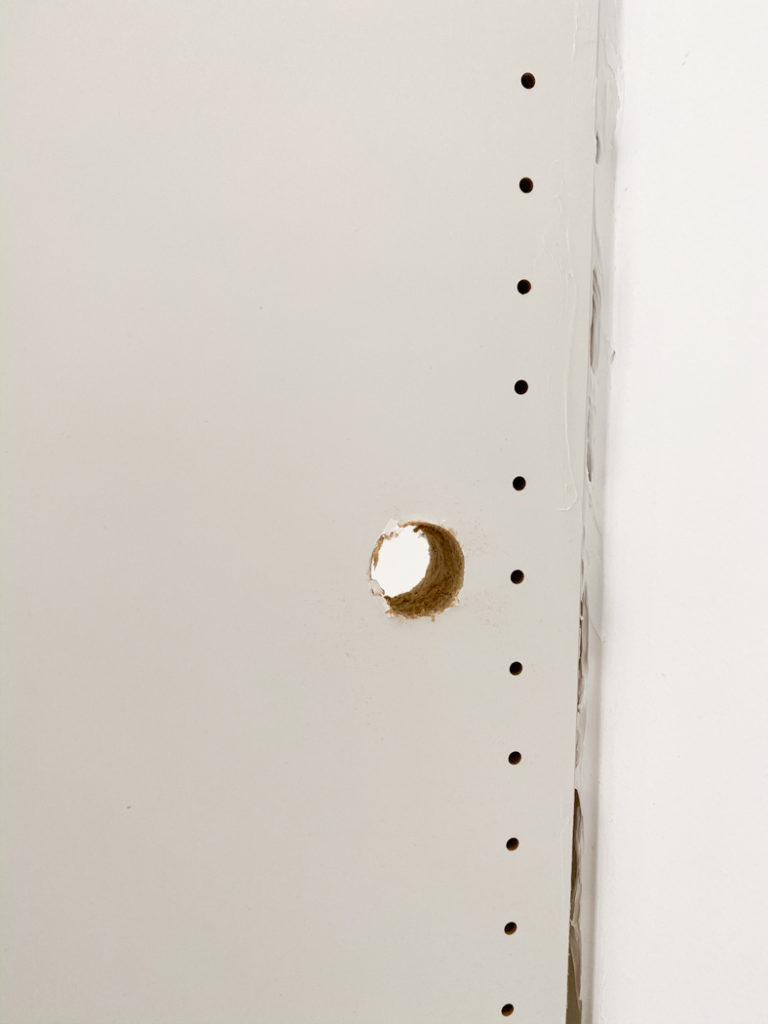
Hi! Love this and we are trying to build something very similar. Challenging since IKEA is out of just about everything right now! How did you get rid of the little holes for the shelf plugs in the section you put your TV?
How exciting but yes so hard these days with stores keeping items in stock. For the holes, we used DryDex to fill the holes and once dry, very gently sanded with a light sanding paper. Wiped clean and then painted them with everything else. Hope this helps!
It doesn’t appear as though you used the Ikea supplied backs to the cabinets. Is that correct and if so, why not? The back piece does have a seam for the larger cabinets so it might just be cleaner to finish the wall and caulk the joint.
For our particular project it was easier to not use the backs and to tie into the trim. We also anchored the cabinets directly into the wall. You can certainly use the backs if that works better for you.
Can you give me more info on how you trimmed the bottom? I am putting Pax in my mudroom and can’t figure out how to trim the bottom properly. Standard builder grade trim is 4″ high, but the floor of Pax is only 3″ above the floor and trim doesn’t fit. I can’t have two different heights of trim meeting each other, but I also can’t raise the cabinet a fill inch – the supports underneath won’t reach or support the floor at all! What is the solution here?!
What paint color did you use to match the grimo doors?
We used Behr Falling Snow. We actually wound up painting the doors to make sure everything matched perfectly but the Falling Snow is very, very close in color.
Love this project and my husband and I are preparing to do the same! Odd question. We have white walls as well. How did you determine the color to use the furniture? Is it the same as the wall color you have?
Hi from Australia Natalie,
Congratulations of a fantastic Ikea hack and beautiful wardrobe. I’m about the tackle exactly the same thing. My questions related to the drawer fronts. Did you align the new fronts along the bottom of the existing, or did you align the top of the new fronts with the top of the existing, or did you centre them?
thanks kindly
Marianne
Hi Marianne! Great question – I go over this in Step 7. It depends on the kind of trim you use and the look you want. I listed our exact measurements. Hope that’s helpful. Happy building!