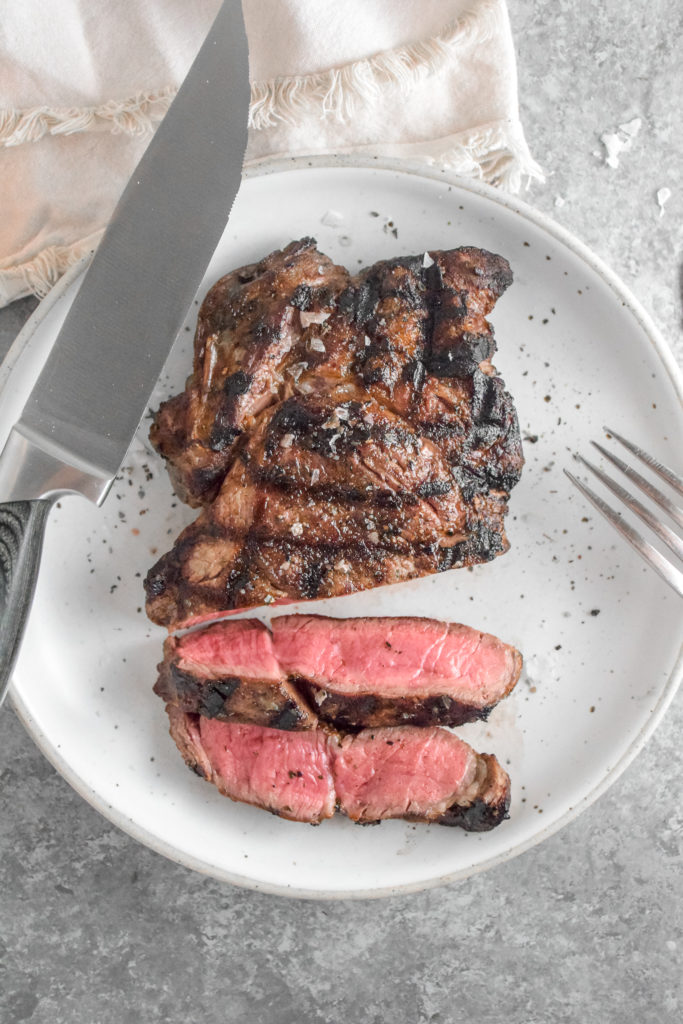
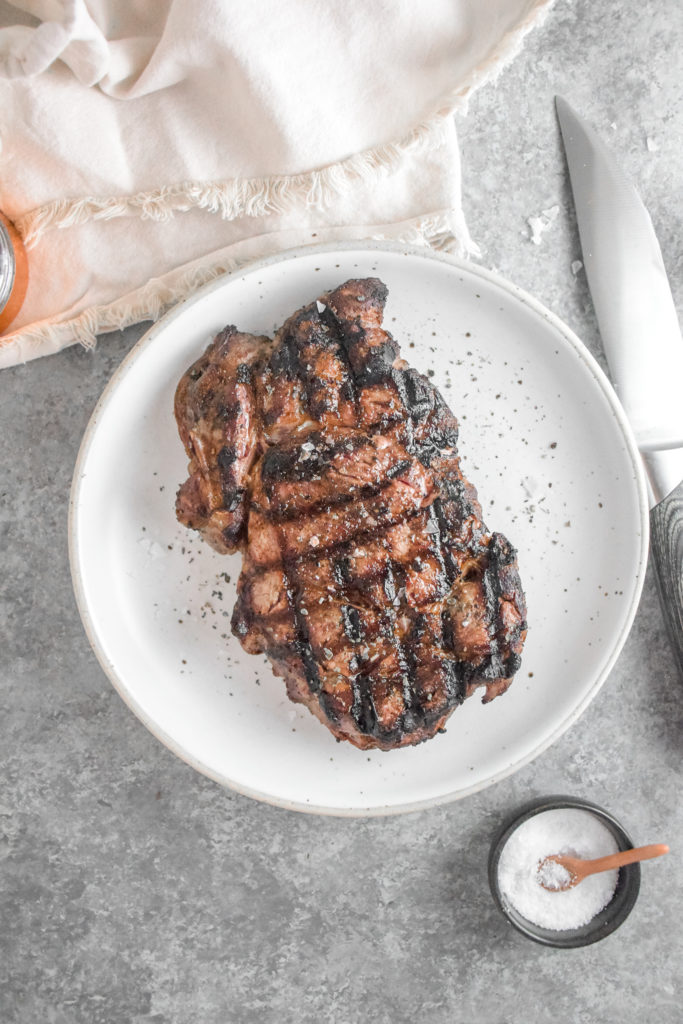
Sharing all the details on How To Get Perfect Grill Marks On Steaks Every Time! There is one secret and I am spilling it!
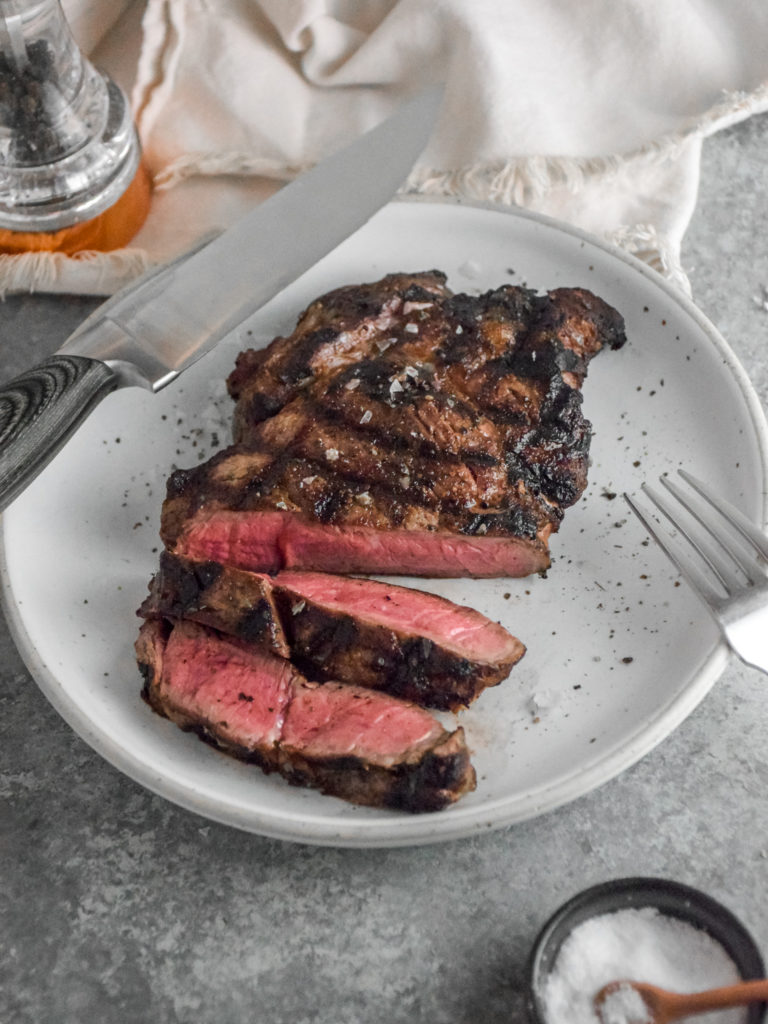
Sometime after we got married, BMW and I started a little tradition called Steak Fridays. Every Friday we would pick out our favorite cuts and cook them up with some veggies and enjoy it with a bottle of wine. It was such a nice way to end the work week and start the weekend off on a relaxing note. Then with all the craziness of 2020, Steak Fridays definitely became something we looked forward to even more! Plus, having a date night at home once the bébé was asleep was a lot more convenient than trying to coordinate a sitter and reservations. Over the past year, or two? Who knows anymore haha, we’ve learned a lot about making the perfect steaks at home.
So in honor of Father’s Day this weekend and it being Friday and all, I wanted to share one of our tips for getting those perfect grill marks on steaks every time!
This post is sponsored by Wholesome Meats. Thanks for supporting the companies that keep this free blog going!
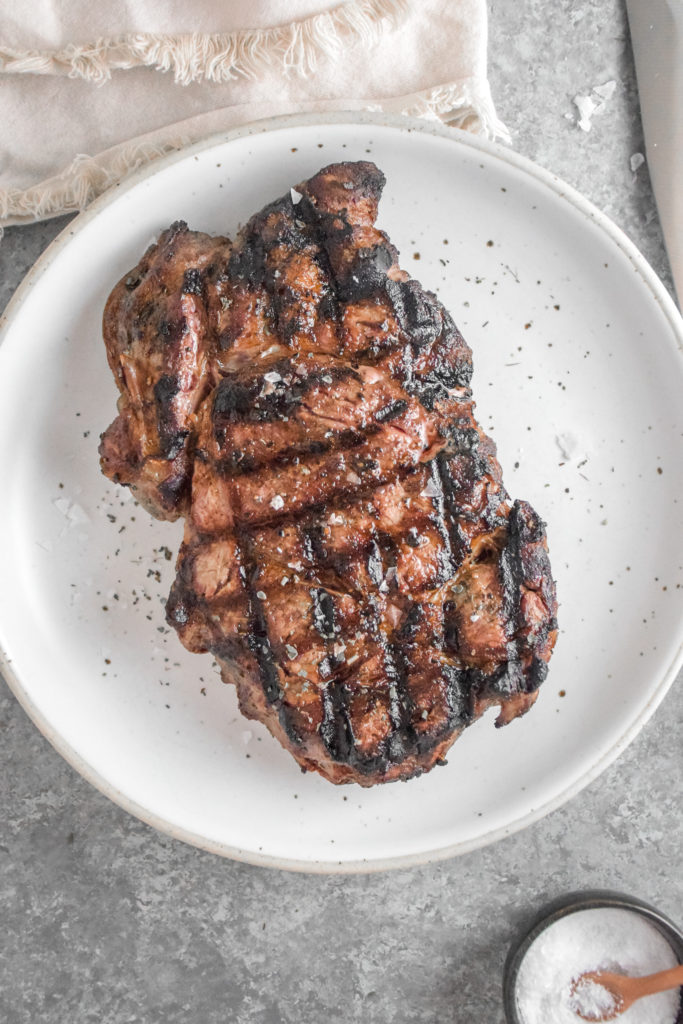
How To Get Perfect Grill Marks On Steaks Every Time
Ok, the big secret for getting those perfect seared grill marks on steaks is…. drumroll please… clarified butter! Say what?! Yes, it’s really simple but really important. Regular melted butter won’t do the trick but melted ghee will if you don’t want to clarify your own butter.
Clarified Butter is just regular butter that has been slowly melted at low heat so that the fats and water in the butter separate. You remove the solid fats from the butter and then coat the steak. Then you will place the steak on a searing hot grill, turning once on each side, to create a criss cross pattern and voila! Perfect grill marks!
If you’ve ever wondered how chefs or fancy steakhouses get those marks on the steaks without burning or over cooking the meat, well this is how! The searing hot grates on the grill will quickly bring the steak to temperature and the coating of clarified butter will turn black against the grates leaving those perfect marks and also providing a barrier so that the meat will lift off easily and create those sharp lines.
It’s honestly way more simple than I ever would have thought! Whenever we want to cook on the grill, this is our go-to method! The grate, haha I mean great, thing about this method using clarified butter is that it will work with anything! If you’re looking to get those char marks without over cooking your veggies, just use clarified butter.
How To Make Clarified Butter
Making clarified butter at home is a really easy process. The biggest tip to remember is to be patient and don’t touch! Kinda funny sometimes how much of cooking is just patience and not doing anything haha. Anyways, here are the easy steps for making clarified butter.
- Gather up your butter and a small pot. You can use salted or unsalted butter. I always use unsalted butter so that I can control the saltiness though.
- Cut the butter into cubes and place into the pot. I like to use a stainless steel
or light color pot so it is easier to see once the butter has separated but use whatever you have.
- Place the pot with the butter cubes onto the stove on the burner with the lowest heat setting. This is the important part, do not touch or move the pot! Let the butter slowly melt and separate. Ideally, you want to keep the butter from bubbling on the sides or burning. Keep the heat as low as possible and do not disturb. If you agitate the pot it will result in the fats not separating properly.
- Depending on how much butter you are clarifying, this might take about 20 minutes. You will notice that the fats will separate, either floating or sinking, away from the yellow liquid.
- Using a spoon remove the yellow liquid into the dish you want to use. This is the clarified butter. Discard the solids or the creamier white looking parts.
Now you have clarified butter! That’s it!
Regenerative Beef with Wholesome Meats
Have you heard about Regenerative Beef? Well, there is a lot that goes into it but basically it’s the old way of farming and ranching, where cattle herds are raised on pastures, eat grasses and basically live happy cow lives. This process of moving the cows around to different pastures allows lots of nutrients to be restored to the ground through the cows’ excrement (sorry if TMI but that is nature, y’all!)
Also, beef raised this way is actually way more nutritious than factory farmed beef. I became hyper aware of this after I was diagnosed with pretty severe anemia during pregnancy. Anemia is an iron deficiency and beef is one of the best sources of iron. So I began eating beef at least once a week to help heal my anemia and within two months of doing this, plus a few other things, I was able to maintain a normal iron level! I love that you can help heal yourself with food!
During that process I began looking into different types of beef since the way the cattle are raised greatly affects how nutritious their meat is. I knew that grass-fed, pasture-raised and regenerative beef was the type I wanted since it would be the most nutritious but also I would be supporting small local ranchers without contributing to my carbon footprint.
Serendipitously, a few months later, Wholesome Meats reached out to me! I immediately googled them and liked what I saw so I attended a local event they were hosting and was able to meet some of their team members and try out some of their products. It’s important to me that not only the products I support are great but that I like the people behind them too! After that, they sent me more of their products try and BMW and I loved the taste and the quality. All the cuts were well packaged, arrived super cold and were the deep red color I associate with high quality beef.
Wholesome Meats Discount Code: Natalie10
After we tried out what Wholesome Meats had to offer, I knew it was a company I wanted to partner with! So here we are! Over the summer, I will be sharing lots of easy, delicious recipes with y’all! You can support me, and Wholesome Meats mission to make better beef, by checking them out through this link.
You can use my code Natalie10 for a 10% discount on any purchase! If there is a better sale going on at the time, then just click through this link and Wholesome Meats will know that I sent ya
You Might Also Love
How To Make The Perfect Old Fashioneds
Strawberry ‘n Cream Ice Cream Popsicles
Sausage Egg and Cheese Everything Breakfast Puff Pastry
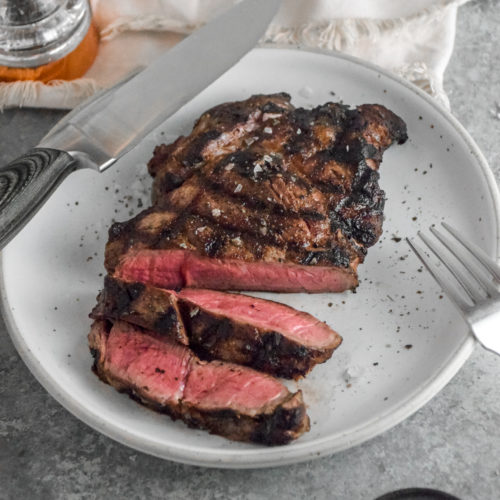
How To Get Perfect Grill Marks On Steaks Every Time
Ingredients
- 2 1/2 lb Wholesome Meats Boneless Ribeye Steaks
- 4 tbsp unsalted butter
- 1 tsp kosher salt
- 1 tsp black pepper
Instructions
- In a small pot, make clarified butter by melting the butter on the lowest setting. Do not disturb or agitate the butter, this will cause the fats and water to not separate. Once the fats and water have separated, spoon out the clear butter into a shallow dish and discard the fats.
- Meanwhile, season the steaks with the salt and pepper and let come to room temperature. Heat the grill to 450°F.
- Dip the steaks into the dish with the clarified butter coating each side. Place steaks onto grill going parallel to the grates. Cook for 1-3 minutes per side, depending on your desired doneness.
- Next, use tongs to pick up steaks off the grill and turn them exactly 90° and place them going perpendicular to the grates and cook 1-3 minutes more. You will be grilling the same side down.
- Then flip steaks to the uncooked side and repeat the process to create the grill marks again. Let steaks rest 5-10 minutes before serving or slicing. Enjoy!

Leave a Reply