Bathroom Renovation on a Budget – How to Paint Shower Tile! We gave our bathroom a major upgrade by painting the tile and changing out fixtures.
This bathroom has come a loooong way y’all! This is the master bath and when we bought our house it was in need of a major update to bring it up to our tastes. We had a few other projects that we had prioritized so the master bath sorta got left at the bottom of the list. After living in the house for over a year, I finally decided I couldn’t take it anymore and wanted to upgrade this bathroom. Unfortunately, we didn’t really have a big budget for this project. So I had to get creative but I am so thrilled with how the bathroom turned out!
This post contains affiliate links. If you purchase a product through these links I may earn a few pennies. Thanks for keeping this free blog going.
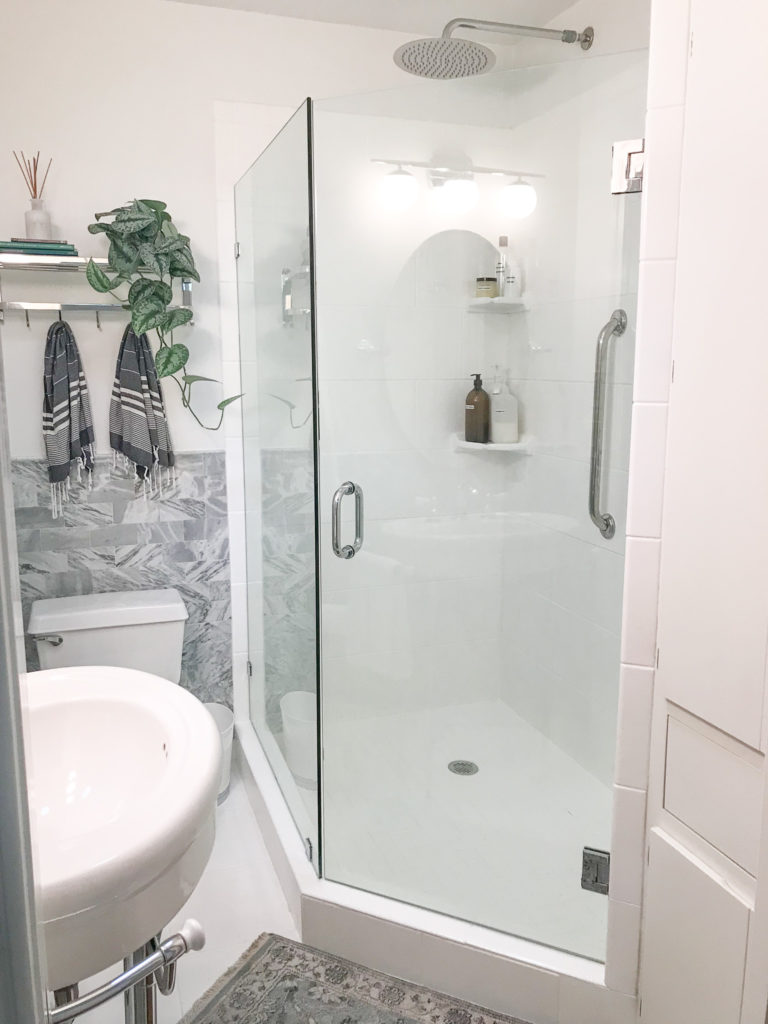
Master Bathroom Renovation
We wanted to give our bathroom a modern, clean update without blowing our budget. We had lived in the house for a year and I spent lots of time thinking through all the ways we could make this tiny space work for us. The actual shower is a decent size but the bathroom only has one pedestal sink and a small cabinet, so I have a vanity in our bedroom that I used for getting ready i.e. hair and makeup.
In the future we are planning a huge overhaul of the house so I knew I didn’t want to sink thousands of dollars into retiling or massively reworking the space. I just wanted to make the best of what we had and have it be something we could do ourselves without hiring a contractor. We definitely took the weekend warriors title to heart haha!
This project in total took us about four weekends. That is because we chose not to work on it during the week because of work and there were a few steps that had really long drying times. I will walk you through all the steps we took and link to everything we used for this bathroom update! But first, a few before photos!
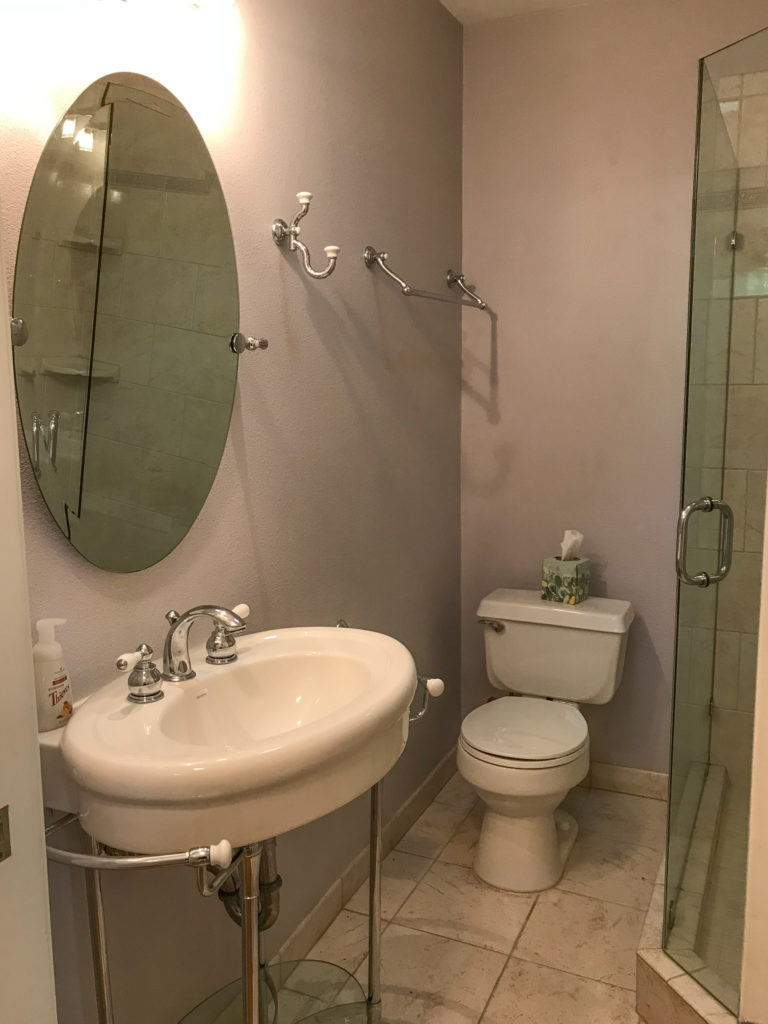
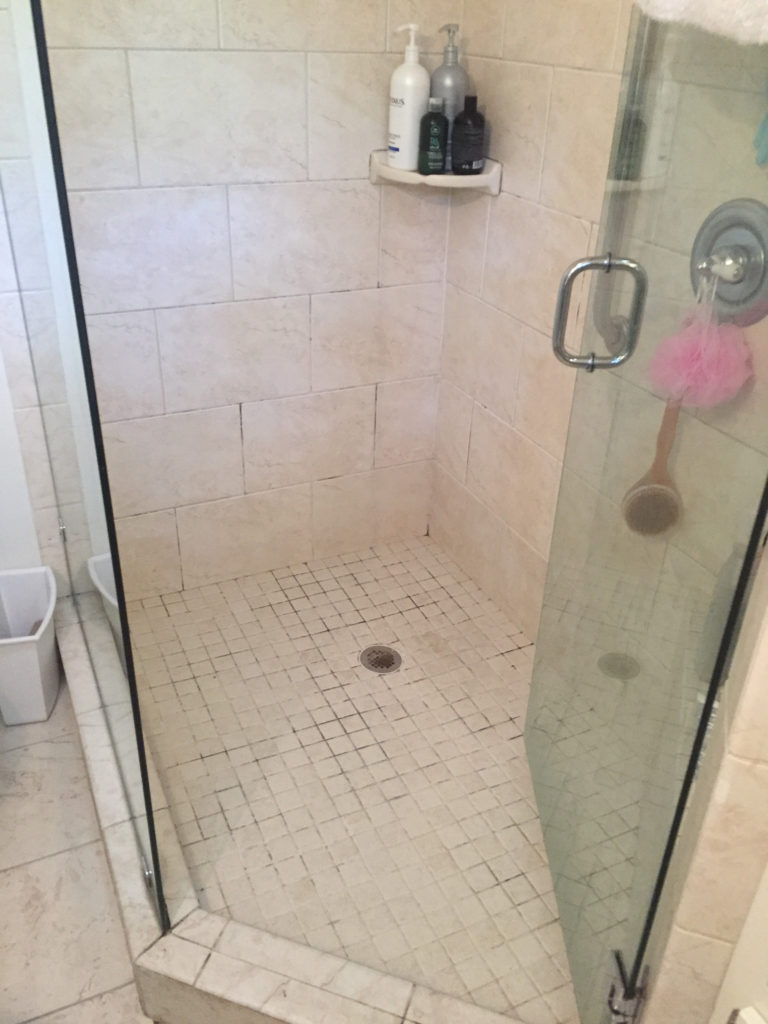
This is how the bathroom looked when we moved in. Purple texture on the walls and three different kinds of fake pink marble tile.
The shower while spacious wasn’t exactly what I would call welcoming or spa-like. It was old and grungy and need of a deep clean and facelift. We had some work done to the house after we purchased it but before we moved in. During that time the bathroom walls were smoothed and painted white and that’s the way they stayed until we decided to do this renovation about a year later.
Get The Full Bathroom Tour- Watch This Video!
Bathroom Renovation on a Budget – How to Paint Shower Tile
I am breaking down our bathroom renovation into three parts. First, how we painted the shower tile instead of retiling. Second, how we tiled a wall (I know, I know, didn’t I just say no tile?) but this was way easier than retiling the actual shower and gave me that marble, spa-like look I wanted on a major budget. Third, how we decorated the bathroom. These little touches really made all the difference in how the space felt!
How To Paint Shower Tile
The big question I always get: “You can paint tile?!?!” Yes, I am here to tell you that yes, indeed, you can paint shower tile. We actually had great results. Not to mention, it saves so much money. On that note, I should mention that we are not looking at painting tile as a longterm solution and I am not sure I would recommend it as a longterm solution either. It can chip and depending on the surface you use it on, it can have varying degrees of success. We had a great result and I will definitely share an update after we live in this for while!
Step 1: Clean- Before you begin painting the tile, you need to clean the shower really, really well. If there is any trace of mold, you need to be sure and kill it. This may mean you need to use bleach or harsh chemicals to ensure that everything is super, super clean. We actually cleaned the shower with this three times and let it dry for 48 hours before beginning to paint. Cleaning also means removing any caulk. The paint will not adhere to caulk, so you need to scrape it off
during the cleaning process. Also, make sure it is very dry. We moved into our other bathroom while we worked on this one because you won’t be able to shower in it for several days.
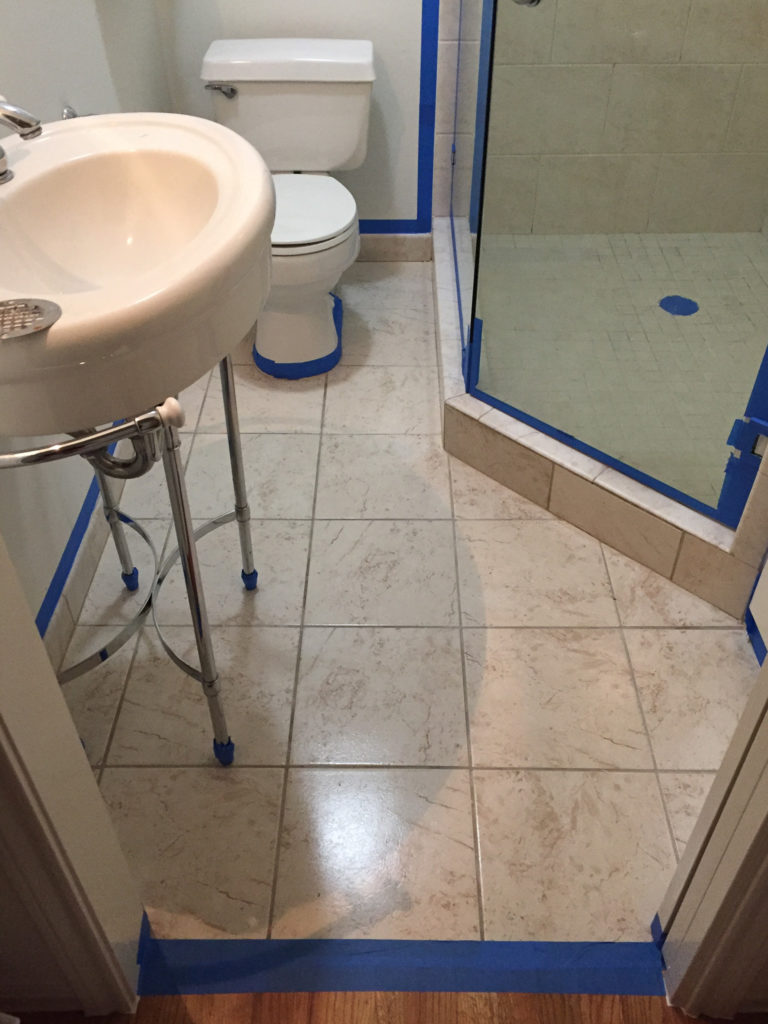
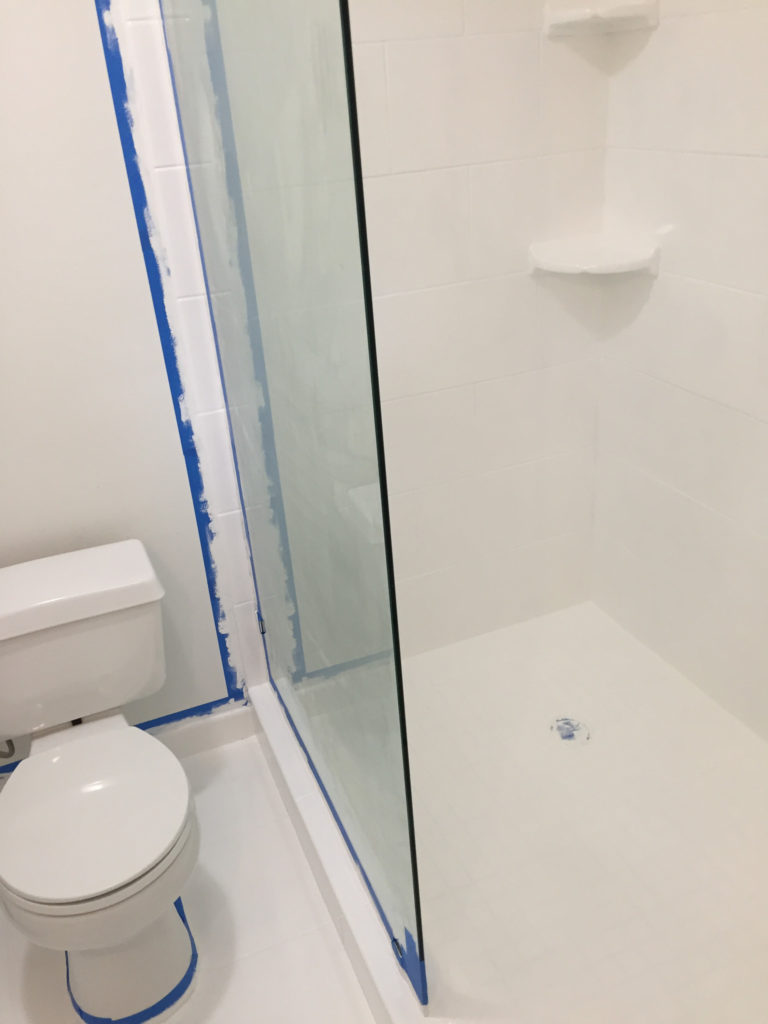
Step 2: Tape- You will want to tape off everything with blue painters tape. That means making sure you tape off all hardware and faucets. We removed the drain and shower head since we decided to replace those with new ones. You will want to make sure you get the tape really secure because chances are you will need more than one coat and you don’t want this paint getting onto any other surfaces.
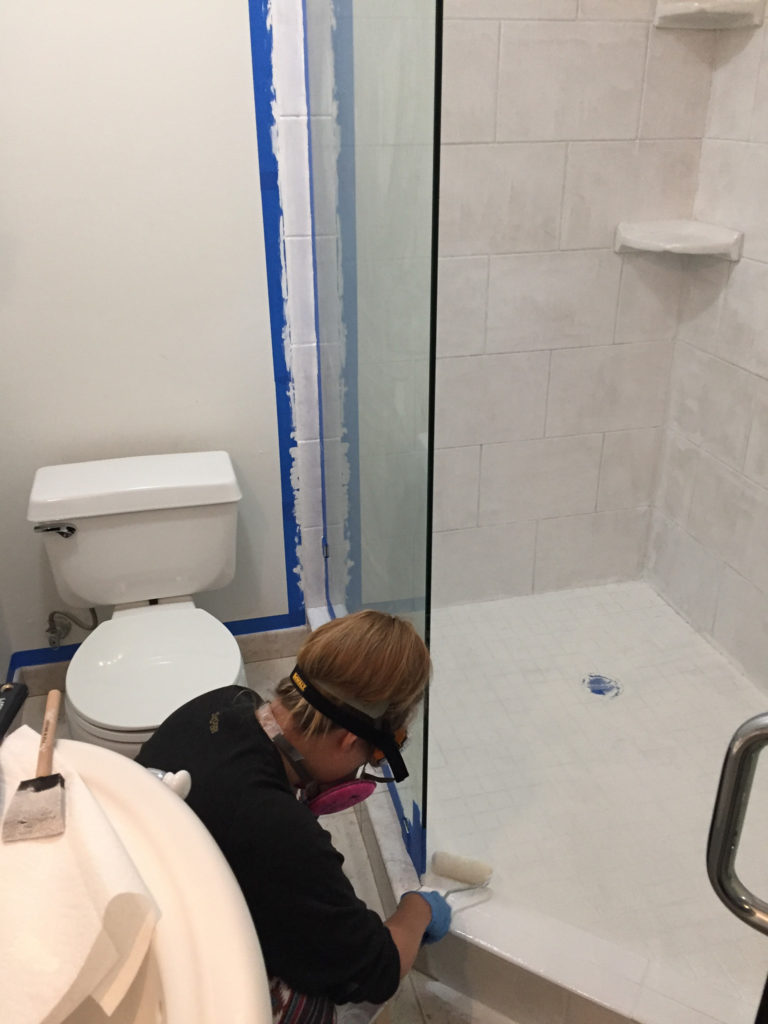
Step 3: Paint- Yay! You finally get to do the fun part! Well, fun is a relative term here. You will need to make sure you ventilate the area well. If you have a vent, use it. If you have a window, open it. If you don’t, use a box fan to keep the air circulating. You should absolutely wear a mask
and protective gloves and goggles. The paint you use to paint tile is a special type of paint
and lets off some serious fumes.
We took this pretty seriously and since we were doing the bathroom that is connected to our bedroom, we chose to paint on a Friday afternoon and then left for the weekend. We left the fan and vent running and a nearby window cracked.
This is the first coat. I knew we would probably needed more than one coat and I was a little nervous after the first one!
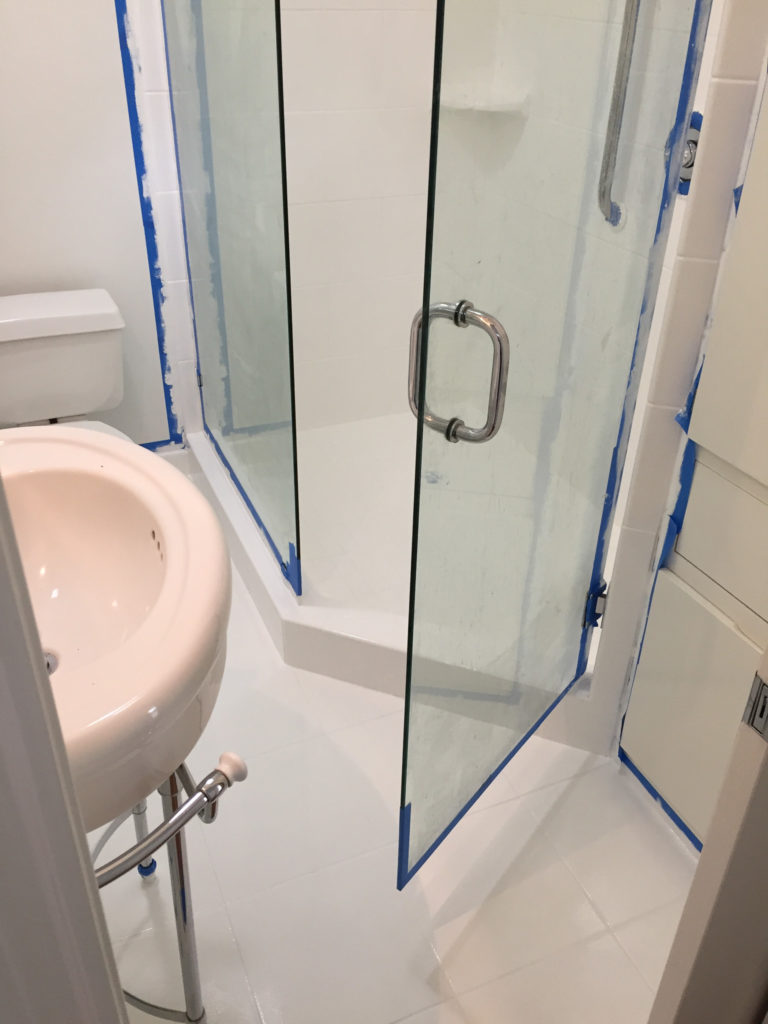
This is after the second coat. It started to look a lot better! It still needed a third coat of paint though. The paint dries to the touch after about an hour. You need to time the coats so that you do each one within an hour of one before. You want to the paint to dry to the touch but not all the way. So this can easily take a day or long afternoon or evening.
Third time really is a charm! Now we had a bright, white shower and no more mismatched, gross tile. Now, the hard part, letting the paint dry. You will need to wait at least three days before using the shower again. We waited five just to be extra sure. We did remove the painters tape about an hour after we applied the last coat just in case we needed to do any tiny touchups. We recaulked everything before showering again.
$71.10 ($23.70 per box) Tile and Tub Refinishing Paint (we used 3 boxes)
$11.94 (5.97 per roll) Painters Tape (2 rolls)
$12.34 Respirator Mask
$3.58 Gloves
$17.95 Paint roller and pan
$8.99 Caulk
$125.90 Total Cost to Repaint Shower
How To Tile A Wall
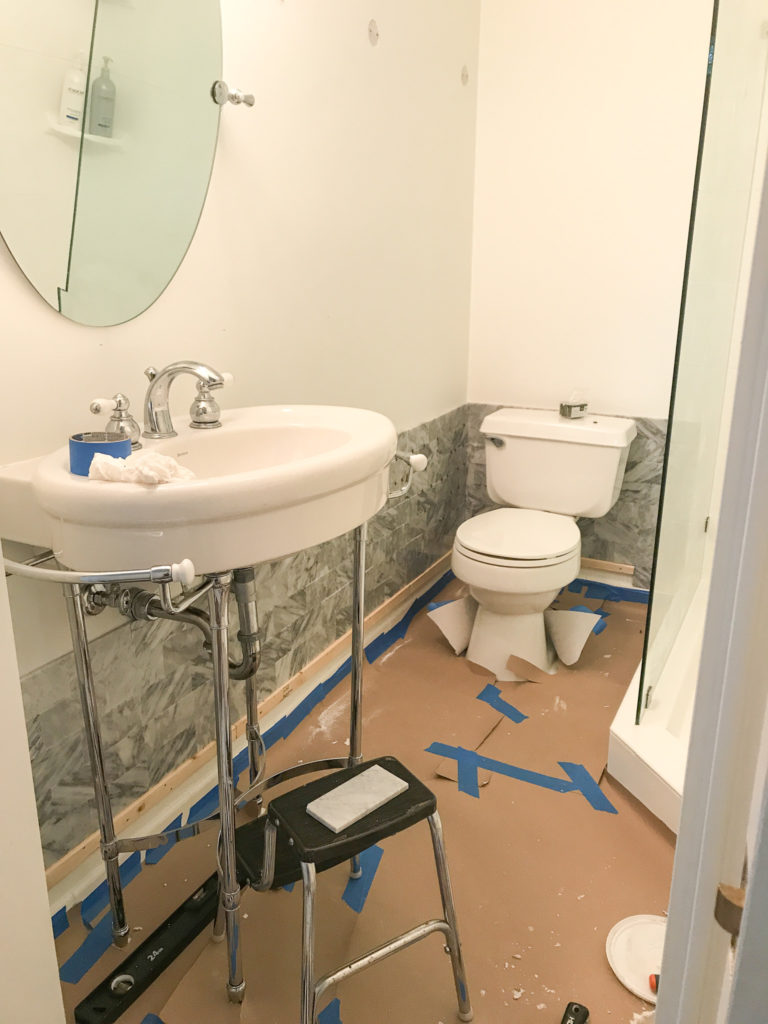
After all that painting, our bathroom was really, really white! Like too white. Which is something I never thought I would say, haha. I had originally wanted to retile the bathroom shower with a calming grey marble but it was too expensive. After looking into different ideas, I found that tiling a wall for decoration is much different than ripping out bathroom tile and then reinstalling something that needs to act as a water and moisture barrier. Adding tile to a wall for decoration is much simpler!
Note: we used this to protect the floors we had just painted!
Step 1: Leveling- You need to make sure that you are working with a level wall. Ours was not. We referenced this video which goes into detail about how to level the tile. In case you didn’t know, you tile a wall by starting at the bottom, not the top. That’s why leveling on the bottom becomes so important. If you don’t take the time to level correctly, the tile will be uneven on the top.
Step 2: Tiling- For the tiling, you will obviously need to measure your space and choose your tile. You will also need thin set mortar which is the adhesive along with a trowel
which is used to apply the thin set to the back of each tile. We used spacers as well to keep everything lined up. We choose the smallest spacers possible.
To tile, you will start with three rows. Do a full tile on the bottom aligned with a wall or starting point, then a half tile (you will need to cut the tile) on top of that one and then another full tile on top of that one. All these should line up on the wall. Then you begin moving either left or right doing three rows at a time until you finish on the other side. Then you will go back to the start and repeat this process as many times as necessary until you reach your desired height. Here is a good video demonstrating this. He chose to apply the thin set directly to the wall whereas we applied it to the tile.
You will need to cut tile. We used a wet saw for this. Our friends lent us their wet saw but you can get a decent one for about $100 if you can’t find one you can borrow! Cutting tile seemed really scary but this video really helped us learn. We used a pen to lightly draw on the tile then BMW would use the wet saw to cut it.
Step 3: Grout- Grouting was actually the easiest part of all of this! You mix the grout then spread it on the wall with a trowel or sponge. The videos I referenced above also go over how to grout in more detail.
Now you just let it dry! Once the tile is completely dry, usually a day or two, you can remove the level you put on the bottom. And you’re done!
$293.00 Marble Tile (est. 32 sq ft.)
$17.09 Thin Set
$11.44 Grout
$6.10 Trowel
$21.95 Floor Protection
$4.99 Spacers
$354.57 Total Cost for Marble Tile Wall
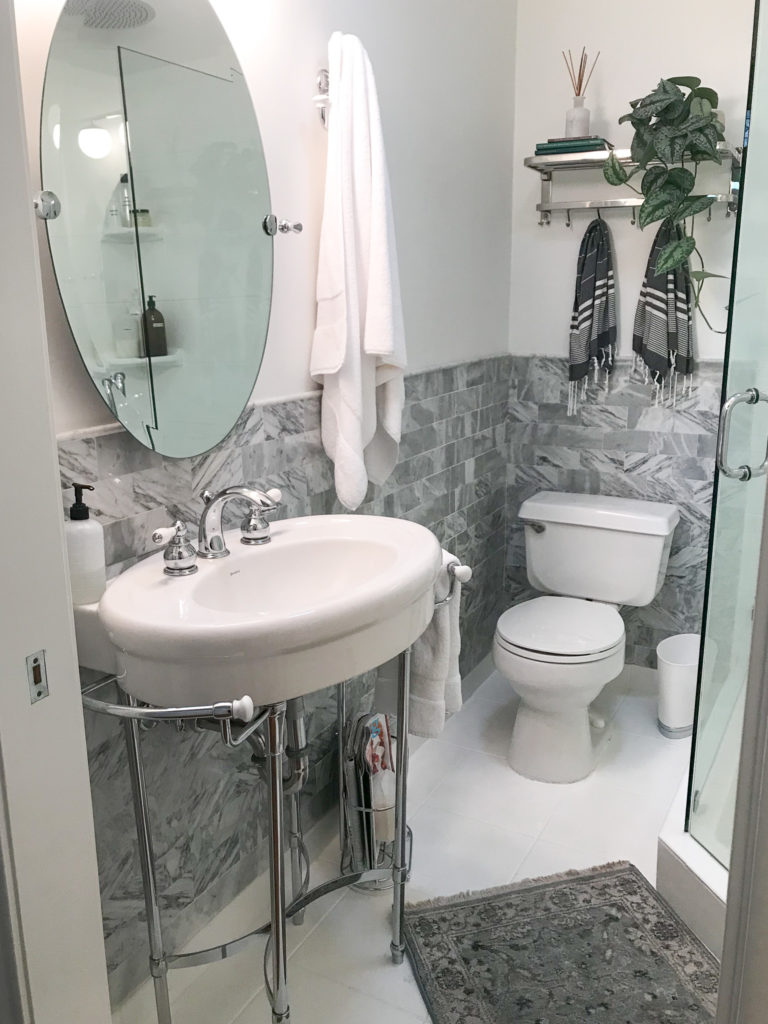 How To Decorate A Bathroom
Ok, maybe this is the actually fun part! Adding decor really brings the room together and all those details make all the difference!
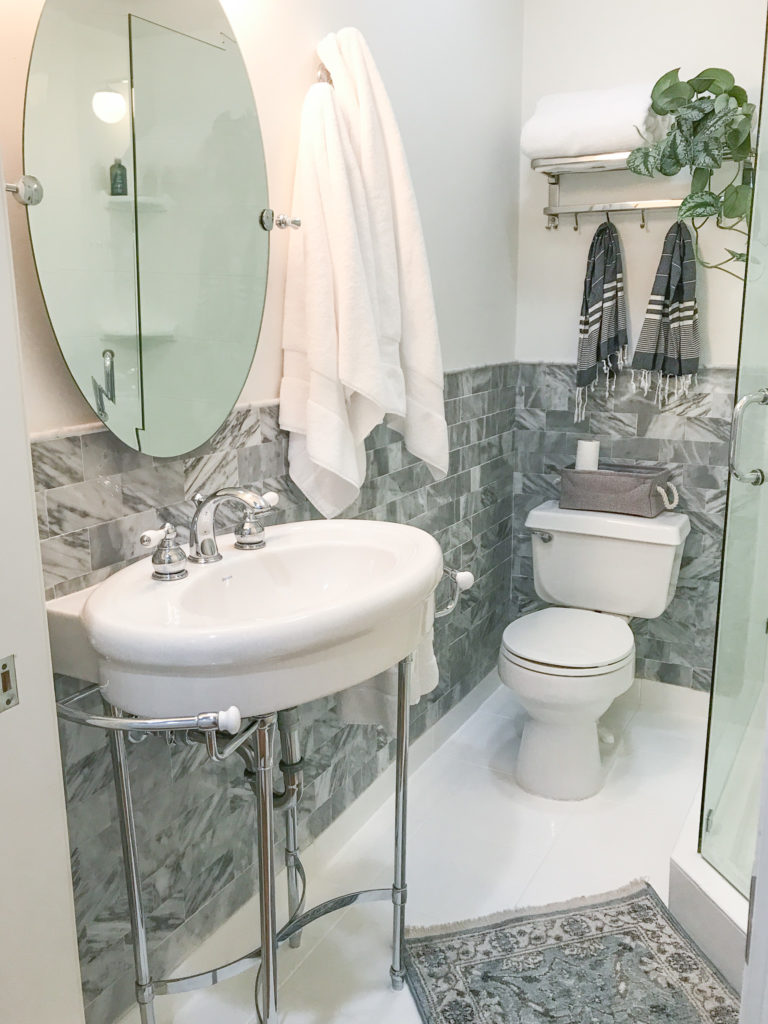
Instead of a normal bath mat, I bought this rug which is safe to use around water. Plus I think it looks a million times better! I purchased this metal rack which is great for hanging big towels or for holding a cute pythos.
We also replaced the shower head with this huge rain shower head which I love! We added an extender so that it comes to the middle of shower and not right up against the wall.
I also got a toilet paper stand because this is a bathroom after all! Also, I didn’t want to drill a hole or attach anything to the tile we had just spent so much time on. Here is a link to our trash can.
I’ve never loved the look of all those bath products in a bathroom. So I decided to decant all of our products into different bottles I peeled the labels off of. You can also get these amber ones. I usually avoid plastic but this is a case where I definitely think it is the safer option! I used a label maker to identify them all.
We kept the vanity and toilet just the way they were along with most of the fixtures in the shower minus the shower head. We did replace the vanity light and it made a huge difference! Plus, it matched perfectly.
$29.97 Rug
$17.99 Trash can
$19.97 Toilet Paper Stand
$27.99 Shower Head
$16.89 Shower Head Extender
$174.20 Vanity Light
$33.95 Metal Towel Rack
$320.96 Total Cost to Decorate
We love how our bathroom renovation turned out! Even on a tight budget we couldn’t be happier! Let me know what questions you have in the comments.
You Might Also Love
Leave a Reply