I heard about this recipe/idea for grilling pizza crust back in the summer. I never got around to trying it. Mainly due to my old fear of working with yeast but now that I’m over that and have my handy-dandy mixer, I was ready to make my first pizza crust!
I decided to go straight for the gold and make a whole wheat crust even though I’ve heard whole wheat can be harder to work with. It’s harder to work with mainly because whole wheat tends to be a drier crust but don’t worry, easy fix!
For grill pizza, you will obviously need a grill. You can also make this exact recipe, skip the grill and bake it in the oven. I also used a pizza stone after grilling for melting the cheeses and toppings. If you don’t have a pizza stone, you can put the pizza on a baking sheet or straight on the oven grate.
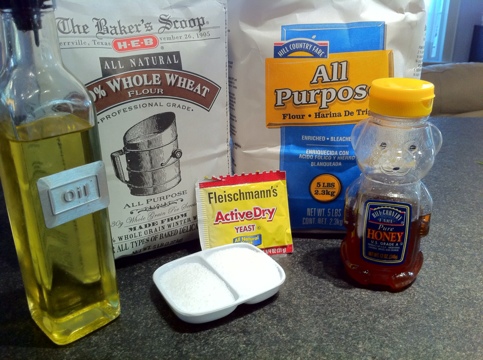
For the whole wheat pizza crust, you’ll need:
1 package of active dry yeast
1 1/4 cups lukewarm water
1 1/2 cups whole wheat flour
2 cups all-purpose flour
1 tablespoon olive oil
1 tablespoon honey
1/2 teaspoon kosher salt
Preheat oven to 450 degrees.
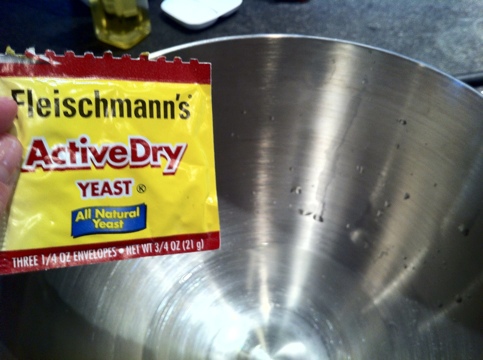
First, we are going to proof the yeast. I’m not a big “you must use certain brands” kinda person but according to my Granny, it’s very important to use Fleischmann’s Yeast.
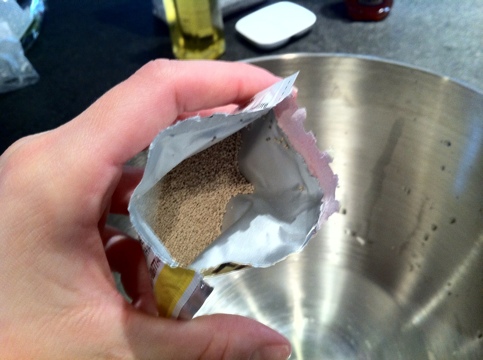
That’s what yeast looks like. Little cardboard colored balls.
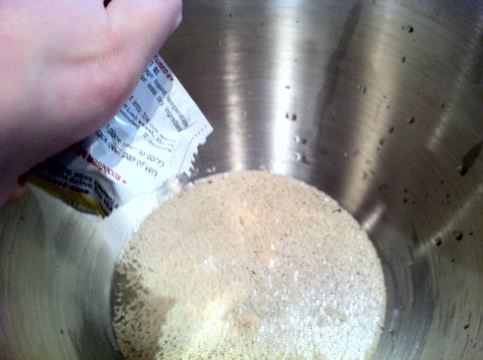
Proofing yeast is kinda old school. Basically we are making sure the yeast is active. Back in the day it could become inactive so bakers would proof it first, to make sure it would rise before going through the whole recipe and then not having the bread rise. Nowadays, packaging and expiration dates are much more efficient so proofing is not as necessary. But whatevs, I wanted to see what all the hype was about it.
For any recipe, to proof, combine the yeast and the amount of lukewarm water in the recipe together.
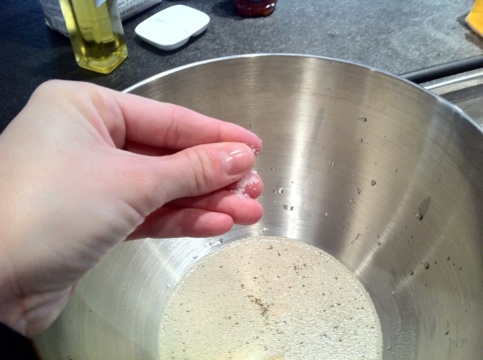
Add a pinch, literally a pinch, of sugar to the mix. This gives the yeast something to feed on and expedites the proofing.

Mix all of that together and let sit for about 10 minutes.
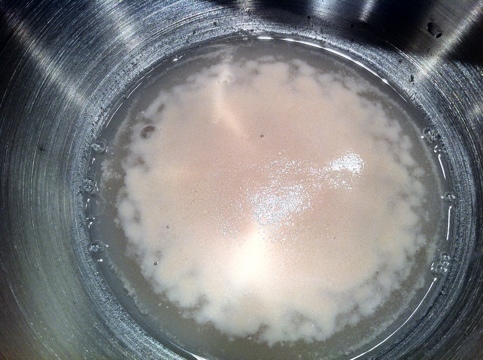
After about 10 minutes the yeast should start to foam and bubble a little. It will also have a very distinct yeast smell. This is what foaming looks like.
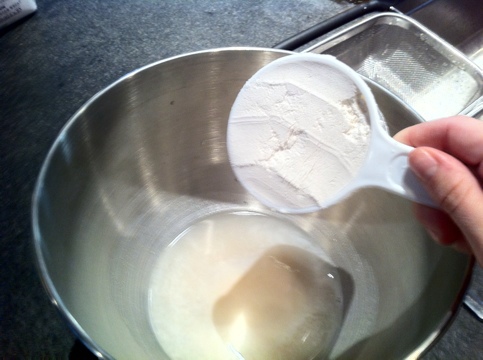
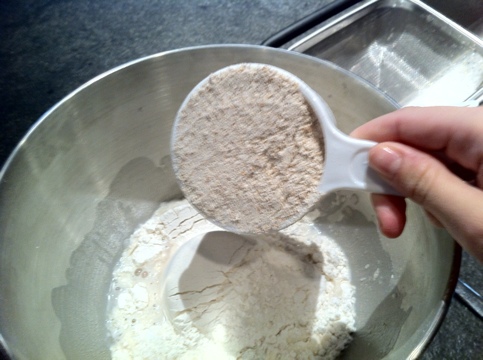
Alright, now add the all-purpose flour to the water and proofed yeast mixture.
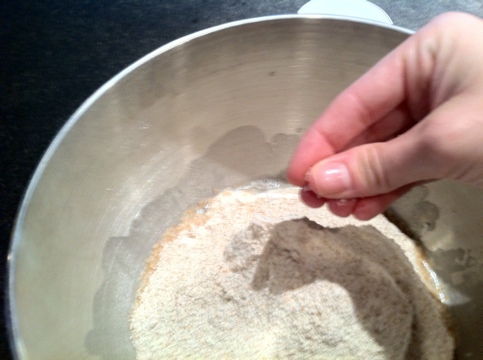
Half a teaspoon of kosher salt.
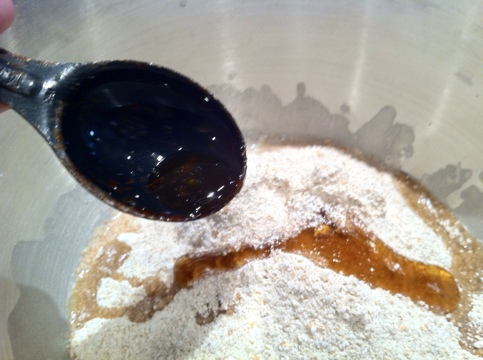
Add a tablespoon of honey and a tablespoon of olive oil.
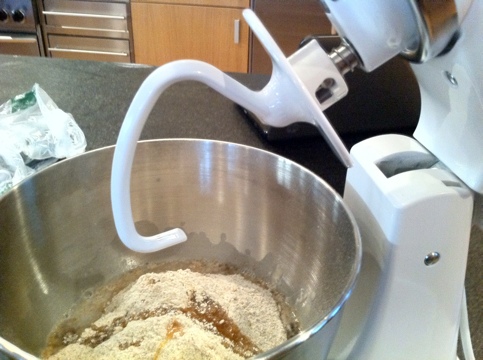
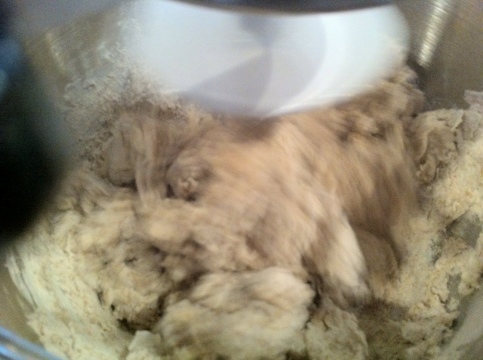
Now, I finally get to use my dough hook!! Woohoo! You can also mix this by hand… But it just might take a while. It’s possible, people have been doing it for millennia.
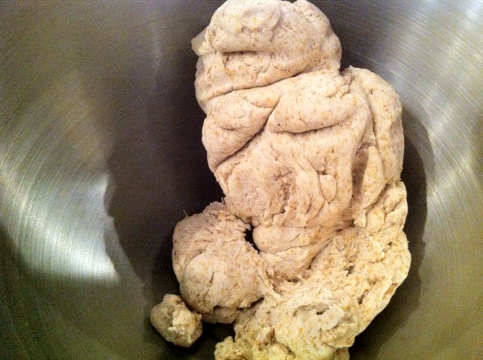
And there is that dough ball we are looking for!
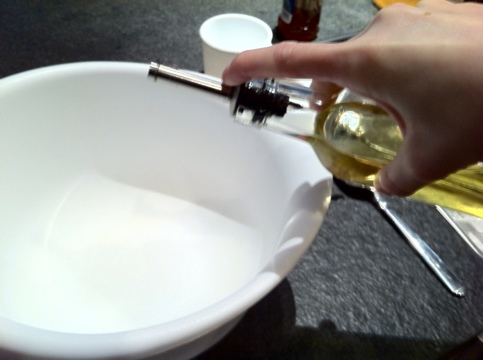
Now, move the dough ball to a well oiled bowl. I used olive oil and a large plastic mixing bowl.
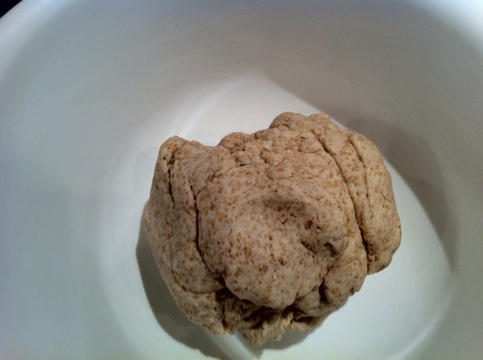
Take a mental note of the size of the dough ball.
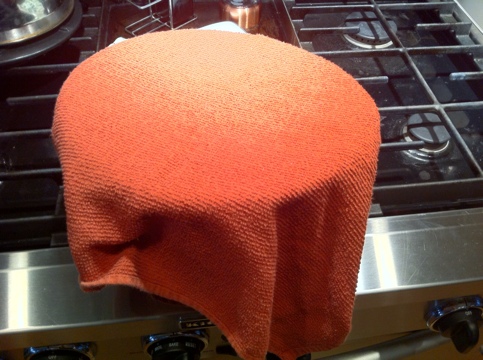
Cover the bowl with plastic wrap or a kitchen towel and place the bowl in a warm place and let rise for 2 hours or until the dough doubles in size. A warm place might be a really sunny window or on top of the preheating oven.
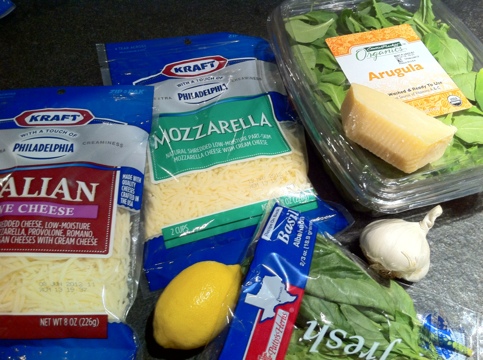
Ok now for the fun part! While the dough is rising, set up your pizza topping bar. Go crazy, use whatever you want! Lots of cheese though!!
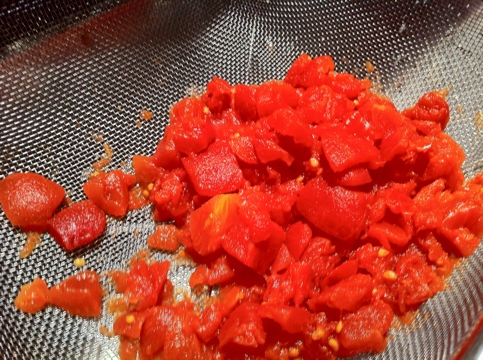
I drained a can of diced tomatoes.

Chop some fresh basil! And of course, mince some garlic…
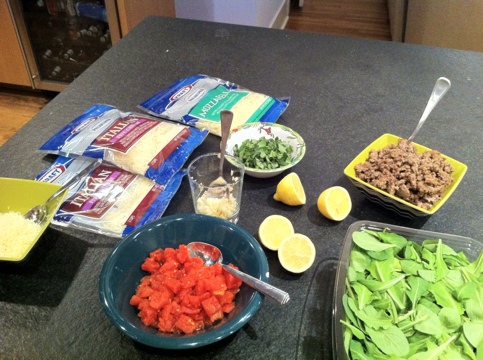
Add some arugula and fresh lemon, and your pizza topping bar is complete!
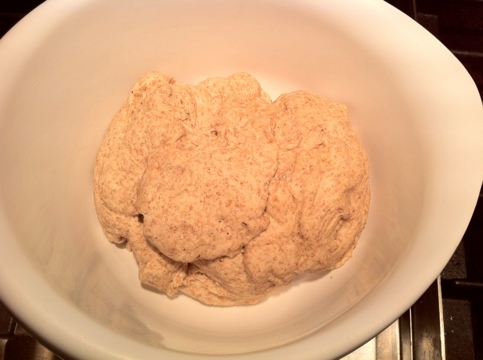
2 hours later… Pizza dough! Technically at this point you are supposed to punch the dough down, knead it and place in the fridge for 2 hours or overnight. I didn’t have time for this and completely skipped this step. The dough still worked out… so, up to you. If you plan ahead enough to fully prep the dough, great. If not, it still works.
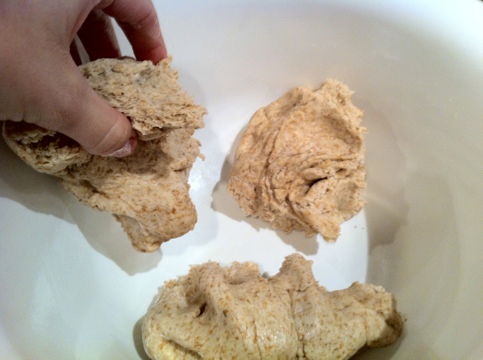
When you are ready to use the dough, divide into 4 balls. This will make 4 personal pizzas. Or you could do 2 larger pizzas. I had four people and did a pizza topping bar so everyone could make their own.
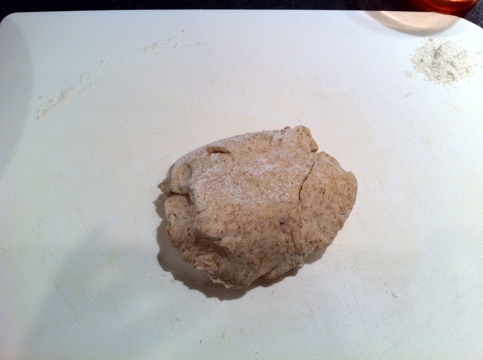
Place the dough on a floured surface. Now it’s time to work the dough. My dough was dry so I got my hands wet and then started in on the dough. This takes some time, patience my friend. The whole phrase “working the dough” took on new meaning for me at this point.
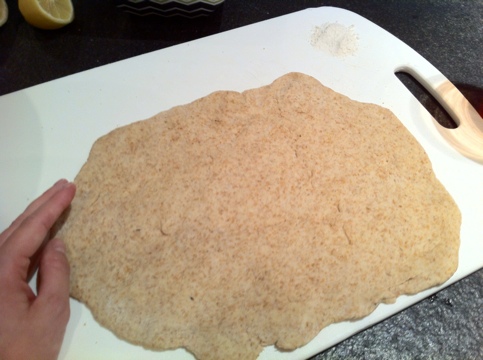
After a few minutes, you’ll have a nice little pizza crust! If it
tears, just patch it up and keep going. You want the dough to be fairly thin or you’ll wind up with more of a bread-y crust.
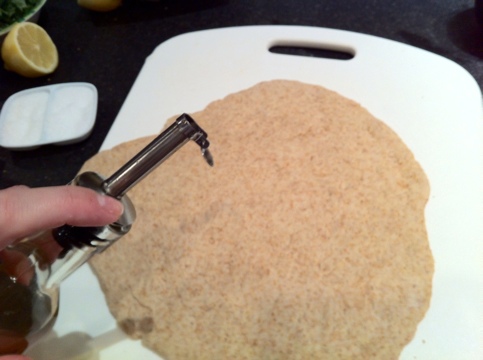
Drizzle both sides of the crust with olive oil. Now it’s time for the grill!!
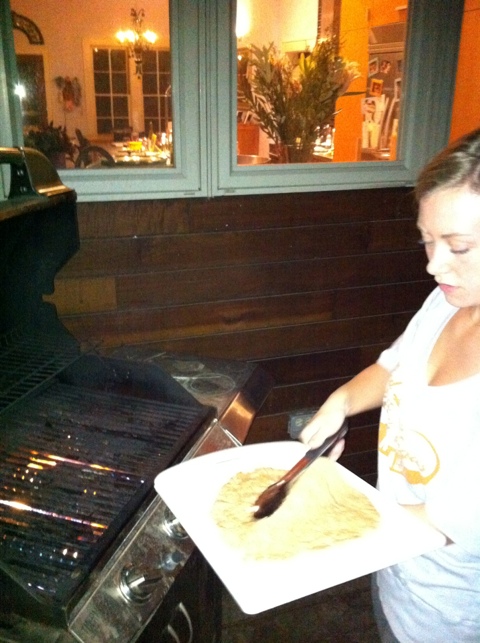
Heat up the grill… About medium flame. Then carefully place the crust on the fire. It could tear easily at this point so use caution.
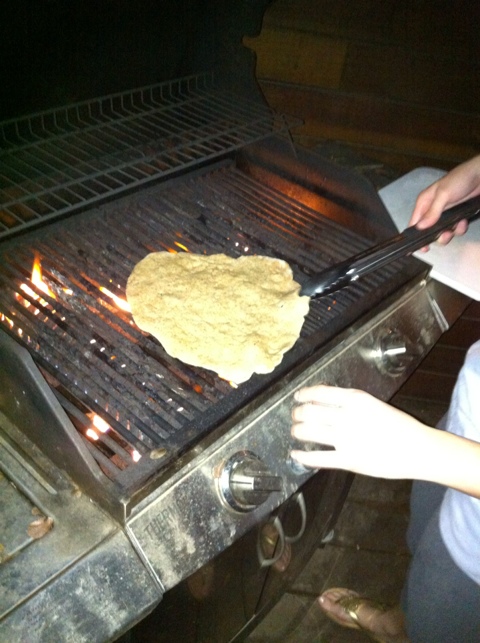
It should start to puff up on the top. Do a little side check to make sure it’s not burning. It’ll take a minute or two on each side. When you can easily scoop the dough with the tongs, you’ll know it’s ready to flip. It should flip easily at this point.
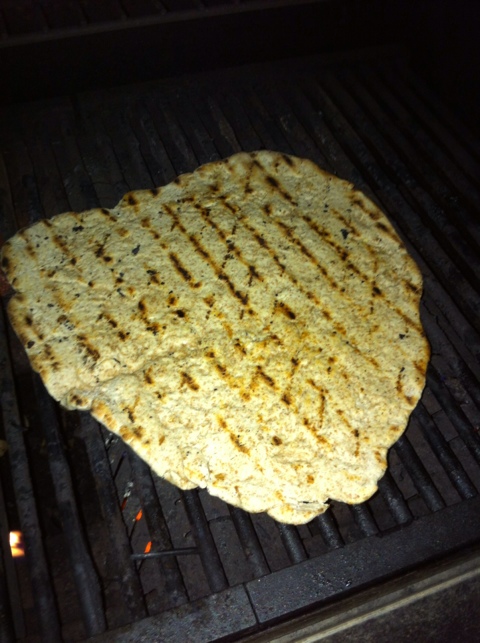
VICTORY!! Check out those grill marks!! I may have done a happy dance at this point… Dancing while cooking is always encouraged in my kitchen.
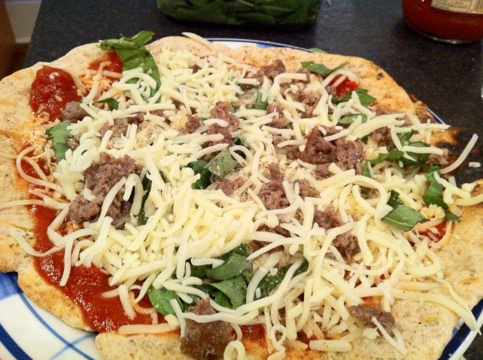
After you finishing grilling the crusts, have everyone top their own pizza. Yummy! This is Luke’s pizza.
Place the topped pizza in the oven on the pizza stone for 3-5 minutes or until the cheese is melted.
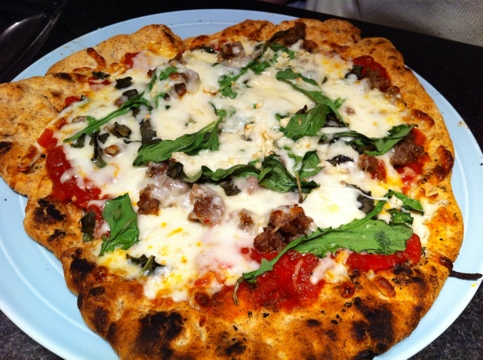
And there you have it folks! A perfect personal pizza!
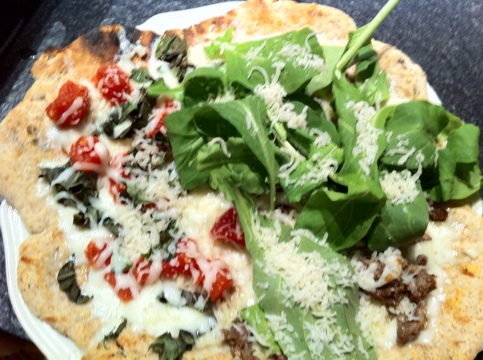
This is my pizza, lots of arugula. I like a little salad on my pizza!
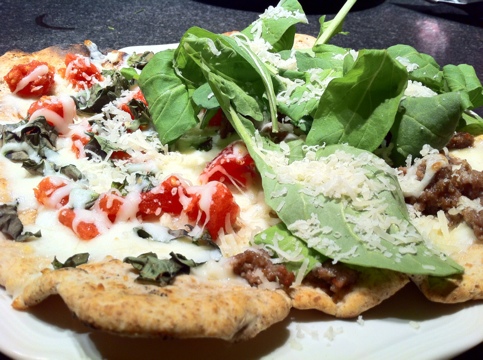
I went halfsies on my pizza. On one half margherita and the other half pizza Bianca with sausage and lemon.
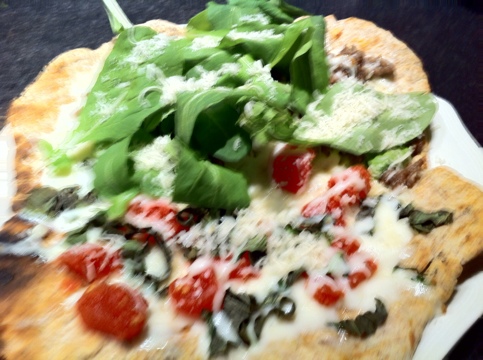
The grill really gives the pizza that fire-flame taste and crispy crust just like a brick oven at the pizza place!
Enjoy!!
Your pizza dough turned out MUCH better than mine! Looks delish.
P.s. figs, carmelized onions, goat cheese, arugula.If using marinara, go uber light. Knowing your love of garlic, I highly recommend a white sauce 🙂
Thanks!! Goat cheese and Caramelized onions sound sooo good right now!
I went sans sauce on this pizza but got a little kickback from my guest and obliged by opening a jar of spaghetti sauce, haha.
Def try a garlicky white sauce next time!!