How To Paint Cement Steps To Look Like Tile! I am sharing this easy tutorial that made our home’s front steps a total show stopper! Talk about curb appeal!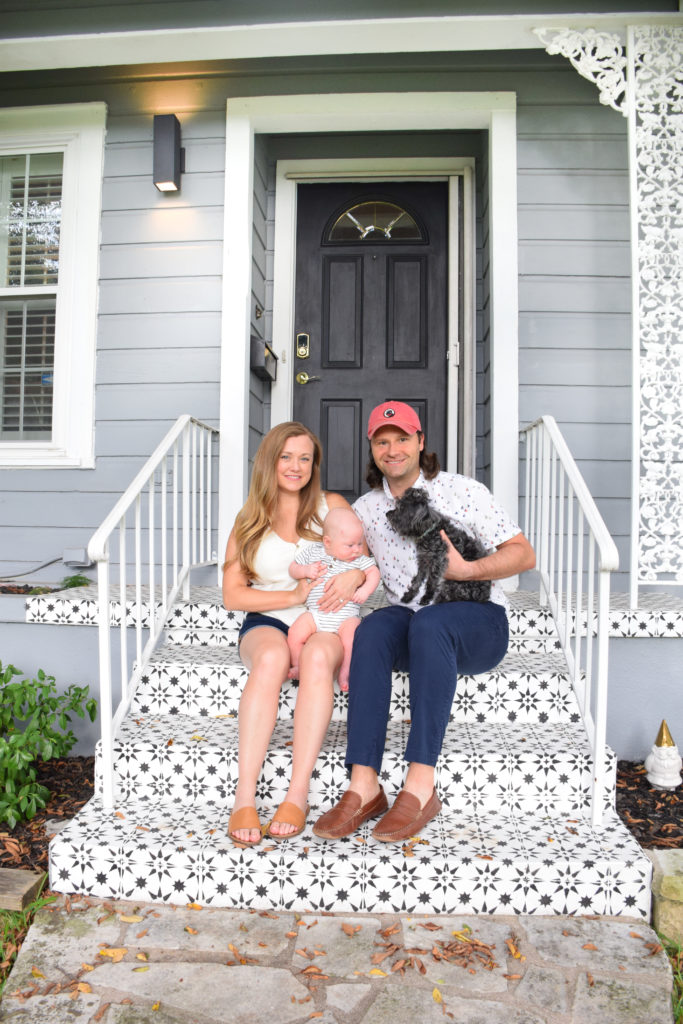
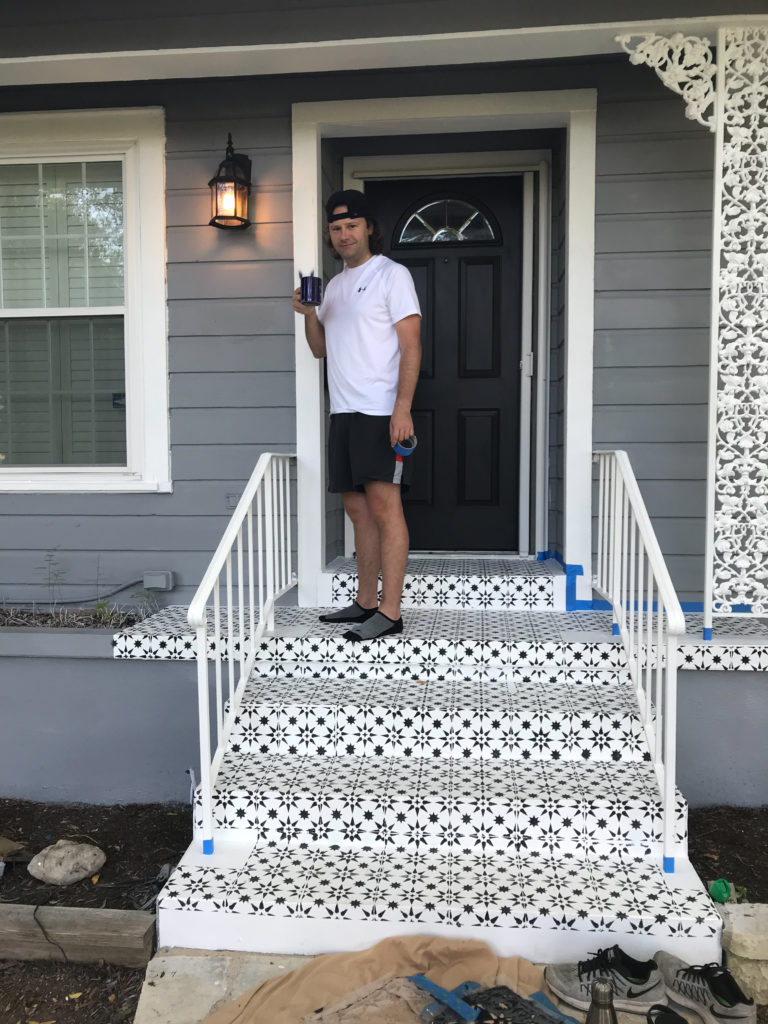
We’ve been updating our 1950’s charmer and having so much fun making this little house our home! One of the biggest changes we made on the outside was painting our front steps to look like tile! I wanted that vintage tile look but didn’t want to spend thousands. Luckily, this major update only cost $80! Sharing all my tips and tricks for how to paint cement to look like tile!
This post contains affiliate links. If you purchase a product through these links I may earn a few pennies. Thanks for keeping this free blog going! 
How To Paint Cement to Look Like Tile
Sometimes I can’t believe that with a little (ok a lot) of elbow grease and a few supplies we completely changed the look of our home! The before & afters below are pretty dramatic if I do say so myself! I love that the entry of our home is fun and inviting. It’s become the backdrop for so many family photos which I treasure.
Originally, I wanted to tile these steps so I got a few quotes and it would have costs us thousands of dollars. That wasn’t in the budget after all our other renovations so I knew we were going to need to do it ourselves. After searching around on the internet, I found lots of information on how to paint cement but not on how to paint steps which is definitely a bit more challenging! These tips will help you no matter what kind of surface you are hoping to stencil.
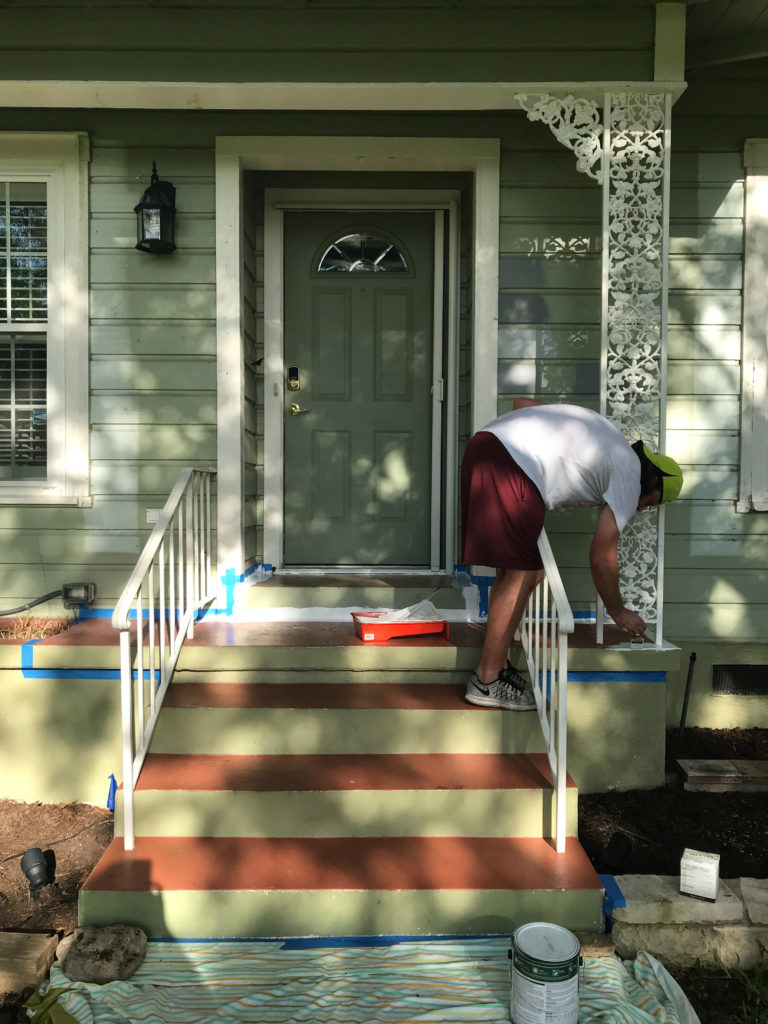
Before
How To Paint Cement Steps to Look Like Tile
This was the before! I can hardly believe it!
Step 1: First, you need to clean your surface really well. Begin by sweeping and cleaning off all the large debris. Then scrub the surface with good old soap and water to remove all the dirt and dust.
Step 2: Tape off the surface to make sure your paint lines do not bleed. Be sure and follow all the instructions on the tape to make sure it sticks well to the surface.
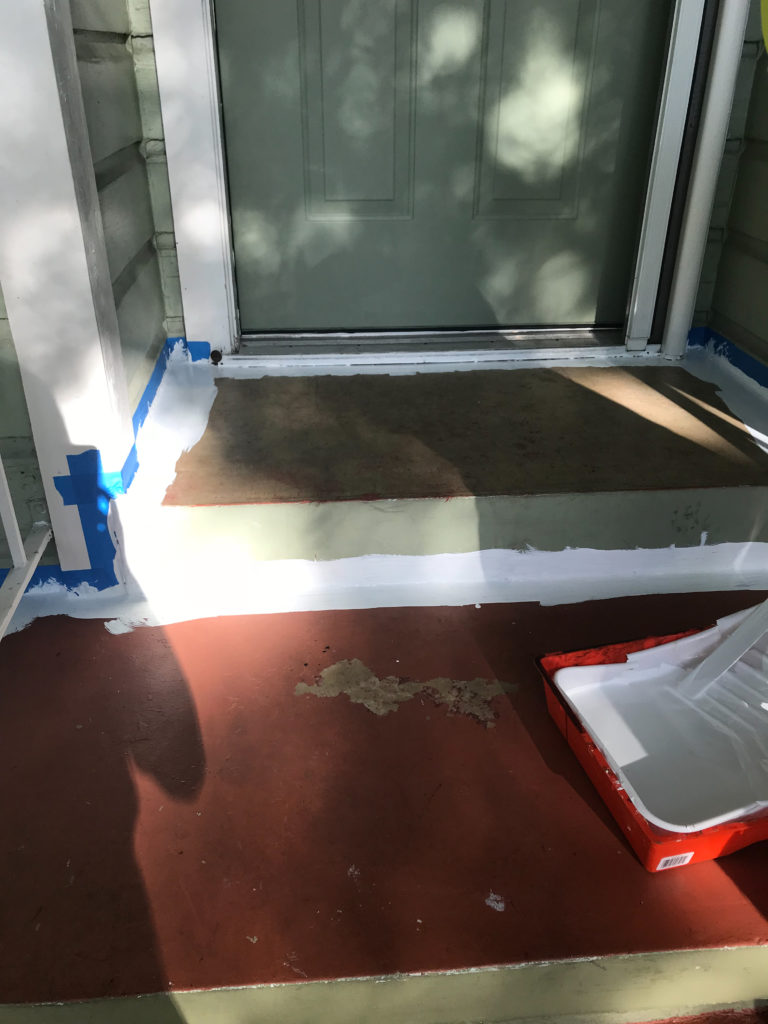
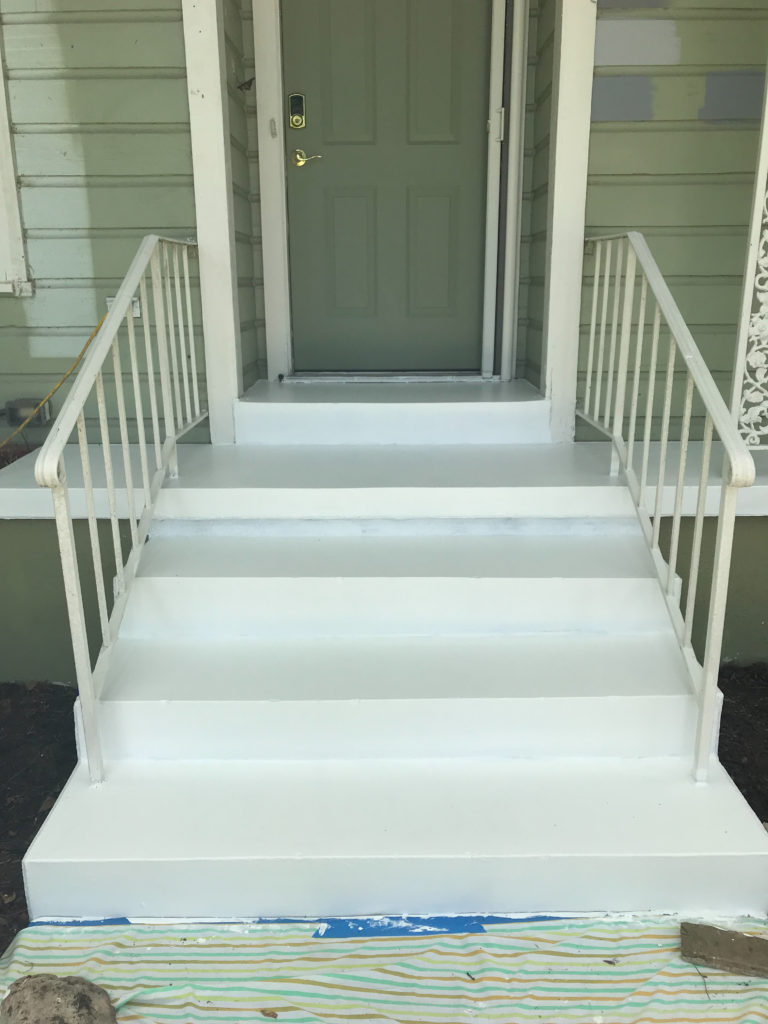
Step 3: Paint your base layer. For ours we choose a bright white called Ultra Pure White from Behr. It’s an exterior paint and we used the paint and primer in one in the satin sheen. It doesn’t really matter what color your base is but you might want to test the paint in an inconspicuous area to make sure it looks the way you like and that the top color shows up the way you think it will on top.
After you paint your base layer, let it dry for at least 24 hours before stenciling. Also, be sure to double check that you don’t need a second or third coat for the base layer. This will depend on your surface and what colors you may or may not be covering up.
Step 4:
Now the fun part begins! You can start stenciling!
This can be tricky if your surface is not completely flat and even. I suggest starting your stencil in the center of your area and working your way out. If you start on the side or top for example, you might wind up with a half pattern where you don’t want it. It is a good idea to measure and lightly pencil out where your stencils will go ahead of time.
Our steps have been there since the home was built in 1950 so they can seen their fair share of life and aren’t even so we were working with an odd surface to begin with. I had to concede that everything might not be 100% in alinement but if your surface isn’t perfect then you just have to deal with what you have!
We started by stenciling in the middle of the top step. Then we worked the pattern out on each side. When we did our stencil, it was the middle of July and beating hot so the paint was drying almost instantly. This was actually helpful because we didn’t have to wait for it to dry before laying the stencil again.
Drying Times
In normal temperatures, you may have to work in a diagonal pattern and go back and fill in the gaps after allowing the paint to dry for a few hours or over night. When you lay the stencil down it will cover the pattern you just painted next to it and smudge it, hence why you need to wait to let it dry. Drying time will depend on the temperature and humidity of where you are working. So be sure to take that into consideration when planning out your time for this project.
Use Brushes, Not A Roller
When stenciling, I found the paint roller to be terribly difficult to work with on steps. These brushes worked great! We dabbed the paint onto the stencil. Seems weird to dab at first but we found this technique to give the most even coat of paint in our unique circumstances. The dabbing motion also allowed us to get the pattern to look really sharp around edges and over the curve of the steps.
Consider the Step
Since we are painting steps in this project it was important to think about what we wanted the edge of the step to look like since that is probably what will catch people’s eyes at first glance. This stencil worked great with the small star pattern to fit on the edge our steps! We chose the medium 8×8 sized stencil.
The Edges
We worked our way out from the middle so that we used the stencil in it’s entirety as much as we could. Then once the pattern was mostly done, we went back and did the edges and around the railings. For these parts to look good it required us to cut the stencil and sort of lay it around the the railing or bend it over the edge. We waited until the end to do this so that the cuts wouldn’t mess up the pattern anywhere else. Remember, measure twice, paint once!
Exterior Paint
We used exterior paint so we did not need to seal this afterwards. In fact, sealing it may have made the steps super slippery in the rain, so we did not seal our steps.
It’s been two years since we painted our steps and they are still in amazing shape with hardly any chipping! They clean up really well too by just sweeping them off or spraying them with hose every once in a while.

How To Paint Steps with a Tile Stencil
It’s been a few years and we have not had to do any touch ups to our steps! They still look great and we are super happy with them! For less than $80, we were able to purchase the stencils, brushes, painters tape and paints. It took us two days, aka one weekend, to paint our steps.
Let me know what questions you have in the comments!
What color paint did you stencil them in? It’s beautiful!
I used black — I cannot remember the exact brand or color. I bought the paint at Home Depot and used the outdoor paint and just had them to true black. Hope that helps!