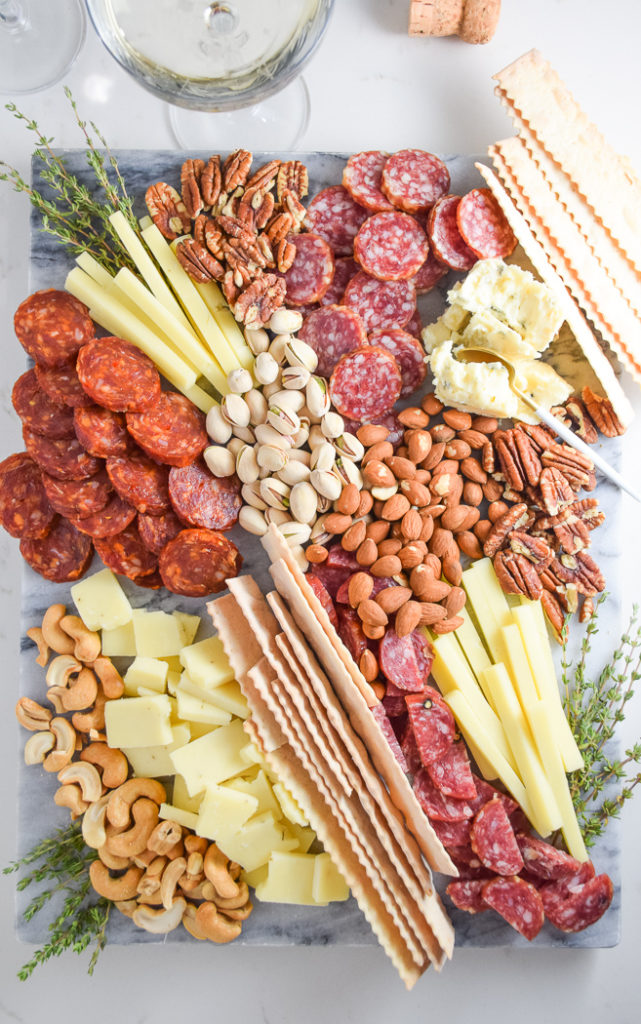
Easy tips for how to style a cheese board for your next get together!
Y’all know I love a good cheese board! I really think that they are just the perfect thing for get togethers. Whether it’s book club, girls night or the opening act of your Thanksgiving dinner, cheese boards are perfect for grazing and encouraging conversations. I really mean that! I’m dishing on all my tips for how to take your next cheese board from “that’s nice” to “omg let me take a pic!”
This post is sponsored by Harry & David. Thank you for supporting the companies that keep this blog going!
Pretty much everything you see in this post is from Harry & David! Even better, it was all delivered straight to my door. I mean what else can you ask for during the busy holiday season!? If you want to create a delicious experience, whether it’s a dinner party or a backyard picnic, the key is quality ingredients. You always need to start there.
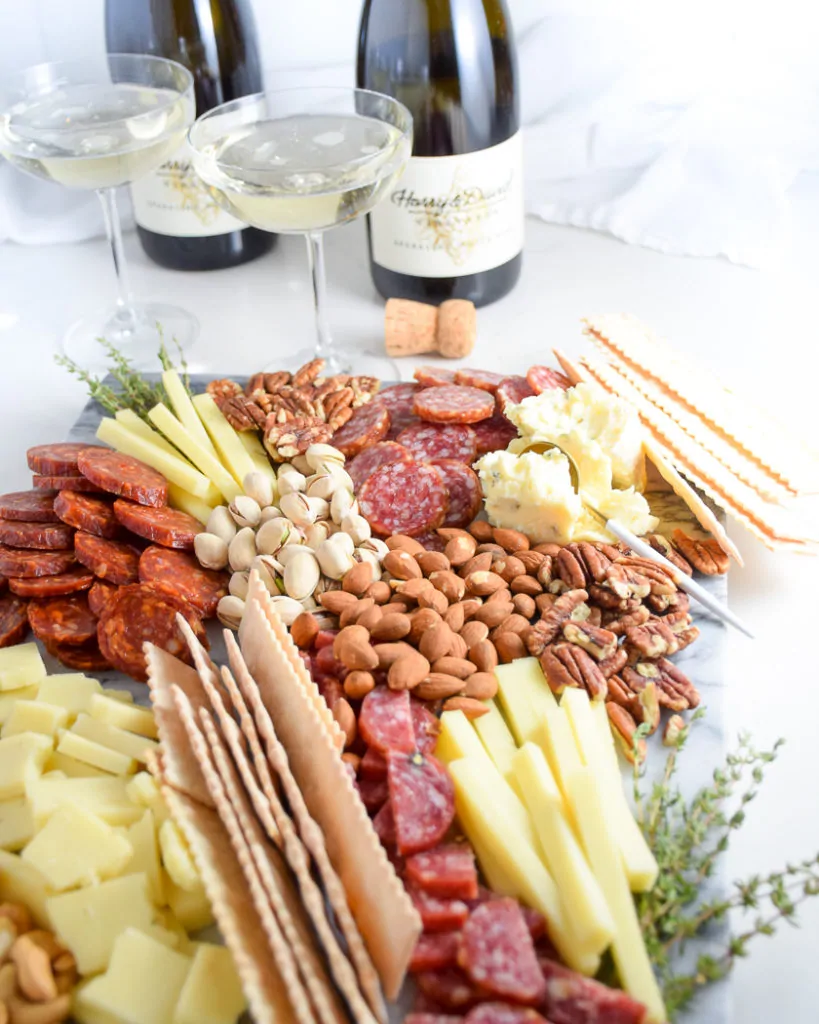
I put this cheese board together using the Harry & David Gourmet Organic Charcuterie and Cheese Collection and Harry & David Nut Tower. These premium ingredients make it super easy to put together a gorgeous cheese board on the fly!
Here are a few things that can really put your cheese board over the top!
- First up, you will want to prep your cheese board about an hour before your guests are expected to arrive so the cheeses and meats have time to come to room temperature. Gather up everything you want to include on your board from cheese to nuts to meats and crackers to any extras like fruit or olives so you don’t forget anything while building your board.
- Don’t make your guests work too hard to enjoy the cheese board. This is finger food, so be sure that cheeses and meats are already cut and ready to enjoy. Pro tip: It is easier to cut the meats and cheeses while they are still chilled. Pull them out of the fridge and then get to cutting up immediately!
- Cut the cheeses and meats into different shapes. This makes it easy to differentiate all the different types since some can appear similar. Cut some cheese into cubes, others into longer pieces. For soft cheeses, I like break them apart a little and be sure to have a small utensil available for spreading them onto a cracker.
- Choose the right size board. You want the board to appear full, so for a smaller group, you might be able to get away with a small plate. For larger groups, use a serving tray. Places the cheeses on the board first, then the meats. Fill in with crackers and nuts.
- Add color! Use fresh herbs or fruits to add a little extra color.
Now all you and your guests have to do is enjoy!
I’d be remiss if I forgot to tell you that a little sparkling wine and sweets go a long way with a crowd! BMW and I were so impressed with the new Sparkling Wine from Harry & David Vineyards! It’s clean, crisp and pairs perfectly with the salty cheeses.
We absolutely loved this decadent Chocolate Mocha Yule Log! It is one of their new offerings this season and we enjoyed every bite. It’s quite rich and perfect for chocolate lovers. Best of all, this cake arrives frozen and can stay frozen until you’re party ready! Defrost it several hours before your event. And that’s it, your dessert is good to go!
Tell me your favorite party tips in the comments!


Cheese trays are a staple anytime we have friends over. I just never knew how to make a pretty one or what items to pick out at the store. Natalie’s tips are really good to help you get started and learn how to make a tray that people really enjoy and looks so appetizing.
You’ve definitely mastered the cheese board, Lisa! Glad these tips helped you!
I can testify!!
Was a lucky guest to appreciate that cheese board ensemble recently!! Yumyum and Thank YOU !!
Thank you, Barry! Glad you enjoyed it!
I can testify!! Testify!!!
Was a lucky guest to appreciate that cheese board ensemble recently!! Yumyum and Thank YOU !!